
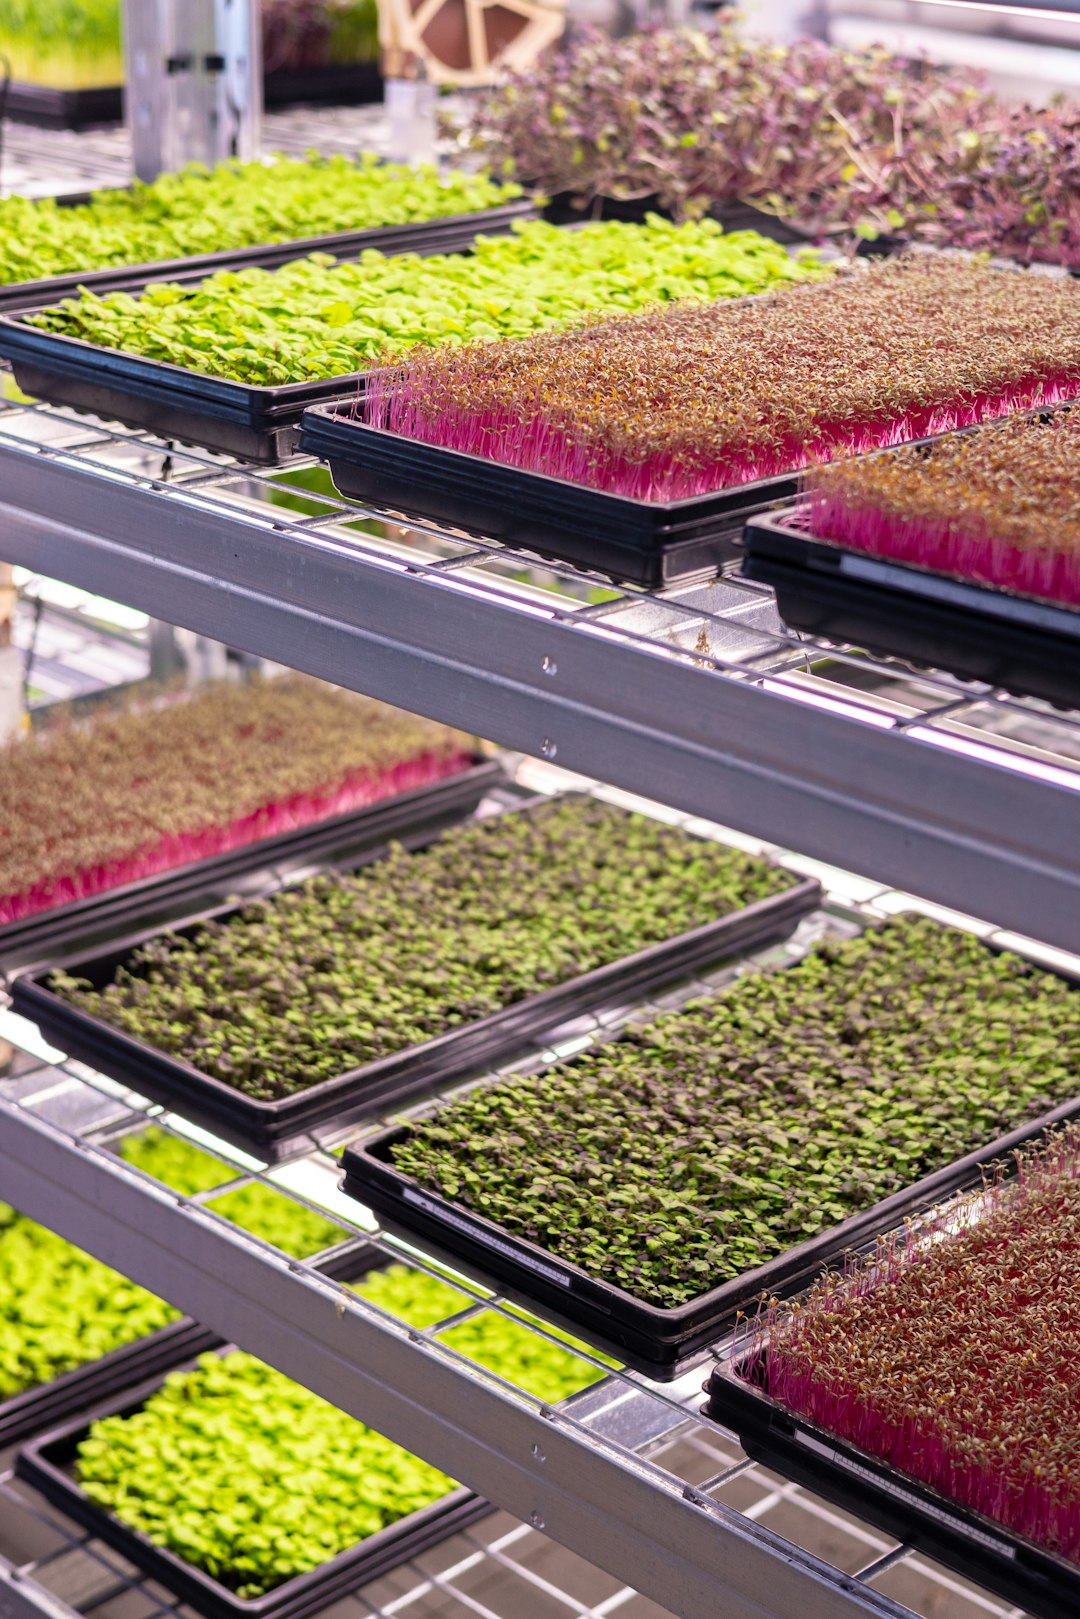
The right light height is less a fixed number and more a small adjustment that keeps seedlings growing evenly.
The shelf is built, the trays are seeded, and the light is finally hanging overhead—then comes the awkward question: how close is too close? For microgreens, the gap between fixture and tray matters because young plants stretch toward weak light but can dry out, yellow, or lean away when the light is too intense.
A sensible starting distance depends on the fixture. Many small LED shop lights or grow bars begin around 6–12 inches above the canopy, while stronger panels may need more space. From there, plant response does the real fine-tuning: tall, pale stems often suggest the light can move closer; curled, faded, or crispy tips suggest it may need to move higher.
- Adjust from the top of the greens, not the tray surface, as the canopy rises.
- Even coverage across the tray usually matters as much as raw brightness.
Good starting distances for common shelf lights
These ranges are starting points, not guarantees. Fixture wattage, lens design, shelf height, room temperature, and crop type can all change the sweet spot.
Light distance means the gap between the fixture and the top of the microgreen canopy. The tray rim can be misleading because seedlings quickly grow above it.
As the crop gains height, the useful distance gets smaller. A simple check every day or two keeps the light from drifting too close or too far as the canopy rises.
Why light type is only a starting clue
A label like “LED shop light” or “T5 grow light” does not say much by itself. Two fixtures in the same category can behave very differently over a tray. One may need to sit close to the canopy, while another may bleach tender leaves at the same height.
The useful details are the ones that describe what actually reaches the plants:
- Strength: brighter fixtures can usually sit higher and still grow compact greens.
- Beam spread: a narrow beam may create hot spots, while a wide beam may need to be closer.
- Heat: fluorescent tubes and some LEDs can warm leaves when placed too near.
- Wattage: helpful as a rough clue, but not a direct measure of plant-usable light.
- Coverage area: a fixture that lights one 10×20 tray well may be weak across two trays.
- PPFD: when listed, this is one of the more useful numbers for comparing grow-light output at a stated distance.
Many hobby shelves use LED shop lights, small panel grow lights, or fluorescent-style bars. If the current fixture has no PPFD chart, coverage map, or distance guide, comparing similar models can help set expectations. A roundup of microgreen grow lights with clearer specifications can make it easier to judge whether a light is weak, moderate, or fairly intense before adjusting shelf height.
When to turn the lights on
Microgreens usually do not need shelf lights during the covered germination or blackout stage. At that point, moisture, warmth, and even pressure from a weighted tray often matter more than light. The lights become useful once the cover comes off and the seedlings are ready to straighten, open, and turn green.
A common sign is a tray of pale, stretched seedlings lifting the blackout cover or reaching a usable height for the crop. After uncovering, place the tray under the fixture and start with a cautious gap rather than pushing the light close right away.
For many basic LED bar lights on a shelf, a gentle starting point is often around 8–12 inches above the seedling tops. Stronger bars may need more space, while weaker shop-light-style fixtures may sit closer. The key is to measure from the top of the canopy, not from the tray rim, because seedlings can gain height quickly after blackout.
Shelf design can also decide what is realistic. A short shelf opening may not allow a 12-inch gap once the tray, soil, and fixture are in place. In that case, growers often work with what the shelf allows and watch the crop closely:
- Too close: leaves may look stressed, dry, curled, or unusually pale.
- Too far: stems may keep stretching and lean toward the brightest area.
- About right: seedlings green up evenly and stand more compactly within a day or two.
Read the seedlings, not just the ruler
A distance chart is useful on day one, but the tray gives better feedback after that. Healthy light placement usually produces compact stems, open leaves, and fairly even color across the tray. If one side leans hard toward the fixture or the back row stays pale, the issue may be light spread as much as height.
Signs the light may be too far away
Microgreens reaching upward with long, thin stems are often asking for more light. Leaves may look small, pale, or slow to open, and the whole tray can seem stretched rather than sturdy. Rotating the tray can help reveal whether the problem is distance, uneven coverage, or a weak spot at the edge of the shelf.
Leggy growth is not always a simple lighting problem, though. Crowded seeding, long blackout periods, warm temperatures, and certain varieties can also stretch. If the tray is consistently tall and floppy, it may help to compare light distance with other ways to deal with leggy microgreens before moving fixtures too aggressively.
Signs the light may be too close
Lights that sit too close can cause curled leaf edges, dry patches, or a faded, stressed look near the brightest area. With warmer fixtures, the top of the tray may dry much faster than the rest. A hand held at canopy height can also reveal uncomfortable heat, even when the room feels fine.
Small adjustments are safer than big jumps. Raising or lowering a fixture by 1–2 inches, then watching the next day’s growth, often tells more than chasing an exact number from a chart.
The goal is not a perfect inch measurement. A good setup usually gives short, sturdy stems, leaves that color up evenly, and trays that stay moist without drying out at the center or edges too quickly.
Fine-tune the light slowly
Once the tray is under the fixture, distance is easier to correct in small moves than in big jumps. Raise or lower the light 1–2 inches at a time, then give the crop a day or two to respond before adjusting again. This helps separate a true light problem from normal variation between varieties, tray density, or recent watering.
A simple routine works well:
- If seedlings are leaning, stretching, or looking pale, move the light slightly closer or extend the daily light period modestly.
- If leaves look stressed, curled, bleached, or dry at the edges, raise the light, shorten the light period, or dim the fixture if it has that option.
- If growth is uneven across the tray, check whether the fixture covers the full canopy before changing height.
Most shelf setups run somewhere around 12–16 hours of light per day, depending on fixture strength and crop response. A very close, bright LED may need fewer hours than a weaker shop light hung higher above the tray. Distance and duration work together; changing both at once can make results harder to interpret.
Lowering a fixture increases intensity, but it can also warm the canopy and dry the growing surface faster. Stronger lights or longer hours may create the same issue, especially on tight shelves. Good moisture habits and gentle air movement become more important as lights move closer, so it helps to consider airflow around the trays along with height. If a fixture is dimmable, reducing output can sometimes be easier than raising the light when shelf space is limited.
Check the whole tray, not just the center
A distance that looks right in the middle can still leave the tray edges short on light. Many shelf setups use narrow LED bars or compact panels, and their brightest area often falls directly below the fixture. The corners may receive noticeably less light, especially on a wide 10-by-20 tray.
This matters because microgreens at the edge can stretch while the center looks compact and healthy. If only the middle is checked, the light may seem perfectly placed even though part of the crop is growing in a dimmer zone.
A few simple checks can help even things out:
- Center the tray under the fixture, not just on the shelf. A tray shifted a few inches can make one side lag behind.
- Use more than one bar for wide trays when possible. Two modest bars often spread light more evenly than one bright strip down the center.
- Rotate trays once a day if one side consistently grows taller or leans toward the light.
- Watch for shelf shadows from rack lips, hanging chains, cords, or trays on the level above.
- Compare brightness by eye using a white card or empty tray moved from center to corner. It is not a lab test, but obvious dim spots are easy to notice.
Even coverage does not have to be perfect. The goal is a tray where the edges and center grow at a similar pace, so height adjustments are based on the whole crop rather than one bright patch.
A simple light-height routine
-
Start with the fixture’s suggested range
For many LED bar or shop-light shelves, 4–8 inches above the microgreen canopy is a practical first setting.
-
Measure from the leaves, not the tray
As stems rise, the useful distance shrinks. A quick ruler check keeps the gap honest.
-
Keep the day length steady
Use the same photoperiod while adjusting height, so changes are easier to read.
-
Check back after 24–48 hours
Look for stretching, leaning, pale growth, curled leaves, dry patches, or heat stress.
-
Adjust in small steps
Move lights 1–2 inches at a time, or dim slightly if the fixture allows it.
- Most shelf setups become easier once distance, timing, and seedling response are checked together.
- Small, patient changes usually work better than chasing a perfect number.
Light distance for microgreens is less about one fixed measurement and more about a repeatable habit. Start near the fixture’s reasonable range, often around 4–8 inches for common LED bars or shop lights, then let the seedlings confirm whether that spacing is working.

Good article overall, but I’d love a simple chart someday with rough ranges for shop lights vs LED strips vs T5s. I know every fixture is different, but beginners need somewhere to start before they become full-time leaf detectives.
The part about fixture labels hiding the real story is painfully true. I bought two “full spectrum grow lights” that looked identical online, and one was basically a desk lamp with confidence.
I wish more brands actually listed PPFD at different heights instead of just shouting watts in giant font.
I’m struggling with limited shelf clearance. My bars are already almost touching the top shelf, and once the pea shoots get going there’s barely any room to raise them.
Would dimming the light be better than shortening the timer? I don’t want to burn the tops, but I also don’t want weak floppy greens.
If your fixture has a real dimmer, dimming is usually the cleaner first adjustment when height is limited because it reduces intensity without changing the daily schedule as much. You can also combine a modest dimming with good airflow and careful moisture management, since close fixtures can warm and dry the canopy faster.
I use wire shelves and ended up removing one shelf level just for peas. Annoying, but peas are the skyscrapers of my setup 😂
The edge-check tip is underrated. I used my phone camera exposure trick, and the ends of my shelf were way dimmer than the middle.
Moved the trays inward and stopped blaming the seeds. Sorry, seeds.
Step 3 of my personal routine is where I keep messing up: I set the distance, then the seedlings grow into the light faster than I notice. My broccoli looked fine in the center but the edges got tall and bendy.
Do you think rotating trays daily is enough, or does that usually mean the fixture is too narrow for the shelf?
If the center looks compact and the edges are stretching, that usually points to coverage more than height. Rotating helps, but it’s more of a workaround than a fix if the fixture has a narrow beam or doesn’t span the tray well.
I had the same issue with two cheap bars on a 10×20 tray. Adding a third bar made a bigger difference than lowering them, because lowering just cooked the middle lol.
This was exactly the kind of “it depends, but here’s where to start” answer I needed. I moved my LED bars from about 3 inches above the peas to 7 inches and they stopped looking stressed within a day or two.
Also appreciated the reminder to measure from the canopy, not the shelf. I was definitely doing that wrong 😅
This helped me diagnose that my problem wasn’t actually the light height. I kept lowering my LEDs because the cabbage was leggy, but the tray was super crowded and the shelf was running warm.
After thinning my seeding rate a bit and adding a small fan, the same light distance looked totally fine. Nice to see crowding and heat mentioned instead of making it all about inches.
I followed the simple routine at the end and it worked! Started around 8 inches above radish and sunflower microgreens, kept the timer at 14 hours, then only moved the lights down a little after two days.
The radish stayed stockier than my last batch, and the sunflower didn’t get that weird pale stretched look. Small adjustments really are less chaotic than my usual “panic and lower everything” method.
I’m a little skeptical about starting lights only after covers come off. I’ve seen people online putting lights on during blackout or right as seeds crack, and they swear it gives stronger greens.
Is the “covers off first” advice mostly for avoiding heat and drying, or is there another reason?
Good question. For most microgreens, the covered/blackout stage is mainly about germination and encouraging an even push upward before photosynthesis matters much. Turning lights on early usually doesn’t help under an opaque cover, and if the fixture adds heat it can dry the surface or create uneven growth.
I tried lights during blackout with clear lids once and got algae plus uneven trays. Not saying it never works, but for me it added one more variable to mess up.