
A tray of microgreens is less like farming and more like keeping a tiny countertop project alive for a week or two.
The first tray often feels oddly high-stakes: a packet of seeds, a shallow container, damp soil, and suddenly every speck of fuzz looks suspicious. In reality, most beginner mistakes are small and fixable. Seeds need steady moisture, a little airflow, and patience—not a perfect grow room.
A calm setup can be as simple as a clean tray near a bright window or under a basic light. Some crops lean, some patches sprout unevenly, and harvest day may arrive a bit earlier or later than expected. That is normal. The goal is an edible first batch, not a flawless indoor farm.
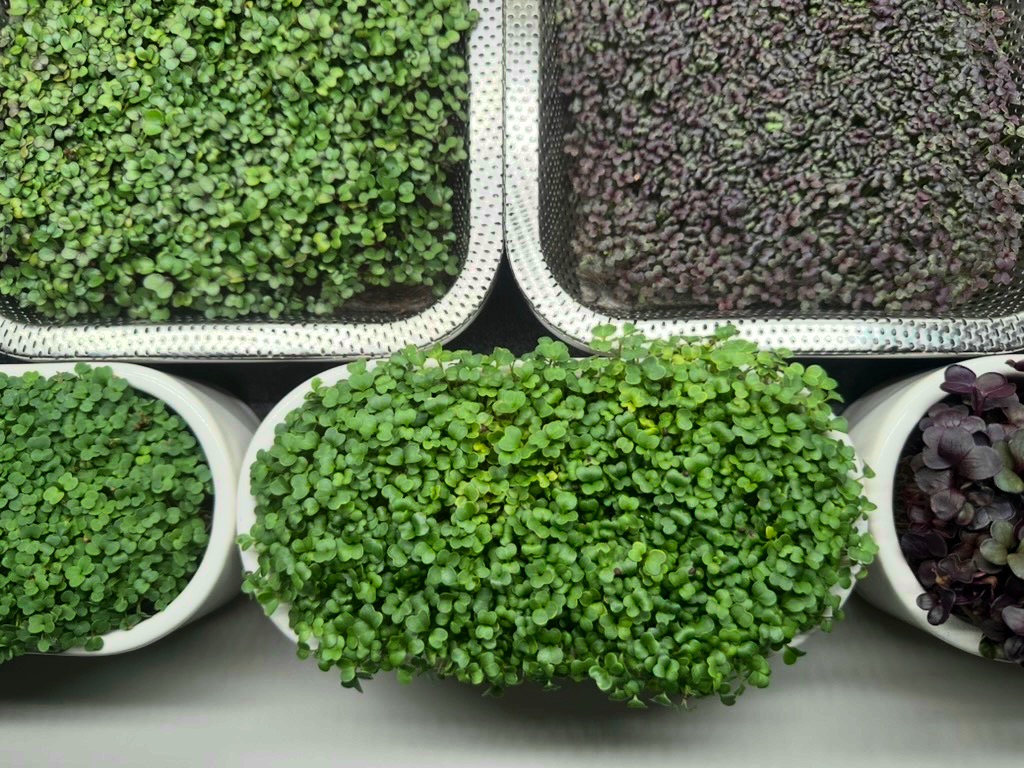
- Radish, broccoli, pea, and sunflower are common beginner-friendly choices, each with a different texture and growing pace.
- Most microgreens are ready when the first true leaves begin to appear, often around 7–14 days depending on the crop.
What Counts as a Microgreen?
- Microgreens
Microgreens are young edible seedlings grown in a shallow tray and cut soon after germination, usually when the first seed leaves have opened and a tiny second set is starting to show. They are harvested above the soil, so the roots stay behind.
- Sprouts
Sprouts are eaten much earlier, often just after the seed cracks and sends out a root. They are commonly grown without soil and the whole sprout is eaten, seed and root included.
- Baby greens
Baby greens are older than microgreens. They grow longer, develop more true leaves, and are harvested as small salad leaves rather than tender seedlings.
- Herbs
Herbs such as basil, cilantro, and dill can be grown as microgreens, but a full herb plant is different. Mature herbs keep growing after repeated snips and need more space, time, and light.
- The basic cycle
A microgreen crop follows a short path: seeds are scattered on a growing surface, kept moist while they sprout, moved into light, then clipped once the little leaves look open and fresh. Many beginner trays are ready in about one to three weeks, depending on the crop.
Choosing a First Setup
Pick Seeds That Make the First Tray Easier
-
Start with forgiving varieties
Radish, broccoli, cabbage, kale, and mustard tend to germinate readily and finish quickly. Peas and sunflower are also popular, but their larger seeds need a little more room and usually take longer.
-
Match the method to seed size
Tiny brassica seeds are usually scattered dry; large seeds such as peas are often soaked first so they wake up evenly. Gel-forming seeds like basil, chia, and flax can be trickier in a first tray because they clump when wet.
-
Aim for full coverage, not heaps
The surface should look evenly speckled, with few bare patches and no little seed mountains. A tray sown this way dries less strangely and avoids many crowding problems; this guide to setting a sensible seed density gives more detail by tray size.
-
Spread in two light passes
Sprinkling half the seed in one direction and half across it helps prevent dense corners. A folded piece of paper or a clean spice shaker can make small seeds easier to control.
-
Expect timing to vary
Fast crops may be ready in about a week, while peas or sunflower can need several extra days. Some growers cover trays briefly at germination, and the choice often depends on the crop; this explainer on when a blackout period helps can make that decision less mysterious.
Untreated seed sold for sprouting or microgreens is a practical choice for indoor trays.
Germination Without Fuss
Germination mostly needs steady moisture and good seed-to-medium contact. After misting, gentle pressure or a light cover helps seeds settle.
A blackout period can encourage straighter growth, though some crops need less. Move trays to light when shoots lift the cover or look pale and stretched.
Beginner microgreen walkthrough
Geeky Greenhouse offers a broad seed-to-harvest overview, including soil medium and early growing steps that pair well with a first tray.
After Blackout: Light, Air, and Water
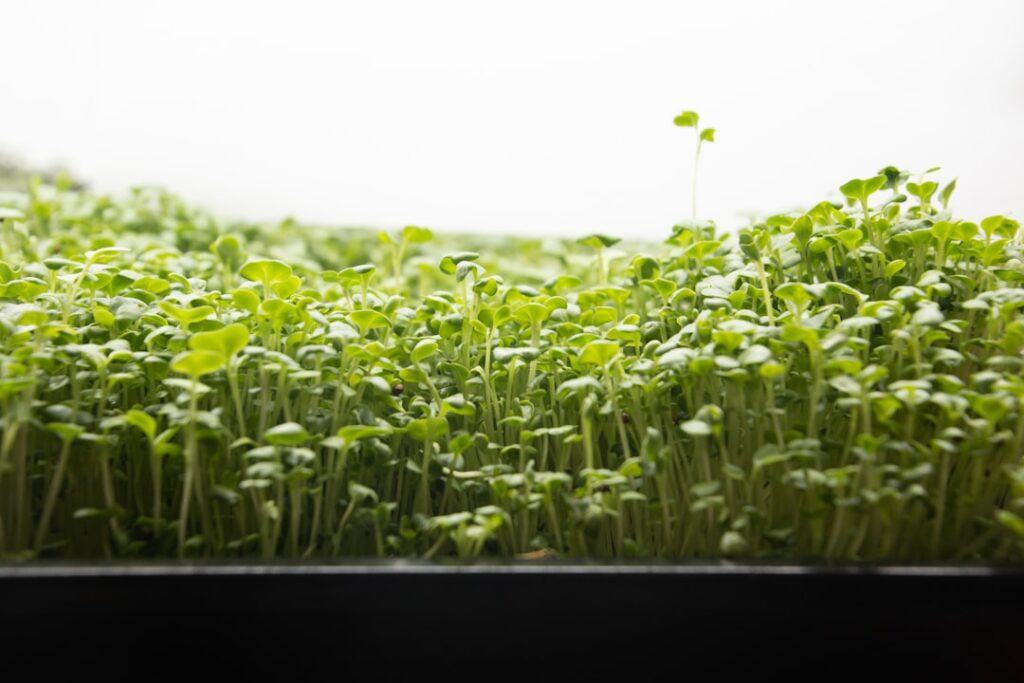
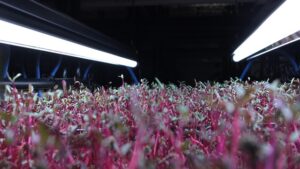
Once the cover comes off, pale seedlings usually green up within a day under bright light. A sunny windowsill can work for some trays, but a simple grow light makes growth more even and reduces leaning. Keep the light close enough to prevent stretching, but not so close that tender leaves dry or curl.
Gentle airflow helps the tray stay fresh. A small fan nearby, not blasting directly at the greens, can move humid air away from the surface. Stale, wet air is more inviting to fuzzy growth than a tray that can breathe.
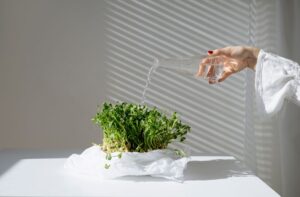
Bottom watering is often the cleanest beginner habit. Pour a little water into the lower tray, let the growing medium wick it up for several minutes, then tip away anything left sitting underneath. This keeps leaves drier and avoids splashing soil onto stems.
The tray gives clues before trouble starts:
- Too dry: lighter tray weight, pulling medium at the edges, floppy stems.
- Too wet: sour smell, shiny soggy patches, slow growth, persistent condensation.
- About right: damp medium, upright stems, no standing water.
For a closer rhythm, see watering signs that prevent moldy trays. Growth speed also varies by crop, so typical timing by variety can keep expectations realistic.
If a tray looks slightly dry, add a small amount from below and wait before adding more. Microgreens often recover from mild dryness faster than from constantly soggy roots.
Common Worries That Are Usually Fixable
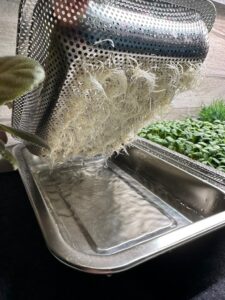
It may be root hairs, especially if the fuzz is even, bright white, and close to the roots.
Root hairs disappear or shrink when misted. True mold often looks webby, spreads across seeds or stems, and may smell musty. More airflow, less surface wetness, and bottom watering usually help.
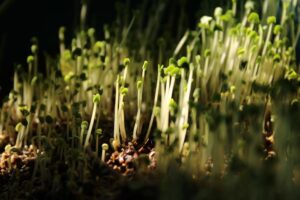
They are usually just stretched from a long blackout period or weak light.
Move the tray into brighter light once shoots lift the cover, and keep the light closer if using a lamp. Mild legginess still harvests fine, though stems may be softer.
Patchy sprouting often comes from dry corners, clumps, buried seed, or uneven pressure during blackout.
Level the growing surface, spread seed in a single layer where possible, and check that edges stay damp. A weighted cover for the first few days can improve seed contact.
Yellowing is normal before light, hulls often loosen with growth, and small collapsed patches can be removed.
Give pale shoots light for a day and they usually green up. For hulls, a brief gentle rinse near harvest may help. If a patch turns slimy or smells off, cut it out and keep the rest drier and better ventilated.
How to Tell a Tray Is Ready
-
Look for leaf stage, not just height
Many crops are cut once the seed leaves are open and the first true leaves are just appearing. For a closer check, compare readiness signs beyond height.
-
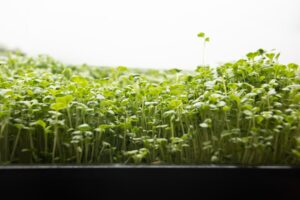
Check color and posture
A ready tray usually looks evenly green, upright, and fresh. Pale, stretched stems may need more light; yellowing or collapsing patches are better left out of the harvest.
-
Notice the texture
Leaves should look tender, not limp, leathery, or slimy. Radish and mustard often feel crisp, while pea shoots are sturdier and can be harvested taller.
-
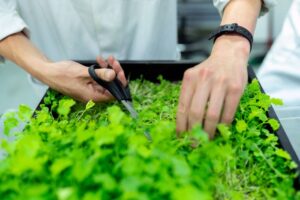
Cut cleanly above the medium
Let foliage dry first, then use clean scissors or a sharp knife to cut just above the soil or mat. A tilted tray corner can make a tidier home harvest easier.
-
Plan to replant most trays
After cutting, most trays are composted or refreshed because regrowth is often patchy and weaker. Peas may send a small second flush, but regrowing versus replanting depends on the crop.
Harvest in small batches if the tray will not be eaten at once.


Make the Next Tray Easier
A first successful tray is useful because it creates a baseline. Instead of changing everything, repeat one or two forgiving crops—such as radish, broccoli, or pea shoots—until the timing feels familiar.
A simple note on masking tape or in a phone can prevent guesswork later:
- Sown: date and crop
- Blackout ended: date or shoot height
- Harvested: date and quick result
- Next tweak: one small change
That last line matters. Adjust only one thing per cycle, such as seed density, light distance, or watering amount. If several changes happen at once, it becomes harder to know what helped.
For steadier harvests, start a second tray a few days after the first. This kind of two-tray rhythm for regular harvests keeps greens coming without turning the counter into a farm.
For deeper reference, a practical beginner growing book can be handy; a paid online class on microgreens may suit visual learners who want more structure.
- A small tray is enough to learn the rhythm without wasting seeds or space.
- Each harvest makes the next round a little more predictable.
Microgreens feel less mysterious once they are treated as a short, repeatable routine: sow, cover, uncover, water gently, watch closely, and cut when the tray looks ready. The first harvest does not need to be perfect to be worthwhile. A patchy corner, a stretched stem, or a late watering becomes useful information for the next tray.
Maybe I’m overthinking it, but “controlled dampness” is the part I still don’t get. Everyone says don’t overwater, don’t underwater, keep it damp but not wet… okay cool, very specific 😅
I wish there were more photos of what the medium should look like at each stage. I’m using coco coir and it seems to go from dry on top to swamp underneath.
Nice intro. I didn’t know regrowth was usually not worth expecting with microgreens — that explains my sad little second crop of sunflower shoots.
I kept waiting for them to bounce back and they just looked offended.
I appreciate the “one variable at a time” advice because I’ve been changing EVERYTHING every tray and then acting shocked that I can’t figure out what worked 😂
Do you keep notes in a spreadsheet or just on tape on the tray?