
A first batch needs confidence more than a cabinet full of gadgets.
A beginner shopping for sauerkraut gear can go from “plain jar” to “laboratory setup” in five minutes. The useful middle ground is much simpler: a clean wide-mouth jar, a way to keep vegetables under brine, and either a loose lid that gets checked or an airlock lid that vents gas with less fuss.
The main job of the gear is not to make fermentation fancy. It is to support the basics: submerged vegetables, measured salt, clean handling, and room for bubbles. Expensive crocks, specialty tampers, and decorative extras can wait until the habit sticks.
- Wide-mouth jars are easier to pack, weight, and clean than narrow-mouth jars.
- A digital scale makes salt amounts more repeatable than spoon measures.
- Leave headspace so active brine has somewhere to rise.


Let the gear earn its place
Start with a jar, not a crock
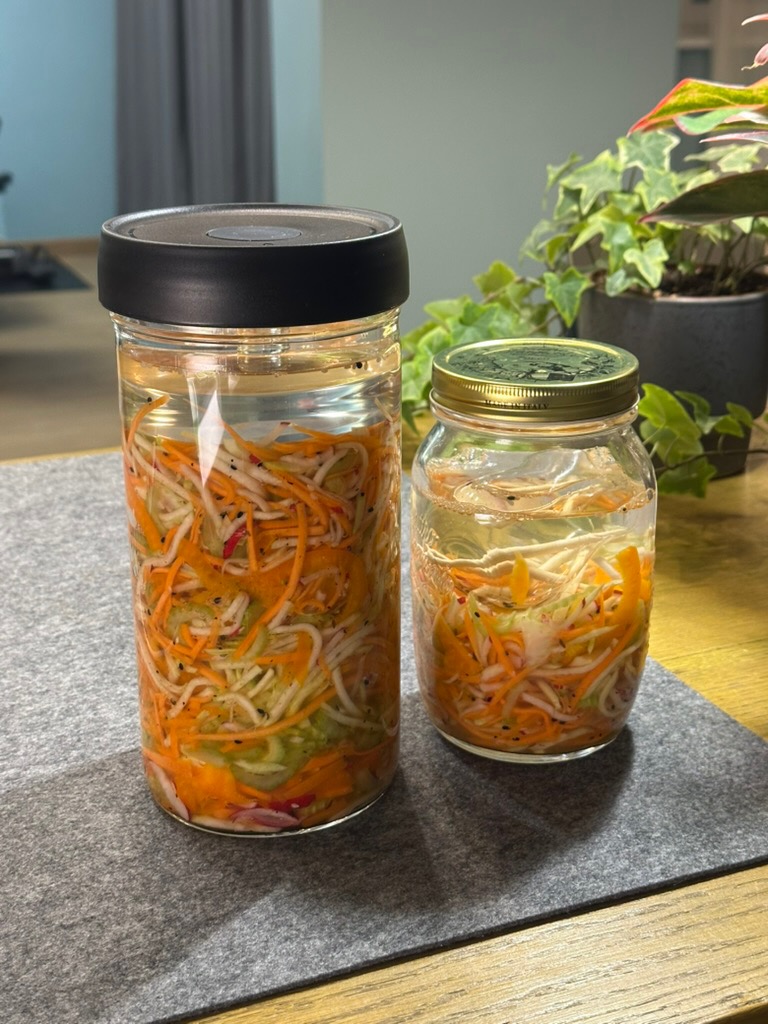
For a first batch of sauerkraut, carrots, or cucumber spears, a food-safe glass jar is usually the most practical starting point. It is easy to inspect, easy to store, and small enough that one experimental batch does not take over the counter.
A wide-mouth jar makes the process less fussy. Vegetables can be packed down evenly, weights are easier to place, and cleaning the shoulders of the jar takes less scrubbing. Narrow jars can work, but they often make simple jobs feel more awkward.
Leave room at the top. About 1–2 inches of headspace helps contain bubbling brine and reduces overflow during active fermentation. A quart jar is a friendly size for learning; half-gallon jars suit larger vegetables or repeat batches once the routine feels familiar.
Before buying a crock, it helps to notice what actually gets used: a jar that cleans well, fits in the fridge, and feels simple to refill often earns its place fastest.
Lids and airlocks: useful, not magical
A fermentation lid has two simple jobs: keep most outside debris out and let built-up gas escape. It does not replace clean jars, enough salt, submerged vegetables, or common-sense inspection. Think of it as a convenience piece, not a safety shield.
A regular Mason jar lid can work for small beginner batches if it is loosened or briefly opened to release pressure. This is often called burping. It costs nothing extra, but it asks for attention, especially during the first few active days when cabbage, cucumbers, or peppers may fizz more quickly.
Airlock lids are for people who want a lower-attention setup. The airlock allows carbon dioxide to leave while reducing fresh air exposure. That can make the jar feel less fussy on a counter, especially for sauerkraut or kimchi that may ferment for several days.
Bubbles are helpful clues, not a perfect scoreboard. A quiet airlock may mean the seal is loose, the room is cool, or the batch is simply moving slowly. More useful checks include vegetables staying under brine, no unpleasant rotten smell, and no fuzzy growth on the surface.
For a first batch, either path is reasonable:
Regular lid: low cost, but needs burping. Airlock lid: less daily attention, but still needs checking. No bubbles: not automatically failure; look at the whole jar.Keep vegetables below the brine
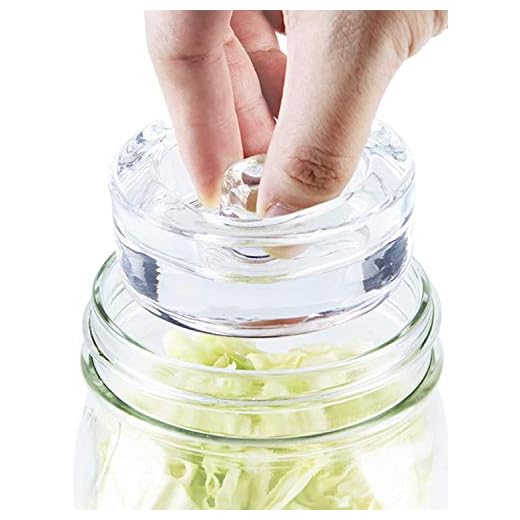
Floating bits are often the first annoyance beginners notice. The goal is simple: keep vegetables under brine. Glass weights help, but a clean small jar, brine-filled bag, or food-safe lid insert can work if it fits and stays sanitary.
Early fermentation lessons
Pepper Geek shares beginner fermentation tips that fit this stage well, especially for making small batches feel less mysterious.
A weight does not need to be fancy. It needs to be clean, non-reactive, heavy enough, and easy to remove.
For wide-mouth Mason jars
These food-safe, lead-free glass weights are sized for typical wide-mouth Mason jars. The raised handle can make removal less awkward than flat DIY pieces.
Crocks are charming, but often early
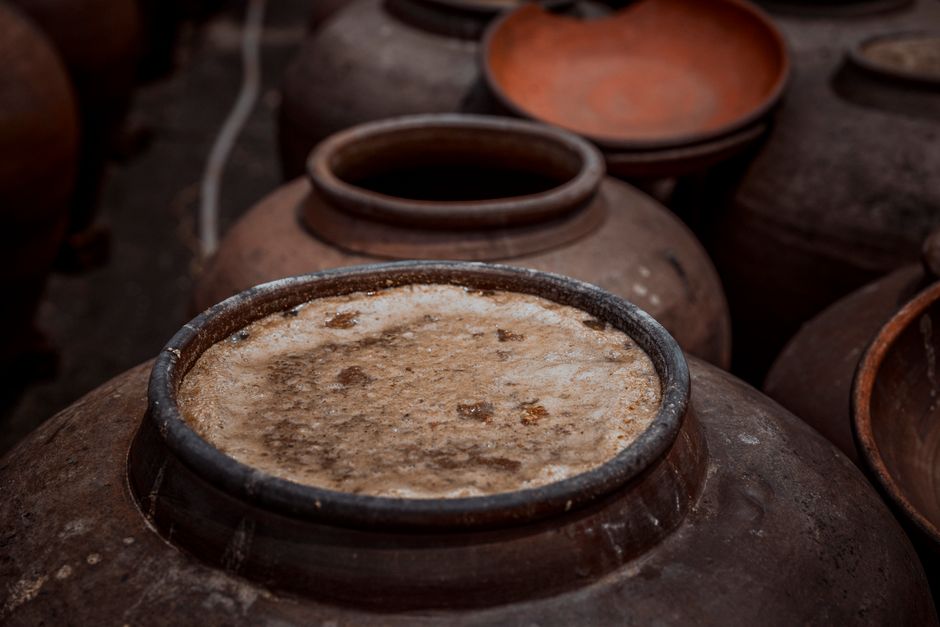
A ceramic fermentation crock has real appeal: it looks traditional, holds a generous amount, and some water-seal models vent gas with little fuss. For a first batch, though, that charm can hide practical tradeoffs.
Crocks take up permanent counter or shelf space, and many are built for several pounds of vegetables at once. That is helpful for a household that already eats fermented cabbage regularly, but less helpful when someone is still learning what flavors, salt levels, and batch sizes they like.
They also make monitoring less simple. A glass jar shows brine level, bubbles, floating bits, and color changes at a glance. With a crock, the lid has to come off to inspect the batch, which can feel more mysterious for beginners.
Before buying one online, check the small details: total height with the lid, weight when full, whether the weights are included, and how easily a hand or sponge fits inside. For glazed crocks, look for clear food-contact information and lead-free claims from the maker, not just pretty photos.
A crock tends to make more sense after several jar batches. If the same ferment keeps disappearing quickly and larger batches feel useful, a crock may earn its counter space.
How to judge a fermentation kit
Convenient wide-mouth starter bundle
This Masontops set is a practical example of a kit that focuses on repeat-use pieces rather than a pile of odd accessories. It includes four Pickle Pipe silicone airlock lids, four glass Pickle Pebble weights, an acacia wood tamper, and a printed recipe booklet.
The main catch is sizing: it is made for wide-mouth Mason jars, and jars are not included. For someone already using that jar style, the parts are likely to stay useful across sauerkraut, pickles, kimchi-style vegetables, and small brined batches. At around $55, it is more of a convenience purchase than a requirement; similar results can often be built piece by piece.
Measuring: consistency beats lab-level precision
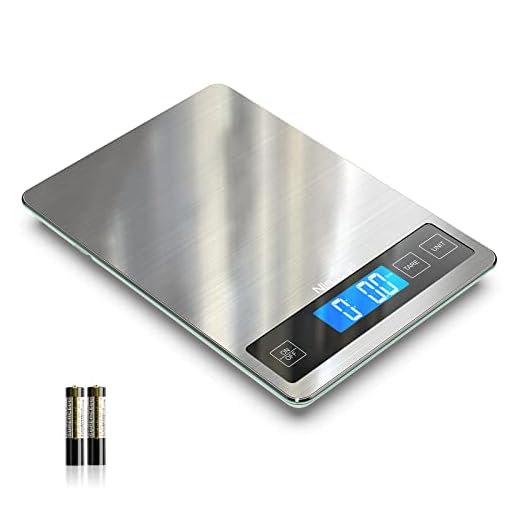
A digital kitchen scale is often the most useful measuring upgrade for vegetable fermentation. It makes salt percentages repeatable, especially when vegetables vary in size or a jar is only partly full. Instead of guessing by tablespoons, the batch can be built from weights: vegetables, water if needed, and salt.
For beginners, 1-gram accuracy is usually practical enough. A scale with a tare button also keeps the process tidy: place the jar or bowl on the platform, zero it out, then add ingredients.
pH strips and pH meters can be interesting learning tools, but they are not essential starter gear. Strips are simple and inexpensive, though color matching can be vague. Meters can give more specific readings, but they need calibration solution, careful storage, and a clean probe. For many small home batches, that extra maintenance is more fuss than help.
A simple batch note can be more useful than a gadget: record vegetable weight, salt weight, date, room temperature, and when the flavor tasted pleasantly sour.
Cleaning without overthinking it
Fermentation gear does not need a laboratory routine. For most home batches, ordinary cleanliness is enough: wash jars, lids, weights, and tools with hot soapy water, rinse well, and let them dry fully before storage.
Lingering sour smells are common, especially in plastic lids or rubber seals. A baking soda soak, sunlight, or simply airing parts out can help; stronger odors may need the gentler troubleshooting in this guide to cleaning gear that still smells sour.
The bigger concern is damaged or grimy equipment. Retire cracked glass, chipped ceramic weights, rusty lids, scratched plastic, or anything with residue stuck in seams. Clean tools support good fermentation, but elaborate sanitizing rituals usually add more stress than benefit for a beginner vegetable batch.
Store lids and seals unlatched when possible. A little airflow helps prevent trapped moisture and stale pickle smells.
A simple first-three-batches mindset
- Buy for now A couple of wide-mouth jars, a way to weigh salt, and something clean to hold vegetables under brine can carry the early learning stage.
- Watch the friction After a few batches, the annoying parts become obvious: burping lids, floating scraps, awkward jar sizes, or crowded fridge space.
- Upgrade slowly Airlocks, extra weights, funnels, tampers, and crocks make more sense when they solve a repeated problem, not a guessed one.
Vegetable fermentation does not need a full countertop of specialized tools at the start. Small batches teach more than a large shopping cart: how much headspace feels comfortable, which jars are easy to clean, whether burping is bothersome, and how often floating pieces cause trouble.
Most add-ons are convenience choices, not entry tickets. A beginner-friendly setup can stay modest for the first few ferments, then grow around real habits. The gear that earns its place is usually the gear that removes a specific annoyance and gets used again.
I appreciate the low-clutter approach, but I’m skeptical about skipping pH strips entirely. Isn’t acidity the whole safety thing here?
I get that salt ratio and submersion matter, but as a beginner I’d feel better having some number to check instead of just trusting bubbles and smell.
That’s fair, and pH strips can be reassuring as a learning tool. My point isn’t that they’re useless, only that they aren’t usually the first thing a beginner needs to buy before making a basic vegetable ferment.
For most common vegetable ferments, reliable salt measurement, clean equipment, enough brine, and keeping vegetables submerged are the more immediate controls. If strips help you build confidence, choose ones with a useful range for acidic foods and remember they can be a bit imprecise compared with a properly maintained meter.