
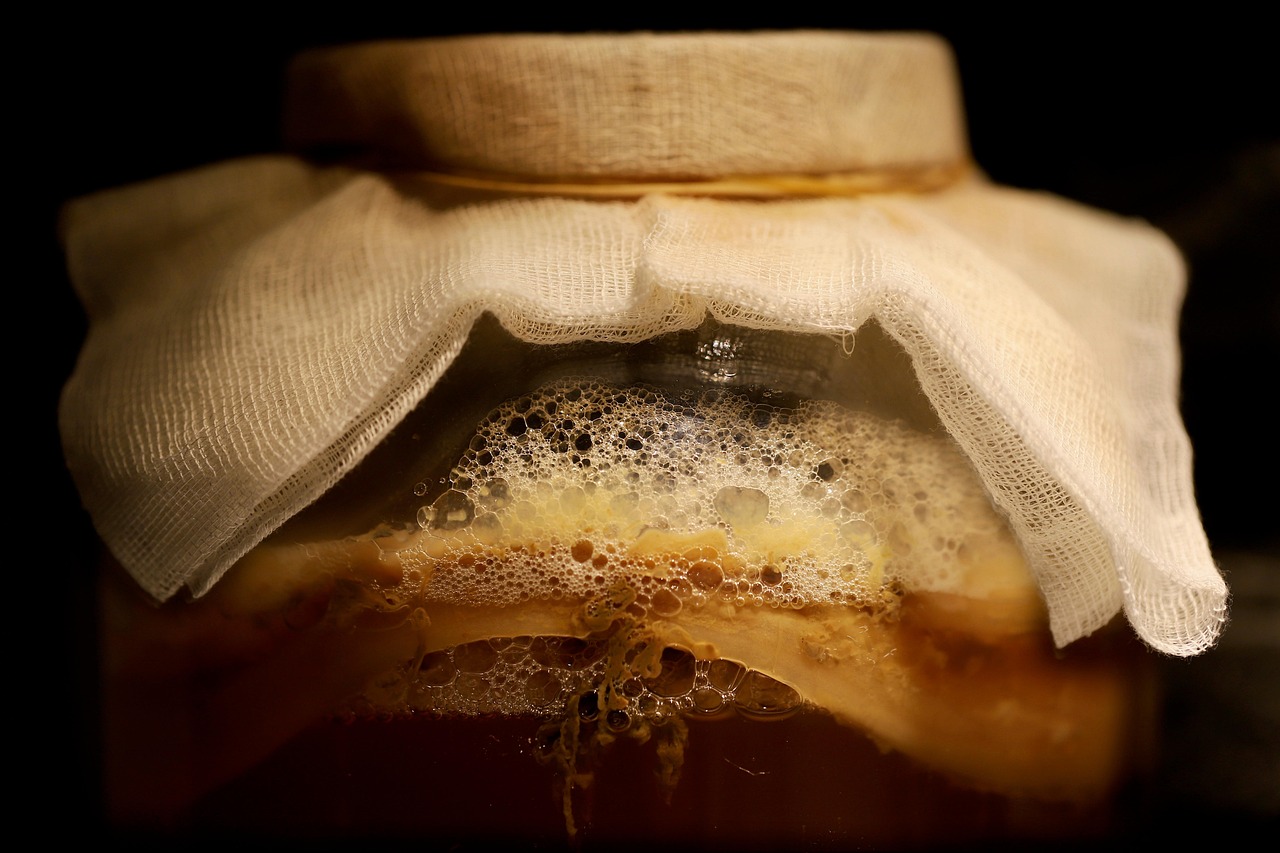
The easiest first ferment is usually the one that fits the kitchen, the schedule, and the nerves.
A bottle hissing open on the counter sounds charming until the mind jumps to sticky spills, mystery smells, surprise alcohol, or a jar that looks a little too alive. That hesitation is normal. Fermented drinks are simple in principle—microbes eat sugar and create tang, bubbles, or both—but the first batch can feel more serious than mixing tea or juice.
The good news: “first” does not need to mean most impressive. It means most manageable. A gentle starter drink is one with easy ingredients, visible signs of progress, forgiving timing, and a cleanup plan that does not take over the sink. Some beginners prefer a short ferment with mild fizz; others want something slower, low-drama, and easy to taste along the way. The right choice is less about proving skill and more about picking a ferment that feels calm enough to repeat.
- Uses common ingredients such as tea, sugar, fruit, whey, or ginger
- Can be checked by smell and taste rather than special equipment
- Has clear storage instructions and a modest batch size
What fermentation does in a drink
- Microbes
Fermented drinks rely on tiny living helpers, usually yeast and bacteria. Given warmth, liquid, and food, they begin changing the drink in noticeable ways.
- Sugar
Sugar is the main fuel. It may come from fruit juice, sweet tea, honey, malt, or plain added sugar, depending on the drink.
- Tang and flavor
As microbes work, they create acids and aroma compounds that make a drink taste brighter, sharper, fruitier, or more complex than the starting liquid.
- Bubbles
Yeast can turn some sugar into carbon dioxide, the gas that makes a drink fizzy. In simple home projects, this can give a soda-like sparkle.
- Alcohol
Some fermentation also creates alcohol. Drinks such as water kefir or ginger bug soda may stay very light, while beer, cider, mead, and wine usually need more control, time, and attention.
Which fermented drink usually feels easiest first?
For fizzy drinks, carbonation is part of the appeal and part of the risk. Pressure can build in sealed bottles, especially with warm rooms, extra sugar, or long bottle conditioning.
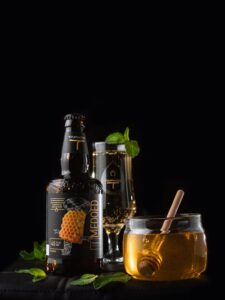
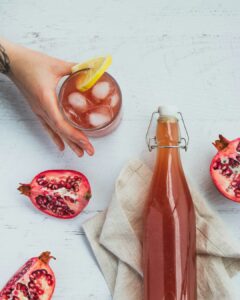
Start with short, fizzy ferments
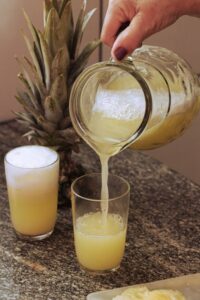
For a first homemade fermented drink, the most forgiving choices are usually short ferments: tepache, ginger bug soda, or fermented lemonade. They use supermarket ingredients, need only a jar or bottle, and often show signs of life within a few days. That quick feedback makes them feel less mysterious than a jug of cider or mead quietly working for weeks.
These drinks are also easy to scale down. A small pineapple-peel tepache or a couple bottles of ginger soda can teach the rhythm of fermentation without filling the kitchen with equipment. If the flavor is too sweet, too sharp, or not fizzy enough, the lesson is small and inexpensive.
The tradeoff is that results vary. Warm rooms, extra sugar, longer bottling time, and active cultures can all change carbonation and alcohol level. Homemade “soft” fermented drinks are often low alcohol, but they are not reliably alcohol-free unless tested with proper tools.
Good beginner signs to watch for include:
- gentle bubbles around fruit, ginger, or lemon
- a lightly tangy smell rather than a rotten one
- bottles firming up during carbonation
- flavor moving from flat-sweet toward bright and lively
For a calmer first batch, keep the ferment small, taste daily, and refrigerate once the flavor and fizz seem pleasant. Cold storage slows activity, but it does not make a living ferment completely inactive.
Wild starter or packaged yeast?
A first fermented drink often comes down to a simple fork: borrow microbes from a living starter, or add a measured packet of yeast.
Wild and culture-based drinks, such as ginger bug soda, tepache, or drinks made with a ginger beer plant, feel lively from the start. The microbes are already part of the fruit, sugar, roots, or starter culture, so each batch can smell and behave a little differently. That variety is part of the charm, but it also means fizz, tartness, and timing are less predictable.
Packaged yeast gives cider and mead a more controlled beginning. A known yeast strain is added to apple juice or honey must, then given time to ferment under an airlock. The batch still needs patience and basic sanitation, but the start is less mysterious: the yeast is chosen for alcohol fermentation, not discovered along the way.
A useful way to choose:
- Pick wild or live-culture ferments for quick feedback, playful flavors, and short batches.
- Pick packaged yeast for cider or mead when repeatability, clearer alcohol fermentation, and slower pacing sound more comfortable.
- Expect both paths to vary. Temperature, sugar, cleanliness, and time still shape the final drink.
Neither path is more “real.” They simply teach different habits: watching a living starter, or managing a planned fermentation.
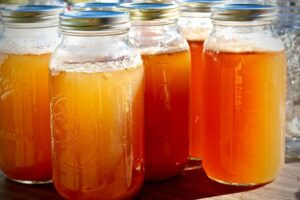
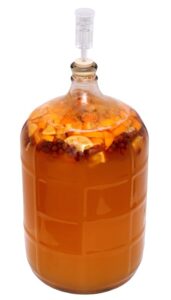
Match the drink to the wait
-
Fizz within a few days
Tepache, fermented lemonade, and ginger beer-style sodas suit someone who enjoys quick signs of life: bubbles, aroma, and changing sweetness. They are small enough to taste often and restart without much regret.
Look forShort ferments that reward frequent tasting and visible bubbles.AvoidLong recipes that feel disappointing if nothing dramatic happens by day three. -
A first alcoholic batch
Hard cider from store-bought apple juice is often a gentle step into packaged yeast, airlocks, and longer waiting. It still needs clean equipment and sensible storage, but the ingredient list can stay simple.
Look forClear steps, modest batch size, and a timeline measured in weeks.AvoidProjects with many additives, aging stages, or unclear alcohol expectations. -
A slower hobby batch
Mead asks for more patience because honey ferments slowly and young batches can taste rough before they settle. It can be satisfying for someone who likes notes, waiting, and checking progress without expecting instant rewards.
Look forOne-gallon recipes that make patience part of the fun.AvoidLarge batches made before knowing whether the waiting suits the household. -
The right check-in rhythm
The better first drink is often the one that fits naturally into the week. A jar that needs a quick daily glance can feel charming to one person and like clutter to another.
Look forA schedule that feels pleasant to revisit.AvoidA ferment that turns curiosity into obligation.
A first batch does not need to taste commercial
Homemade fermented drinks often announce themselves quietly. A first tepache may have only a light sparkle. A ginger soda may taste sharper than expected, or still carry a little sweetness after a few days. Cider and mead can seem plain or rough when young, then soften with time.
Store-bought drinks are filtered, stabilized, blended, and carbonated for consistency. A kitchen batch is more alive and less polished, so success is better measured by safe, pleasant progress than by matching a bottle from the shelf.
The main variables are simple, even if they interact in surprising ways:
- Temperature: warmer rooms usually move fermentation along faster; cooler rooms slow it down.
- Sugar: more sugar can mean more food for microbes, but it can also leave extra sweetness.
- Time: short ferments stay bright and sweet; longer ones often become tangier and drier.
- Culture strength: an active starter or healthy yeast tends to ferment more predictably.
- Fruit, spice, and water: ingredients can change acidity, aroma, bitterness, and mineral balance.
A useful first result is drinkable, not perfect: clean-smelling, free from visible mold, not unpleasantly rotten, and interesting enough to try again with one small change.
For the next batch, adjusting only one variable—such as fermenting one day longer, using a warmer spot, or adding slightly less sugar—makes the result easier to understand. Big changes can work, but they make the lesson harder to read.
Keep the first setup simple
-
Clean everything that touches the drink
A hot wash, thorough rinse, and clean hands solve many beginner problems. Jars, spoons, funnels, and strainers should look and smell clean before fruit, sugar, or culture goes in.
-
Use ordinary ingredients first
Supermarket fruit, plain sugar, fresh ginger, and basic juice are good enough for early batches. For mead, a mild grocery-store honey can teach plenty before comparing which honey is worth buying for a first batch.
-
Buy live cultures with a little caution
Packaged yeast is usually simpler to store and repeat. If a ginger beer plant sounds appealing, it helps to understand why some shipped live cultures arrive weak or inactive before spending more.
-
Leave room for foam and gas
Fermenting drinks need headspace. A jar filled to the top is more likely to overflow, clog a lid, or make a sticky mess.
-
Bottle only in pressure-safe containers
Carbonation can build quickly. Use bottles meant for fizzy drinks, such as rated swing-tops or clean plastic soda bottles, and avoid decorative glass, square bottles, or thin jars.
A fizzy drink can keep producing gas after bottling, especially if it still tastes sweet. A plastic soda bottle makes a useful pressure clue: when it feels very firm, the batch may need chilling and opening carefully.
Open bottles over a sink, point them away from faces, and do not ignore bulging caps, hissing, or tight glass. Cleanliness keeps the ferment pleasant; pressure-safe bottling keeps it practical.
A simple first-batch path
- Begin with one jar or a few bottles rather than a full case.
- Check bubbles, aroma, and pressure each day, especially with sealed bottles.
- Write down sugar, fruit, temperature, and timing so the next batch is easier to adjust.
A gentle way to begin is a short soda-style ferment: fruit, sugar, water, and a little patience. It gives quick feedback, stays easy to clean up, and makes daily observation feel useful rather than fussy. If that process is enjoyable, ginger bug drinks add the fun of keeping a small living starter and building flavors over several batches.
When longer projects sound appealing, simple cider or a small mead can come next. Those batches ask for more waiting and a little more attention to alcohol, but they are still manageable at a small scale. Careful tasting, clean handling, and a few notes turn each batch into a clearer next attempt.

The “first batch doesn’t need to taste commercial” section was weirdly reassuring. My first tepache tasted like pineapple vinegar soda and I couldn’t tell if that was success or a crime.
Is mild vinegar flavor usually from too much time, too much oxygen, or just warm room temp? My kitchen is around 78°F most days.
A light tang can be normal, but a sharper vinegar note usually means the ferment went a bit far toward acidity. Warm temperature speeds everything up, and oxygen exposure can encourage acetic acid bacteria, which push that vinegar character.
At 78°F, I’d start tasting earlier — maybe after 24 hours for tepache — and move it to the fridge sooner if you like it sweeter and less tangy. Shorter time, less headspace, and a covered-but-not-wide-open setup can help.
I tried a ginger bug once and it got mold on day 3, which made me feel like I failed at being a pioneer grandma lol.
This post makes it sound like packaged yeast might be better for predictable timing, but then do you lose the whole “wild ferment” learning experience? I’m tempted to start with yeast just so I don’t waste more ginger and sugar.
You definitely didn’t fail — ginger bugs can be inconsistent because they depend on the microbes on the ginger, temperature, water chemistry, and feeding schedule.
Packaged yeast is a perfectly valid beginner choice, especially if you want repeatable results while learning what fermentation looks and smells like. You can always come back to wild starters later, when you’re more comfortable recognizing normal bubbles, sediment, acidity, and off smells.
For what it’s worth, filtered water helped my ginger bug a lot. Mine hated my chlorinated tap water and just sat there looking sad.
So with short soda-style ferments, are we talking alcohol or basically no alcohol? The article says variable levels, but I’m trying to avoid alcohol completely if possible.
I get that microbes do their thing, but I wish there was a clearer line for what counts as “safe for kids” or not.
That’s a fair question, and the frustrating answer is that there isn’t a perfect line without testing. Any sugar-based ferment can produce some alcohol, even if it tastes like soda.
Short ferments that are chilled early are generally lower than longer cider/mead-style ferments, but they are not guaranteed alcohol-free. If you need truly alcohol-free for kids, pregnancy, medical reasons, or recovery, I’d avoid home-fermented sugary drinks or use non-fermented flavored sparkling water instead.
I like the idea of picking based on timing instead of “easy vs hard.” I’ve been wanting to try tepache because it sounds fast, but I’m nervous about the bottle pressure part.
If I’m just using old swing-top bottles from store-bought lemonade, is that safe enough or do I need actual brewing bottles? Bottle bombs are not the beginner experience I’m looking for 😅
Good instinct to be cautious. Some swing-top bottles are pressure-rated, but many decorative or store-bought beverage bottles are not designed for active carbonation.
For a first fizzy ferment, I’d use bottles sold specifically for carbonation/beer/kombucha, or ferment in a plastic soda bottle as a pressure “gauge” while you learn the timing. Also keep batches small, burp if needed, and refrigerate once carbonation is where you want it.
I appreciate the simple setup advice. Every recipe I find online somehow turns into “buy 19 gadgets and a hydrometer or don’t even bother.”
I’m going to try a tiny batch of fruit soda first and just take notes like you suggested. Low commitment feels way less scary.
Maybe I’m missing something, but cider sounds simpler to me than soda. Juice + yeast + wait seems easier than feeding a ginger bug or babysitting bottles for carbonation.
The waiting part doesn’t bother me, cleanup does. Is cider actually more complicated, or is it only more “serious” because of alcohol?