
A first tray goes better when the seed choice feels simple, not heroic.
The seed aisle can make a tiny kitchen project feel strangely complicated: five-packet samplers, one-pound bags, “sprouting” labels, spicy blends, brassicas, peas, cress, clover. For a first order, the safer bet is usually low-friction seed—something with clear instructions, a familiar use, and enough seed to forgive a thin sowing or a patchy tray.
There is no need to chase the rarest variety right away. A small sampler helps test flavors without commitment; a single bulk crop makes repeat trays easier once a household knows it likes the taste. Boring and reliable is often more satisfying than exotic and fussy.
- Clear crop names rather than vague “chef mix” blends
- Packet sizes that match one or several trays, not a season-long commitment
- Seeds described for sprouting or microgreens, not garden transplants only


What makes a beginner seed worth buying
Packet wording deserves a quick pause. “Untreated” and “organic” are not the same promise: one speaks to seed treatment, the other to production standards. For a first order, compare what treated packet language really means and when organic labels may justify the extra cost before paying more.
Check packet size and freshness
Ordinary garden packets can look tempting, but they are often sized for a row of plants, not a full tray. A 10×20 tray may use far more seed than a packet meant for a backyard bed. Some packets may also be treated, coated, or labeled only for outdoor sowing, so it helps to check whether garden seed is suitable for trays before buying.
Freshness matters just as much as variety. Older seed may still sprout, but germination can become patchy, leaving thin spots that are hard to fix after sowing. Listings with a packed-for date, lot number, or recent harvest information are easier to trust. For stored seed, a simple germination test can show when sprouting rates begin to drop before a whole tray is risked.
Start small before buying pounds
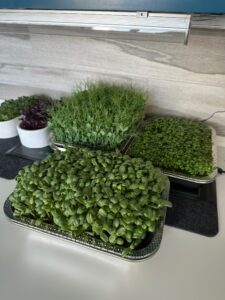
A first tray teaches more than a product description can. Flavor, stem texture, germination speed, and harvest timing all feel different once seeds are growing on the counter. That is why a small starter assortment is often a calmer first purchase than a bulk bag of one crop.
A few small packets make it easier to compare mustard’s bite, clover’s softness, cress’s quick growth, or lettuce’s milder flavor without filling a shelf with unused seed. For shoppers who want that trial-run approach, a small variety pack with familiar crops can keep the first order practical and low-stakes.
Bulk starts to make sense later, once a grower has repeated the same crop several times and still likes eating it. It also helps when the setup is predictable: the tray size is known, seeding density is dialed in, and there is a cool, dry place to store extra seed.
A simple rule of thumb:
- First order: small packets, several flavors, less waste if one crop disappoints.
- After several trays: larger quantities of the crops that actually get used.
- Only with good storage: sealed, dry, and away from heat and sunlight.
At that point, larger seed sizes that reduce cost per tray can be a sensible upgrade rather than a gamble.
Make brassicas the anchor crop
Brassicas are a sensible center for a first microgreens order because they usually germinate readily, fit standard trays, and do not need unusual soaking routines. Broccoli, cabbage, kale, mustard, and radish all sit in this family, but they do not behave exactly the same on the plate or in the tray.
For a calm first run, broccoli-style seeds are often a friendly place to start: small seed, even coverage, and a mild green flavor that blends into eggs, sandwiches, rice bowls, and soups. For more confidence-building options, the most forgiving first-tray crops are worth comparing before buying several packets.
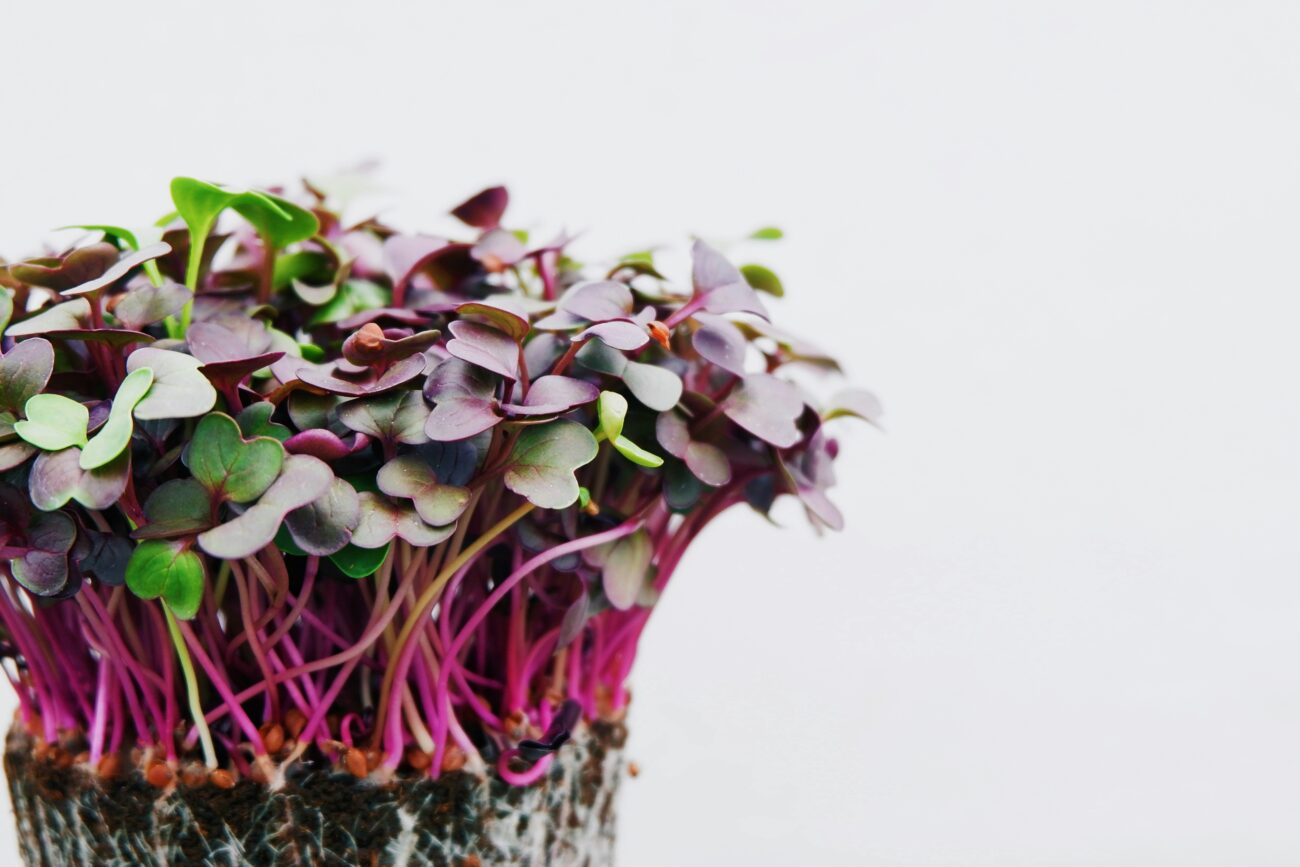
Radish is the brassica for impatience. It often pushes up quickly and gives a satisfying canopy fast, but the tradeoff is flavor: expect a sharper, peppery bite. Anyone deciding between mild dependability and speed can use a broccoli and radish side-by-side comparison to match the seed to the meal, not just the harvest date.
A practical first order could include one mild brassica and one punchier brassica. That keeps the learning curve simple while making the harvests taste different enough to notice.
Bulk-leaning broccoli seed for sprouts or trays
This 8 oz broccoli seed bag is positioned for both sprouting jars and microgreens trays, which makes it flexible for a beginner who may want to try more than one method. The listing notes non-GMO heirloom Brassica oleracea seed, USA sourcing, and high germination, with sprouts marketed for harvest in about five days.
The size is more than a tiny trial packet, so it suits someone fairly sure broccoli will be a repeat crop. Store it dry and sealed between trays.

Buy for the bowl, not just the tray
A full, healthy tray can still feel like a miss if its flavor does not fit the meals it is meant to join. For a first order, it helps to picture the harvest on an actual plate: tucked into sandwiches, scattered over eggs, folded into salads, or used as a sharp garnish.
Milder crops are usually easier to use often. Broccoli, cabbage, kale, pea shoots, and many sunflower greens tend to blend into everyday food without taking over. For households that avoid bitey greens, gentler microgreens worth considering can make the first tray feel more like a useful ingredient than a novelty.
Radish and mustard are different. They grow quickly and can be satisfying, but their peppery snap is hard to ignore. Anyone curious about heat may prefer a small packet or variety pack first, then compare peppery options by intensity before buying more.
Add peas and sunflower after the first easy greens
Pea and sunflower are friendly early crops, but they do not behave like broccoli, cabbage, or radish. The seed is much larger, so trays feel more like growing shoots than a carpet of tiny greens. A short soak is commonly used to wake the seed, and the sowing rate is heavier because each seed takes up more space.
Peas tend to make tall, tender stems with a sweet crunch. They are often harvested a little later than brassicas, when the shoots have leaves and sometimes small tendrils. For a closer look at types that stay pleasant to eat, see pea varieties grown for tender shoots.
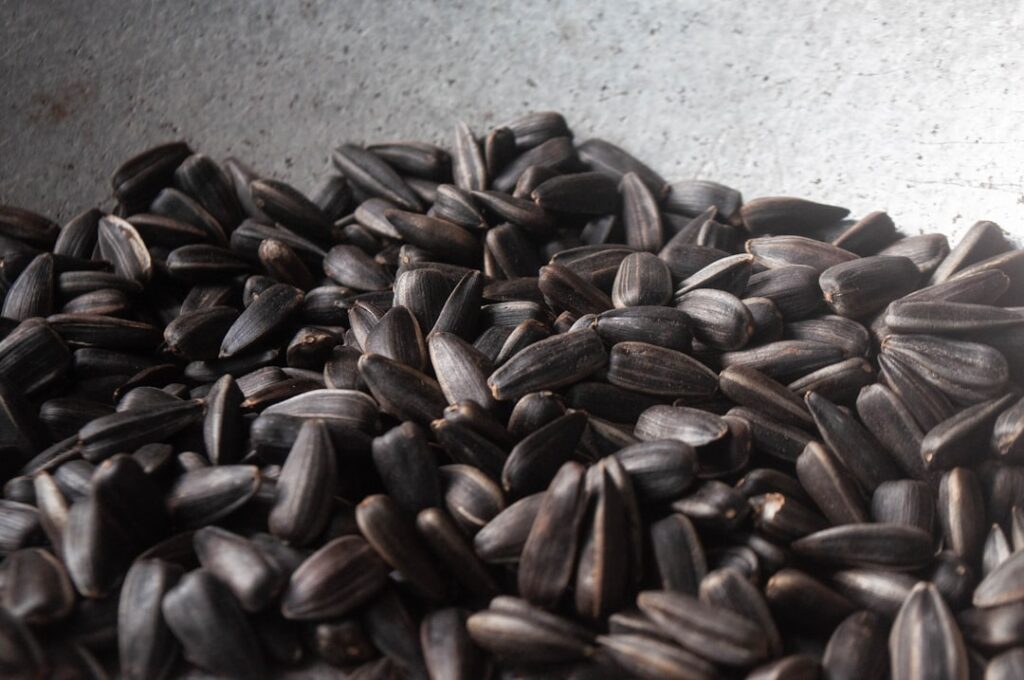
Sunflower brings a nuttier bite and thicker stems, but the hulls can be messy. Some cling to the leaves and need brushing away before harvest, which is why seed type matters; black oil and hulled sunflower options are worth comparing before buying a bag.
For both crops, dense sowing helps create straight shoots, but airflow still matters. If trays smell sour or stay soggy, the seed layer is probably too wet or too crowded.
1 lb split into four 4-oz packs
These organic speckled pea seeds are packaged for microgreens and marketed for quick, vigorous shoots, with a typical harvest window of about 7–14 days. The four smaller inner packs can be handy for beginners who want a pound on hand without opening it all at once.
Speckled peas are a good fit for crunchy, shoot-style harvests rather than tiny leaf microgreens.
Save fussy favorites for later
Some seeds look irresistible in a catalog but ask for a little more timing and tray confidence. Basil, chia, and flax can form a gel-like coating when wet, so they often need lighter watering and closer attention than broccoli or radish. A short detour into seeds that turn sticky when soaked can explain why they behave differently.
Cilantro, beets, and amaranth are appealing too, but they can be slower, patchier, or more sensitive to sowing depth and moisture swings. None of these are “wrong” beginner purchases. They are simply less forgiving while a grower is still learning how damp the pad should feel, how much seed covers a tray, and when to uncover seedlings.
A practical first order can include one curiosity crop, as long as the main trays are built around easier greens. That keeps the experiment fun without making the whole harvest depend on a trickier seed.
Choose one fussier seed in a small packet, not a large bag. Treat it as practice rather than the crop that has to carry the first harvest.
What to check before adding seeds to the cart
-
Name the crop clearly
A useful listing says exactly what is inside: broccoli, radish, pea, sunflower, or a named mix with its ingredients. Vague labels such as “salad greens” make it harder to predict flavor, timing, and sowing density.
-
Confirm it is meant for microgreens
Seeds sold for sprouting or microgreens are easier to judge than ordinary garden packets. The listing should mention tray growing, shoots, or microgreens rather than only outdoor planting.
-
Look for untreated seed
For tray-grown greens, the packet or listing should plainly say untreated. Avoid anything described as coated, pelleted, fungicide-treated, or chemically treated.
-
Compare the actual weight
Check grams or ounces, not just “small” or “large.” Tiny packets can disappear in one tray, while larger bags make sense only after a crop has already earned repeat space.
-
Read the date and germination clues
Helpful sellers list a packed-for date, lot number, germination rate, or recent test date. Missing dates are not always a problem, but fresher details make the purchase easier to trust.
-
Check for growing guidance and seller details
Good listings include basic soak notes, sowing density, blackout timing, and harvest window. A clear business name, contact route, and return or issue policy add confidence.
If two listings look similar, the clearer one is often the safer beginner pick. Plain crop names, untreated status, seed weight, and basic tray instructions matter more than glossy photos or big yield promises.
A simple first-order rule
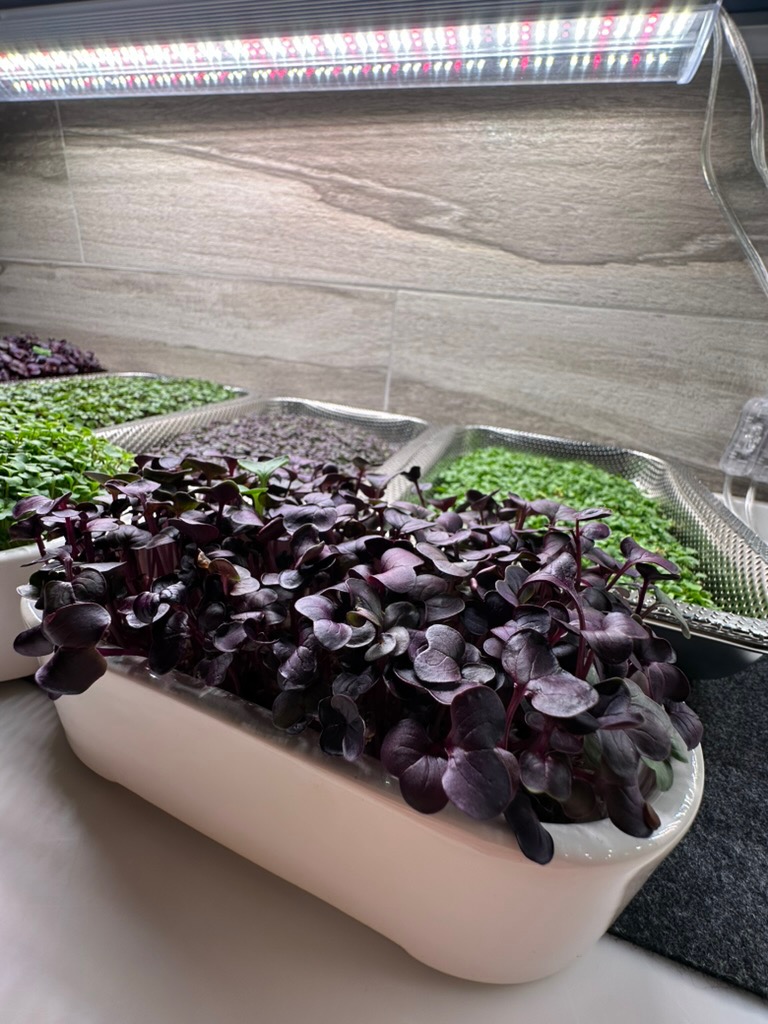
For a first microgreens order, a calm cart often works better than a crowded one: one reliable tiny-seed crop such as broccoli, radish, kale, or mustard; one clear flavor contrast such as a peppery radish or mellow brassica; and at most one experiment that looks fun but may need extra attention.
After the first few trays, brief notes matter more than memory. Jot down sowing amount, blackout time, harvest day, flavor, and any mold or hull trouble. Reorder the seeds that earned repeat space, then consider larger bags only when a crop has become a regular.