
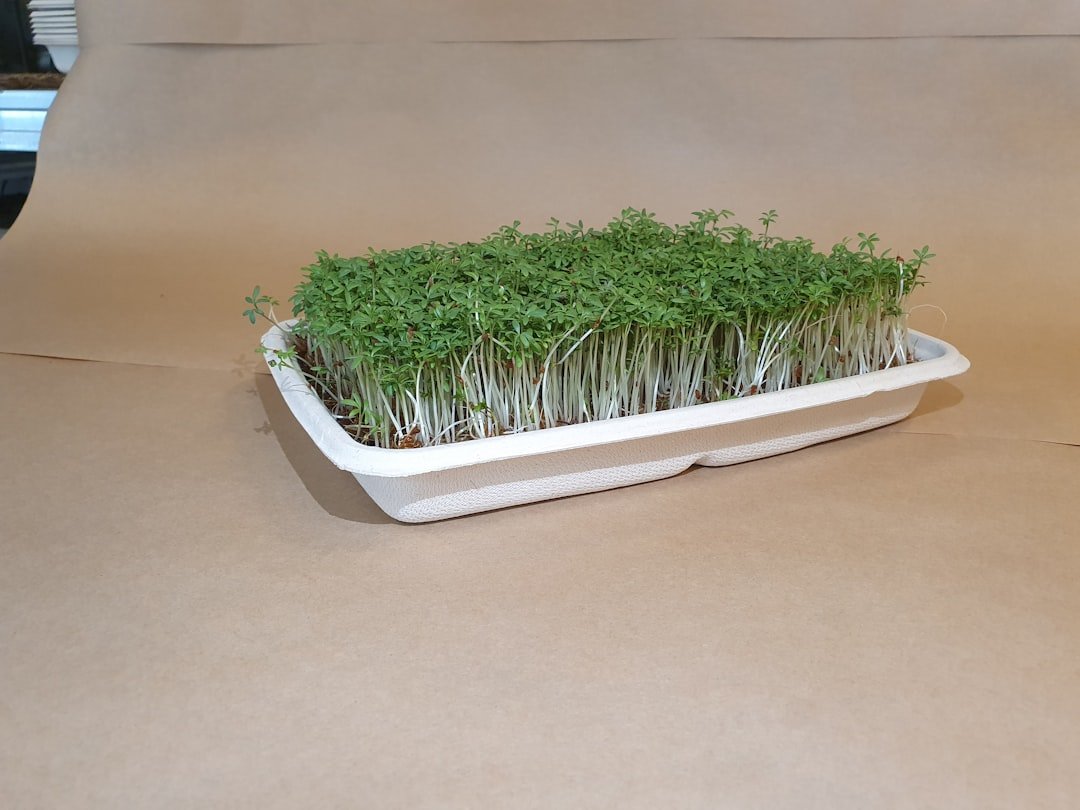
The harvest may be over, but the trays still tell the story.
After I snip a tray and pack the greens away, it still looks unfinished: damp roots clinging on, seed hulls tucked into the corners, and sometimes that faint stale smell. That in-between stage used to make me think I needed some big deep-clean routine.
I really don’t. For me, this is just a simple reset so the next sowing doesn’t start in yesterday’s leftovers. Once I’m done keeping harvested microgreens clean in storage, I come back to the trays, clear the obvious mess, and give everything a quick, practical refresh—clean enough to start over, not lab-perfect.
I reset trays while everything is still soft
-
I start as soon as I harvest
If I leave a used tray on the bench, the wet root mat starts drying into a stubborn layer. Doing a two-minute reset right away usually saves me a much longer scrub later.
-
I peel out the roots and loose hulls
Most of the mess lifts out in one clump if I catch it early. I shake off whatever releases easily instead of grinding it into the plastic.
-
I give the tray a fast rinse
I run water over the top, flip it, and rinse the underside too. Fresh residue slides away quickly; dried-on film tends to hang around in streaks and corners.
-
I swipe the edges and drain grooves
A soft brush or cloth helps me catch the bits that like to hide around the lip and in shallow channels. Those little leftovers are what seem to hold onto odor if I ignore them.
-
I let it drain before the full sanitize step
Once the tray looks cleared of obvious debris, I set it aside to drip dry or move on to my regular sanitizing routine. The main win here is simple: soft mess is easier to remove than baked-on mess.
Why I scrub first, then sanitize
If a tray still has stuck-on roots, seed hulls, or that slightly slimy film, I don’t expect a sanitizer to do much. In my experience, sanitizing works after the obvious mess is gone, not through it. Dirt and plant residue can act like a little shield, keeping the solution from really contacting the plastic.
That is why I treat cleaning and sanitizing as two separate jobs:
- Cleaning removes visible debris and residue.
- Sanitizing comes afterward, once the surface is actually exposed.
Where grime likes to hide
On hobby trays, the problem spots are usually the small features, not the wide flat bottom. I pay extra attention to:
- Corners and seams where root bits collect
- Drain holes that hold pulp and seed husks
- Ridges or channels in the base
- Tray lips and undersides where splashback dries
- Scuffed areas that seem to hang onto residue a little more
If I can still feel a slick patch with my fingers, or see a faint line of brownish buildup around a corner, I keep cleaning. I’m not aiming for perfection, just a surface that looks and feels plainly clean. Once I get to that point, sanitizing seems a lot more worthwhile.
My simple sanitizer step
Once the tray is fully scrubbed and rinsed, I do a pretty plain sanitize-and-wait step. I’m not trying to collect trendy products here. I just want something made for hard, non-porous surfaces, and if it may touch growing gear, I pay attention to whether the label says it’s appropriate for that kind of use.
What I actually look for
What matters most to me is the label, not the hype:
- the correct dilution
- the stated contact time
- whether it needs a rinse after use
- any basic safety notes, like ventilation or gloves
That part changed my routine more than any specific brand ever did. A product can sound strong or “clean,” but if I guess at the mix or wipe it off too fast, I’m not really using it as intended.
I usually spread or spray it evenly, make sure the tray stays wet for the full time on the label, then rinse if the directions call for it. After that, I let the tray dry well before stacking or replanting. It’s a modest routine, but it feels consistent and easy to repeat.
I try not to improvise with sanitizer strength or mix products together. In my experience, following the directions is more useful than assuming stronger, smellier, or pricier means more effective.
How I make the sanitizer actually reach everything
-
I start lighter than looks necessary
I spray a thin, even coat first so I can see where it lands. If I flood the tray right away, it can look covered while the upper lip and sidewalls still have dry patches.
-
Then I work the rim and corners on purpose
I tilt the tray and run the spray or cloth slowly around the edges, corners, and that little ledge where bits like to hang on. Stack marks and scuffs get an extra pass because droplets often skate right over them.
-
Drain holes get their own attention
I angle the tray so sanitizer moves through each hole instead of just pooling above it. That small habit seems to help with preventing water issues in trays later, since leftover film is less likely to interrupt drainage.
-
I spread beads into the hidden spots
If the sanitizer sits in round droplets, I use a clean cloth or soft brush to pull it into grooves, corners, and along the bottom ribs. I’m not scrubbing hard here; I’m just making sure the liquid actually touches the surface.
-
I do one last eye-level check
A quick look usually reveals a missed strip near the handles or a dry corner near the base. When those tucked-away spots get covered too, the next batch tends to drain cleaner and come in a little more evenly.
I let the sanitizer finish the job
The part I used to rush was contact time. If the label says a minute or two, I actually set a timer and keep the tray visibly wet for that whole stretch. A quick spray-and-wipe can look clean, but it may not count as a full sanitizing step.
A few habits help me avoid cutting corners:
- I re-spray spots that dry too fast
- I flip the tray if the underside needs the same wait time
- I check whether the product says rinse or no-rinse
If a rinse is required, I do it well and then move on to the final step: full drying. I let trays air-dry completely before stacking or seeding again, especially around rims, corners, and drain holes.
That dry-down seems small, but for me it has made reuse feel more predictable. A tray that is clean and fully dry simply starts the next batch on a calmer note.
When I stop reusing a tray
Once a tray is fully dry, I switch from cleaning mode to inspection mode. A little staining usually doesn’t bother me, but wear that changes the surface does. Even with trays made for many harvest cycles, I get less confident when the plastic stops feeling smooth and stable.
The signs I watch most are:
- deep scratches that stay dark after washing
- warping that keeps the tray from sitting flat
- rough, chalky plastic that seems harder to clean
- hairline cracks near corners or drain holes
- odor that lingers after a full wash and dry
For me, durability stops being worth another round when a tray looks clean but no longer feels dependable. If roots can snag, water can pool oddly, or a corner seems ready to split, I retire it. I’d rather replace one tray a little early than wonder about it through the next batch.
My between-batches tray reset
-
Knock out the leftovers
Right after harvest, I shake out roots and hulls, then give the tray a quick rinse while everything is still soft.
-
Scrub the hiding spots
I wash with soap and a brush or cloth, paying extra attention to corners, ribs, drain holes, and the lip before rinsing clean.
-
Sanitize with full coverage
I apply diluted sanitizer so the whole tray stays wet for the label contact time, including scuffs and edges.
-
Rinse if needed, then air-dry
If the label says to rinse, I do that next, then let the tray dry fully before stacking or sowing again.
-
Finish with a dry-tray check
Once dry, I do a quick smell-and-surface check. If I notice rough plastic, cracks, or lingering odor, I set that tray aside.
If a tray still smells off after a normal wash-and-sanitize cycle—or if mold keeps showing up again—I take that as a sign to look beyond the scrubbing. Standing water, weak airflow, old media, or a worn tray can all contribute. Extra elbow grease can remove residue, but it usually will not fix a broader growing issue by itself.
What helps me most is treating cleanup like a short reset, not a big project: clear debris, wash, sanitize, dry, and check. That keeps the routine repeatable and makes it easier to notice when the tray is not the real problem.

Good article overall, but I still think a lot of growers overdo sanitizer strength. More is not always better.
The bit about label fit, dilution, and contact time was honestly the most useful section here because most posts skip that and just say “use something strong.” That’s how people end up with residue issues or weird tray smell after.
I agree. Using more than the label calls for usually doesn’t improve the result, and it can create new problems instead.
That’s why I focus on matching the product to the job and then actually following the dilution, contact time, rinse directions, and drying steps.
Yep. I learned this the hard way. Stronger mix just made me feel productive while probably doing nothing helpful 😂