
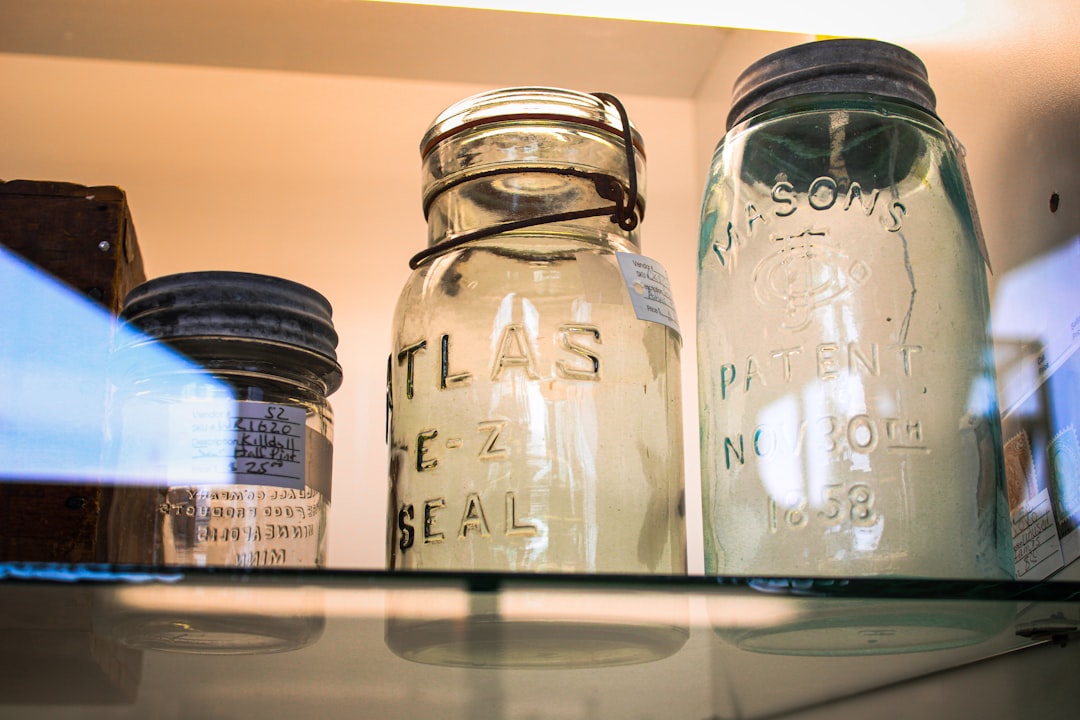
That empty jar on the shelf might be closer to useful than it looks.
A clean quart Mason jar in the cupboard seems ready for anything—pickles, jam, leftovers, dry beans. Fermentation is different. Cucumbers, cabbage, or fruit in brine are still alive with activity: bubbles form, liquid rises, and pressure can build if gas has nowhere to go.
So yes, a Mason jar can often serve as a fermentation vessel, especially for small kitchen batches. The shift is in how it is treated. It needs headspace, a way for gas to escape, and sometimes a weight to keep food under the brine. A tightly sealed lid turns a handy jar into a little pressure trap; a loosely managed setup turns it into simple, workable fermenting gear.
- Leave roughly 1 inch / 2.5 cm of headspace for foaming and expansion.
- Wide-mouth jars are easier to pack, weigh down, and clean after an active ferment.
Mason jars are a solid fit for simple vegetable ferments
- Good starter jars A clean, intact Mason jar can work well for small batches of lacto-fermented vegetables such as sauerkraut, carrot sticks, radishes, or cucumber slices. These ferments are usually forgiving and easy to watch through the glass.
- Condition matters The jar still needs to match the job. Chips on the rim, hairline cracks, rusty lids, or odd sizes that make weighing vegetables difficult can turn a handy jar into a frustrating one.
- Not universal Simple brined vegetables are the practical sweet spot. Bigger, messier, or more active ferments may need more headspace, heavier weights, or a container designed to handle bubbling and overflow more comfortably.
- Keep it simple For beginners, the easiest path is a small batch, chopped or sliced vegetables, enough brine to cover them, and a way to keep everything submerged while gas escapes.
How to tell whether a Mason jar is ready for a ferment
-
Food-safe glass
A real canning jar or food jar is the safest starting point. Decorative glass can be hard to verify and may not be meant for acidic, salty foods.
Look forCanning-style glass with no odd coatings or paint insideAvoidVases, candle jars, or mystery glass with unknown use -
Clean rim and intact glass
Small chips can hide on the lip where the lid sits, and cracks may spread under pressure or temperature changes. A fingertip run around the rim often finds damage eyes miss.
Look forSmooth rim, clear sides, and a solid bottomAvoidChips, star cracks, rough lips, or cloudy etched damage -
Manageable size and mouth
Pints and quarts are easy for test batches and fit common weights. A wide mouth makes packing vegetables, adding a weight, and cleaning simpler.
Look forPint or quart jars, preferably wide-mouthAvoidVery tall, narrow jars that are hard to pack or weight -
Easy to clean thoroughly
Ferments reward jars with simple shapes and no hidden residue. Old odors, sticky labels near the rim, or dried food in threads can make cleaning frustrating.
Look forClear glass, clean threads, and no lingering smellAvoidResidue in grooves, stubborn odors, or dirty lid threads
The pressure problem
The bigger concern with a Mason jar ferment is usually not the glass itself. It is trapped carbon dioxide. As lactic acid bacteria become active, they produce bubbles; if the jar is sealed tight, pressure can build under the lid.
That pressure may push brine out, warp a metal lid, or in uncommon cases stress the jar. A jar with a loose lid gives gas a path to escape while still helping keep dust and insects out. Some fermenters use the original lid screwed on only until it just catches, not cranked down.
Another common approach is burping: briefly opening the jar once or twice a day during the most active bubbling stage. This releases gas and offers a quick look at the brine level. It can be a little messy if the jar is overfilled, which is why headspace matters.
Venting lids and simple airlock tops make the process more hands-off. They let carbon dioxide escape while limiting fresh air coming back in. For anyone comparing options, the question of whether Mason jars need an airlock mostly comes down to batch size, activity level, and how often the jar can be checked.
A bubbling ferment is not the same as shelf-stable canned food. During active fermentation, a fully tightened lid can trap gas and create pressure. A loose lid, regular burping, or a venting lid can help keep pressure from building.
Which ferments fit a Mason jar?
Mason jars are usually easiest to work with when the ferment is small, wet, and not especially fizzy. Shredded cabbage, carrot sticks, cucumber spears, radishes, jalapeños, and garlic in brine are common examples. These foods can stay tucked under liquid, leave a little headspace, and release gas at a manageable pace.
A jar is less convenient when the ferment is vigorous or meant to build carbonation. Ginger beer, water kefir, kombucha second ferments, and other bubbly drinks can create pressure quickly, especially if the lid is tight. They often do better with equipment chosen for carbonation, or with extra attention to venting and safe handling.
Size matters, too. A quart jar can be handy for testing a recipe, while a large cabbage harvest may be easier in a crock, bucket, or other wide vessel that gives room for weights and overflow.
A Mason jar is a good candidate when the project has:
- Enough brine to keep food submerged
- At least 1 inch of headspace
- Modest bubbling rather than rapid foaming
- A lid setup that can release gas
- A batch size small enough to monitor easily
A simple Mason jar ferment setup
-
Use a clean, intact jar
-
Pack vegetables firmly
-
Add brine if needed
-
Leave headspace
-
Keep everything submerged
-
Plan gas release
Use a loose lid, regular burping, or a vented lid so carbon dioxide can escape.
A tested beginner recipe still helps: vegetable type, salt level, and room temperature affect timing when learning to ferment vegetables in jars.
Comparing fermentation lids
Clean Food Living compares fermentation lid styles and test results, useful when choosing how a Mason jar will vent during an active ferment.
The small battle with floaters
A Mason jar can look neatly packed at first, then a few cabbage shreds, pepper seeds, or herb bits drift to the top by the next day. Those little floaters are often where trouble starts. Brine protects the vegetables by limiting oxygen, while exposed pieces can collect surface yeast or fuzzy mold more easily.
A purpose-made glass or ceramic fermentation weight is the tidiest fix, especially for wide-mouth jars. It sits directly on the vegetables and keeps them under the brine without taking up much room. More ideas for keeping vegetables submerged with weights can help when jar size or vegetable shape makes packing awkward.
Household workarounds can also help, but they need a little caution. A small clean jar that fits inside the mouth, a food-safe glass ramekin, or a sealed brine-filled bag can press the vegetables down. The object should be clean, non-reactive, and easy to remove.
A simple habit helps too: trim stray bits from the jar walls before closing it, and leave enough brine to cover the weight. If pieces keep escaping, smaller cuts may need firmer packing, while larger wedges may need a heavier weight.
Weights work best when the top of the vegetables and the weight itself stay under brine. If the brine level drops during active bubbling, a small splash of matching salt brine can restore coverage.
Myths that cause most Mason jar ferment problems
An active ferment needs a way for gas to escape, whether through a loose lid, regular burping, or a vented top.
Carbon dioxide builds as fermentation gets going. A sealed jar may leak, bulge at the lid, or in uncommon cases crack from pressure.
A little headspace is useful, especially once bubbles start lifting brine and vegetables.
Overfilled jars often overflow onto the counter or push brine into the lid. That mess can expose vegetables above the liquid and make the surface harder to judge.
Chips on the rim, cracks in the glass, rusty bands, or lids that no longer sit evenly are good reasons to pick another jar.
Small damage can interfere with venting, make cleaning harder, or create weak spots under pressure. A spare intact jar is usually less trouble than nursing a questionable one.
A thin pale surface film can be kahm yeast, which is common on oxygen-exposed brines, while fuzzy mold, pink or black patches, rotten smells, or slimy textures are stronger warning signs.
Surface issues often start where pieces float above the brine. When spoilage signs are obvious or the smell seems putrid rather than tangy, discarding the batch is commonly the cautious home-kitchen choice.
Early bubbling can push brine out even when the jar is not overfilled. Setting the jar on a plate, tray, or shallow bowl catches overflow and keeps salty liquid off shelves and counters.
After overflow, the jar rim and outside can be wiped clean while leaving the vegetables submerged and the venting method in place.
When upgrades start to make sense
A plain Mason jar setup can carry many early batches. Upgrading starts to feel worthwhile when fermenting becomes regular, or when the jar needs daily attention just to stay tidy and safe from pressure buildup.
Small accessories mainly buy convenience and consistency. Fermentation lids or airlocks can make venting more hands-off. Glass weights can keep shredded cabbage, herbs, and pepper pieces below the brine with less fuss. Wide-mouth jars, funnels, and tampers can also make packing and cleanup easier.
These extras are not a requirement for a first sauerkraut or pickle jar. They simply reduce the little chores that repeat with every batch. For a broader look at useful add-ons, see beginner-friendly fermentation equipment before buying more than the kitchen will actually use.
How fermentation jars differ from ordinary Mason jars
Ordinary Mason jars are general-purpose canning and storage jars. They work well for many small ferments because they are sturdy, easy to find, and simple to clean. Their main limitation is that the lid was not designed to manage active fermentation gas on its own.
Fermentation-specific jars and lid systems usually add small conveniences: airlocks, silicone valves, fitted weights, wider mouths, or shapes that make packing easier. These reusable jars made for fermentation can make batches feel less fussy, especially when jars are used every week.
That does not make cupboard Mason jars a mistake. It only means upgrades can offer more consistency and peace of mind once fermenting becomes a regular habit.
The simple Mason jar rule
A Mason jar already in the cupboard can be a perfectly reasonable fermenting vessel when the basics line up: the glass is undamaged, the jar is clean, the batch size leaves headspace, gas has a safe way out, and the food stays below the brine. For many small vegetable ferments, that is enough to get started without buying a dedicated crock or jar system.
A more specialized setup starts to make sense when the ferment is especially bubbly, meant to carbonate, too large for easy control, or likely to be ignored for stretches. In those cases, better venting, sturdier capacity, and easier submersion are not fancy extras; they simply make the process easier to manage.

The floaters section hits home. I’ve had tiny pepper seeds keep floating above the brine even with a glass weight, and then I start second guessing whether the whole jar is doomed.
Is it enough to skim them off if they look clean, or should any exposed bits mean tossing the batch? I feel like some guides make it sound like one rogue carrot shred = instant botulism, which seems… dramatic.
A few tiny floaters don’t automatically ruin a batch. If they’re clean-looking and you catch them early, skimming them out is usually fine.
The bigger concern is anything exposed long enough to grow fuzzy mold, develop unpleasant smells, or create obvious spoilage. Botulism is not the typical concern in properly salted, acidic lacto-fermented vegetables, but mold and yeast growth on exposed pieces can still be an issue. Keeping everything submerged just reduces that risk.
Pepper seeds are the worst for this. I started putting chopped peppers in a little cabbage leaf “cap” under the weight and it helped a lot. Not fancy, but neither is chasing seeds with a spoon every morning.
I appreciate the distinction between veggie ferments and fizzy drinks. I once tried ginger bug soda in a regular Mason jar and it was basically a countertop grenade waiting to happen.
Would you say anything carbonated should just skip Mason jars entirely, even with burping, or is it mostly about not sealing them tight?
If a Mason jar lid is left just finger-tight, is that usually enough for sauerkraut, or does it still need daily burping?
I get the pressure warning, but I’m also trying not to invite fruit flies to the cabbage party 😅
For sauerkraut, a finger-tight lid often works if the jar has enough headspace and the ferment isn’t especially vigorous. That said, I’d still check it daily for the first few days, because that’s when CO2 production is strongest.
If fruit flies are a concern, a fermentation lid or airlock is the tidier option. A loose lid can work, but it’s less “set it and forget it.”
I do finger-tight lids with kraut all the time, but I put the jars on a plate because overflow is basically guaranteed at least once. Learned that after salty cabbage juice ran behind my toaster… not my finest moment.
What about reusing older jars that were previously used for tomato sauce canning? The rims look fine to me, but some of them have that faint cloudy film that never totally goes away.
Would that count as not “thoroughly cleanable,” or is cosmetic cloudiness okay if there are no chips or cracks?