
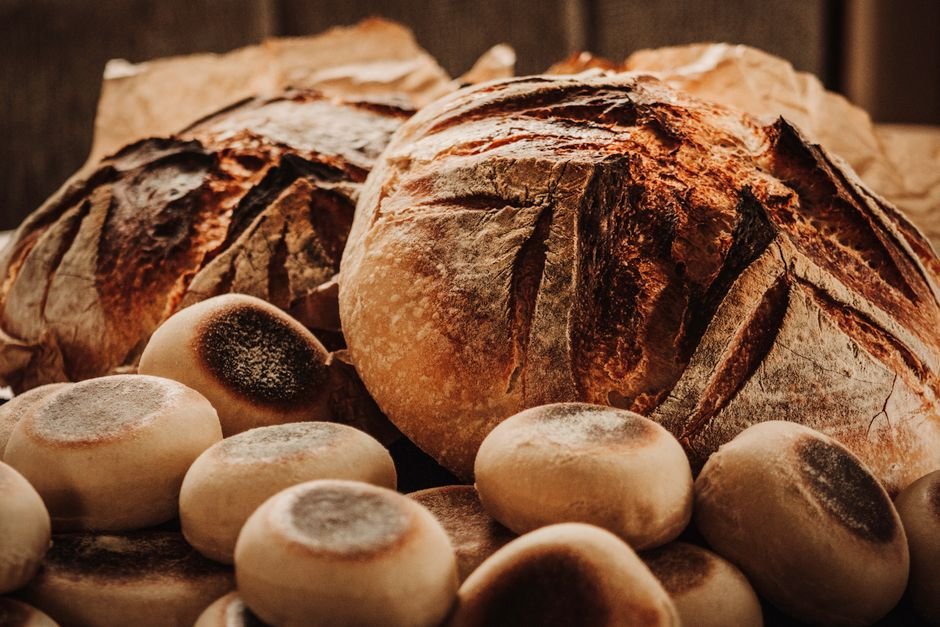
Your first loaf only has one job: get you to loaf number two.
You pull up a sourdough recipe and suddenly there are charts, percentages, Dutch ovens, and someone folding dough at midnight. I’ve been there, staring at my starter like it’s a lab project. If that sounds familiar, it helps to shrink the goal.
For a first bake, I’m not chasing an open crumb or a bakery-worthy ear. I just want a loaf I can mix, bake, slice, and learn from. Finishable beats impressive at this stage, because one small win builds confidence to try again without turning bread into homework.
Why this recipe feels doable
What makes this loaf easier, in my experience, is that it cuts down the variables. There is no chasing tiny timing windows or obsessing over perfect shaping from the start. If I can mix, wait, and notice a few clear signs, I can usually get through it.
I treat the clock as a guide, not a referee. A dough that looks a little puffier, feels smoother, and jiggles slightly usually tells me more than a strict minute count. That is the spirit of this beginner sourdough bread guide: useful cues first, precision second.
The signs I pay attention to are simple:
- The dough has relaxed after mixing and is easier to handle.
- It rises noticeably, even if it does not double.
- The baked loaf sounds a bit hollow and feels lighter than before it went in.
The goal here is not a glossy bakery boule with dramatic ears. I am aiming for a loaf that is rustic, nicely browned, and good enough to slice proudly at home. If it tastes great and holds together, I count that as a real win.
What I pull together first
Before I mix anything, I set out a few basics. I like this part because it proves I do not need a bakery-style kitchen to make a solid first loaf.
- Must-have ingredients: active sourdough starter, flour, water, and salt.
- Flour note: bread flour can give a bit more chew, but all-purpose flour can still work well for a beginner loaf.
- Must-have tools: a large bowl, something to stir with, a towel, and a lidded pot or other baking vessel.
- Easy swaps: a bowl lined with a floured towel can replace a banneton; a sharp knife can replace a lame; damp hands or a spatula can stand in for a bench scraper.
Nice-to-haves can make things smoother, but they are not what makes bread happen.
- Helpful extras: a kitchen scale, parchment paper, and a Dutch oven.
- If I only have measuring cups: I can still start; a scale just tends to make repeats easier.
Check the starter first
Before I mix anything, I look at the starter. A young or sleepy starter can still make bread, but it often turns the day into a long wait and a heavier loaf.
I like to make sure my starter is truly ready: it has doubled, or close to it, looks slightly domed on top, and shows bubbles up the sides. A spoonful should seem airy rather than gluey, and the smell should be pleasantly tangy, not harsh.
If those signs are only halfway there, I usually give it one more feeding and wait. That little pause often makes the rest of the bake feel much easier.
A starter that rises slowly today may be much stronger after one more feeding.
I mix the dough, then let the dough do some of the work
-
Stir the starter into the water first
I like to whisk the starter into the water before adding flour and salt. It does not need to look perfectly smooth, but I want it mostly broken up so I do not end up chasing thick starter streaks later.
-
Mix until no dry flour is hiding
Once the flour and salt go in, I stir until I have a rough, shaggy dough. It usually looks lumpy and a little messy at this stage, which is completely normal; I just make sure the bottom of the bowl is not holding dry patches.
-
Give it a short rest
After mixing, I leave the bowl covered for about 20 to 30 minutes. This small pause makes the dough feel less stiff and easier to handle, even before I do anything else.
-
Do one or two gentle folds
With damp hands, I lift one side of the dough and fold it over itself, then turn the bowl and repeat a few times. I am not looking for a perfect shape here; I just want the dough to start feeling a bit smoother and slightly springy instead of slack and pasty.
-
Watch for early fermentation, not a dramatic rise
Over the next couple of hours, I look for small changes: the dough may spread less, hold a softer rounded shape, show a few bubbles at the edges, and feel lighter when I touch it. It might not double, and that is fine; visible puffiness and a little liveliness are enough to tell me it is moving in the right direction.
If the room is cool, these changes can take longer. I usually trust the dough’s look and feel more than the clock.
Neat helps; perfect doesn’t matter
-
Turn dough onto flour
-
Tuck edges under
-
Proof 1–2 hours at room temperature
-
Or chill overnight
Gentle shaping confidence
The Sourdough Lady shows a beginner-friendly dough that stays manageable through shaping and proofing.
I bake by watching the loaf, not just the clock
-
Preheat until the pot is fully hot
I give the oven and Dutch oven plenty of time to heat through. A properly hot pot usually gives better oven spring and helps the loaf set before it has a chance to spread.
-
Load the dough and cover it
I tip the loaf in carefully, score it, and put the lid on. The covered part is where I expect the loaf to expand and open along the cut rather than brown much.
-
Uncover when the loaf has lifted
After the first stretch of baking, I look for visible rise, a fuller shape, and a score that has opened. Then I remove the lid so the crust can dry and take on color.
-
Trust color and structure
I keep baking until the crust looks deeply golden to brown, not pale beige. The loaf should feel lighter than it looks, and the sides should seem set rather than soft or damp.
-
Cool longer than feels necessary
I move the bread to a rack and leave it alone until it is at least warm, not hot. Cutting too early can make the crumb seem gummy even when the loaf was baked through.
If I’m unsure, I give it a few extra minutes. Slightly darker crust is usually easier to live with than an underbaked center.
I still tap the bottom sometimes, but I trust color, lift, and a firm crust more. Sound alone can be vague, especially on a small or very fresh loaf.
If the first loaf goes sideways
Why did my loaf stay dense?
A sleepy starter is a common reason. Next time, give it an extra feeding and mix the dough when it’s at its highest, puffiest point.
Why did it spread instead of rising up?
It may have proofed a little too long. A modest fix is shaping gently, then baking sooner while the dough still feels slightly springy.
Why is the middle gummy?
Often, it was sliced before it fully cooled. Letting the loaf cool all the way can help the crumb finish setting.
Why is the crust pale?
Usually, it just needed a bit more uncovered time. I keep baking until the color looks deeply golden rather than lightly tan.
- One small note per loaf gives me a clearer next move than guessing.
- A loaf that tastes good, even if it looks rustic, still proves the process is working.
I try to match each disappointment with one likely cause and one small change, not a total reset. That keeps the next bake calmer and much easier to learn from.
If I write down what I noticed — slow rise, sticky dough, pale crust — repetition starts turning into skill. An imperfect loaf still counts, because finishing it means I’m already building the habit that makes the next one better.

I had a rough first go, but the troubleshooting section kept me from throwing the starter in the trash.
My dough barely puffed during fermentation, and the loaf baked up dense. Reading the bit about the starter maybe needing an extra feeding made sense because mine had been in the fridge a while and looked active-ish but probably wasn’t truly ready.
Fed it twice the next day, waited for a better rise with that airy texture you described, and second loaf was much better. Still rustic in the “charming rock” category, but edible and improving.
“Charming rock” is a very real stage of sourdough, so you’re in good company. A sluggish starter after fridge time is one of the biggest reasons a first loaf turns out dense, even when everything else is mostly fine.
That second-attempt improvement is exactly why notes and repetition matter so much. Once the starter is consistently peaking well, the dough usually becomes much easier to read.
I liked the realistic expectations section. Too many beginner recipes say “easy” and then immediately tell you to maintain three temperatures, do four folds on a schedule, and own special baskets.
Using cups and a knife and just a normal pot felt way more doable.
Question about the starter check: mine doubles, has bubbles on the sides, and smells pleasantly tangy, but the top doesn’t always dome much. Is that still considered ready, or is the dome a must-have sign?
I gave it an extra feeding like you suggested and it improved, but I’m still second-guessing myself every time.
Yes — a pronounced dome is helpful, but it’s not required every single time. If it’s rising well, showing side bubbles, feels airy inside, and smells mildly tangy rather than harsh or flat, it can absolutely be ready to use.
Different jars, room temps, and hydration levels can make the dome less obvious. When in doubt, using it a little before peak collapse is usually a better target than chasing one perfect visual cue.