
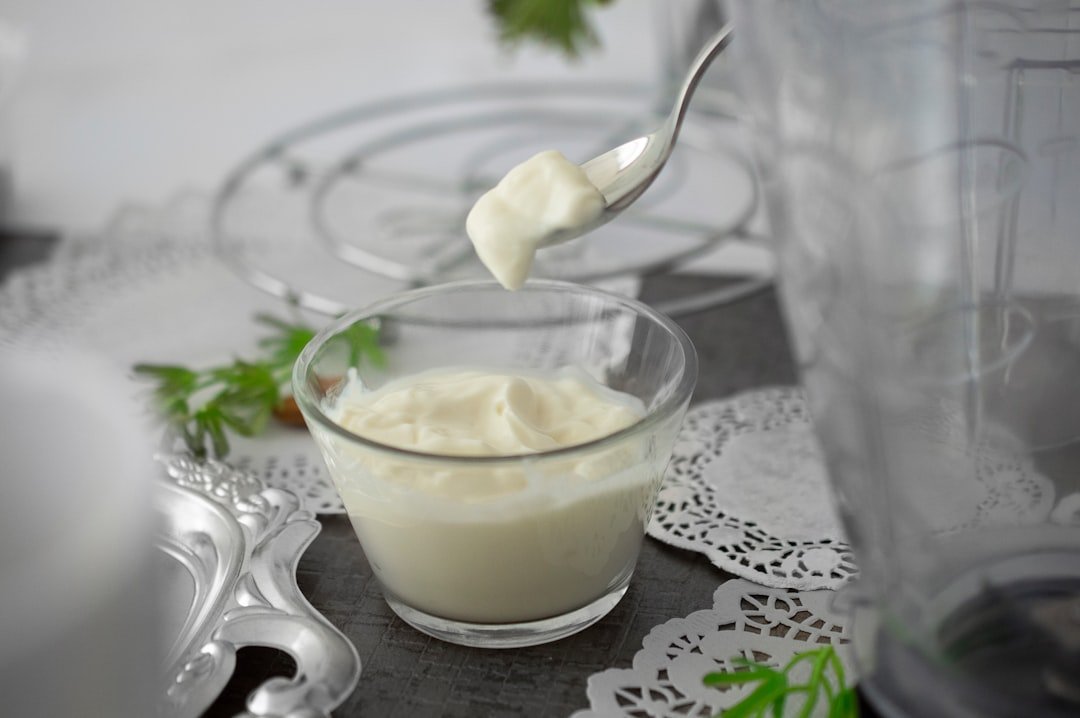
A soft set can still turn into something thick, tangy, and very worth keeping.
You lift the lid, dip in a spoon, and the yogurt slides instead of mounding. I’ve had that moment too, and it usually looks more disappointing than it really is. If it smells clean and pleasantly tangy, a loose batch often means the yogurt set lightly—not that it failed.
That’s actually great news for Greek yogurt, because straining is the step that does most of the thickening anyway. Instead of swapping cultures, changing milk, or starting over with a new method, I usually treat a thinner batch as a perfectly workable starting point. Once some whey drains off, the texture can turn rich surprisingly fast, and the flavor often becomes a little more concentrated too.
What Greek yogurt really is
Greek yogurt is simply regular yogurt with some of its whey strained off. If I start with a regular homemade yogurt batch that has set reasonably well—even if it seems a little loose—I can often turn it into something much thicker with one extra step.
What changes after straining is mostly texture and concentration. The yogurt becomes denser, creamier, and a bit richer-tasting because less liquid stays behind. The flavor can taste slightly tangier too, not because anything new was added, but because the same yogurt is now more concentrated.
The main trade-off is yield. A full batch gets smaller as whey drains away, so it helps to expect less finished yogurt than you began with.
Straining can remove quite a bit of whey. In my kitchen, the reward is thicker yogurt, but noticeably less of it.
A simple straining setup
-
Bowl + strainer
Any fine mesh sieve or colander works if it can sit above a bowl without touching the whey.
Look forA stable gap underneath so liquid can drain freely.AvoidA strainer that sits in the whey or wobbles on the bowl. -
Cloth liner
I like clean cheesecloth, butter muslin, or a thin kitchen towel because they drain well and peel off easily.
Look forA tightly woven cloth large enough to overhang the rim.AvoidFluffy towels that shed lint or hold too much yogurt. -
Paper liner
Coffee filters can work for small batches, but they drain slower and can tear when the yogurt gets heavy.
Look forSmall amounts and a gentle pour.AvoidBig batches that will stretch or split the paper. -
Cold resting spot
Fridge straining is the easiest default for me: less fuss, less souring, and no need to watch the clock closely.
Look forA covered bowl with enough shelf space.AvoidCounter straining for long stretches.
If I am not experimenting, I strain in the fridge. It is slower, but the setup is forgiving, and the yogurt usually keeps a cleaner, fresher taste while it thickens.
Set up the yogurt gently
-
Start with fully chilled yogurt
I get a smoother strain when the batch has cooled well in the fridge. Cold yogurt holds together better and is less likely to look grainy once moved.
-
Handle the container lightly
If the yogurt has pulled from the sides, I gently run a spoon around the edge. That helps it release without a lot of shaking or digging.
-
Pour or spoon in broad strokes
Tip the yogurt into the lined strainer slowly, or lift it out in big, soft scoops. Rough stirring can break the curds and give the surface a bumpier look.
-
Skip the whisking
If there is whey on top, I usually pour it off or let it drain naturally instead of mixing it back in hard. Vigorous stirring can make the texture look looser before straining.
-
Level the top without pressing
I spread the yogurt just enough so it sits evenly in the liner. Pressing at this stage can force moisture out unevenly and leave a pastier finish.
If my yogurt looks especially delicate, I chill the strainer and bowl first. It is a tiny step, but it can help the yogurt stay calm and creamy while it settles.
Drain in stages
Texture matters more than time:
- 2 hours: spoonable
- 4 hours: thick
- Overnight: spreadable
I stop when the spoon leaves soft ridges I like.
Seeing thickness change
It compares three thicknesses from one batch.
Use later.
Fine-tune the texture
Straining isn’t a one-way decision. I treat it more like a dial: if the yogurt still looks loose, I let it sit longer; if it goes thicker than I wanted, I stir a little whey back in.
A few easy fixes help:
- Too thin: Return it to the lined strainer for another 15 to 30 minutes, then check again.
- Too thick: Whisk in 1 teaspoon to 1 tablespoon of reserved whey at a time until it loosens.
- A bit lumpy after adjusting: A gentle stir usually smooths it out.
I’ve found this especially useful when I want different textures from one batch. A shorter drain gives me something good for breakfast bowls, while a longer drain makes a thicker yogurt that works better for dips or spreading.
I usually wait to add honey, fruit, vanilla, or other mix-ins until the end. Flavorings can thin the yogurt again, so it’s easier to get the texture right first, then season and give it one final stir.
When straining doesn’t go quite right
It still looks thin after a few hours. Did I mess it up?
Usually, no. I find this is most often a timing issue: a deeper bowl, a finer liner, or a fuller batch can slow drainage more than expected. Give it more time, and check whether whey is actually collecting underneath.
My yogurt turned pasty or a little grainy. Can that be fixed?
Often, yes. Over-strained yogurt can look drier than it tastes, so I usually stir it first before judging. A spoonful or two of reserved whey can bring back a smoother, creamier texture.
The yogurt is sticking to the cloth and wasting a lot. What helps?
This is usually a setup problem, not a bad batch. Very thin cloth can grip soft yogurt, especially early on, while a sturdier, well-dampened liner tends to release more cleanly. Chilling the yogurt well before straining can help too.
It got tangier than I wanted. Is that from straining?
Partly. Straining concentrates flavor as well as texture, so a mildly tart yogurt can taste noticeably sharper once thickened. Shorter draining time usually keeps the flavor softer.
What if it never gets nicely thick, no matter how long I strain it?
That’s the bigger limit case. If the original yogurt set weakly, breaks easily, or tastes a bit off, straining can only do so much; I’d look back at the milk and incubation method, or compare more dependable starter options for the next batch. A stronger base yogurt usually turns into better Greek-style yogurt with much less effort.
If whey keeps draining but the yogurt never feels lush, the batch may simply be too fragile to concentrate well. In my kitchen, that usually points back to the original culture or set rather than the strainer.
A simple rhythm I can reuse
- A little whey can loosen yogurt without making it soupy.
- Extra whey can go into smoothies, baking, soup, or bread dough.
I keep the process simple: strain cold, peek in stages, and stop when the texture matches what I want. If it goes a bit too far, I stir in a spoonful or two of reserved whey and check again.
The small habit that helps most is holding onto the whey until the yogurt is fully finished. That keeps the process flexible and low-waste, and any extra whey can still be useful in smoothies, pancake batter, soups, or bread dough.

Maybe this is user error, but the yogurt stuck to my towel pretty badly. I chilled it first and transferred it gently like you said, but I still lost a decent amount scraping it off.
I’m wondering if some fabrics just grab more than others? The part about liner choice affecting sticking felt very real after my kitchen experiment.
Yep, same here. Thin cotton was a mess for me, but a tighter weave cloth or even a coffee filter worked better, just slower.
The “persistently weak body probably goes back to the original batch” note was honestly the part I needed. I kept trying to fix a flimsy yogurt by straining longer and longer, and all I got was less yogurt and more attitude 😂
This time I stopped at thick-but-not-dry and added fruit only after straining, which definitely helped. Wish I had read that earlier.
Step-by-step timing was the most useful part for me. Around the 3 hour mark mine was perfect for breakfast bowls, but when I forgot it overnight it turned into basically yogurt cream cheese lol.
Saving some whey to stir back in was smart though. I used a couple spoonfuls and it came back to a much nicer texture instead of staying weirdly stiff.
That’s exactly the kind of adjustment I rely on too. The stages can change faster or slower depending on the starting yogurt and the liner, so using time as a guide and checking along the way usually works best.
And yes — once it goes a bit too far, reserved whey is the easiest fix.
This worked way better than I expected. My homemade yogurt was kind of loose and I was about to start over, but straining it in the fridge for a few hours gave me that nice spoonable texture.
Also appreciated the reminder to move it gently while cold — I usually just dump it in and then wonder why it looks rough on top 😅
I liked that you explained what Greek yogurt actually is instead of treating it like a totally different recipe. So many posts make it sound mystical when it’s basically: make yogurt, strain yogurt, be patient.
One question I still have is about tang. Mine gets noticeably sharper after a long strain even when the texture is great. Not a dealbreaker, just not my favorite flavor.