
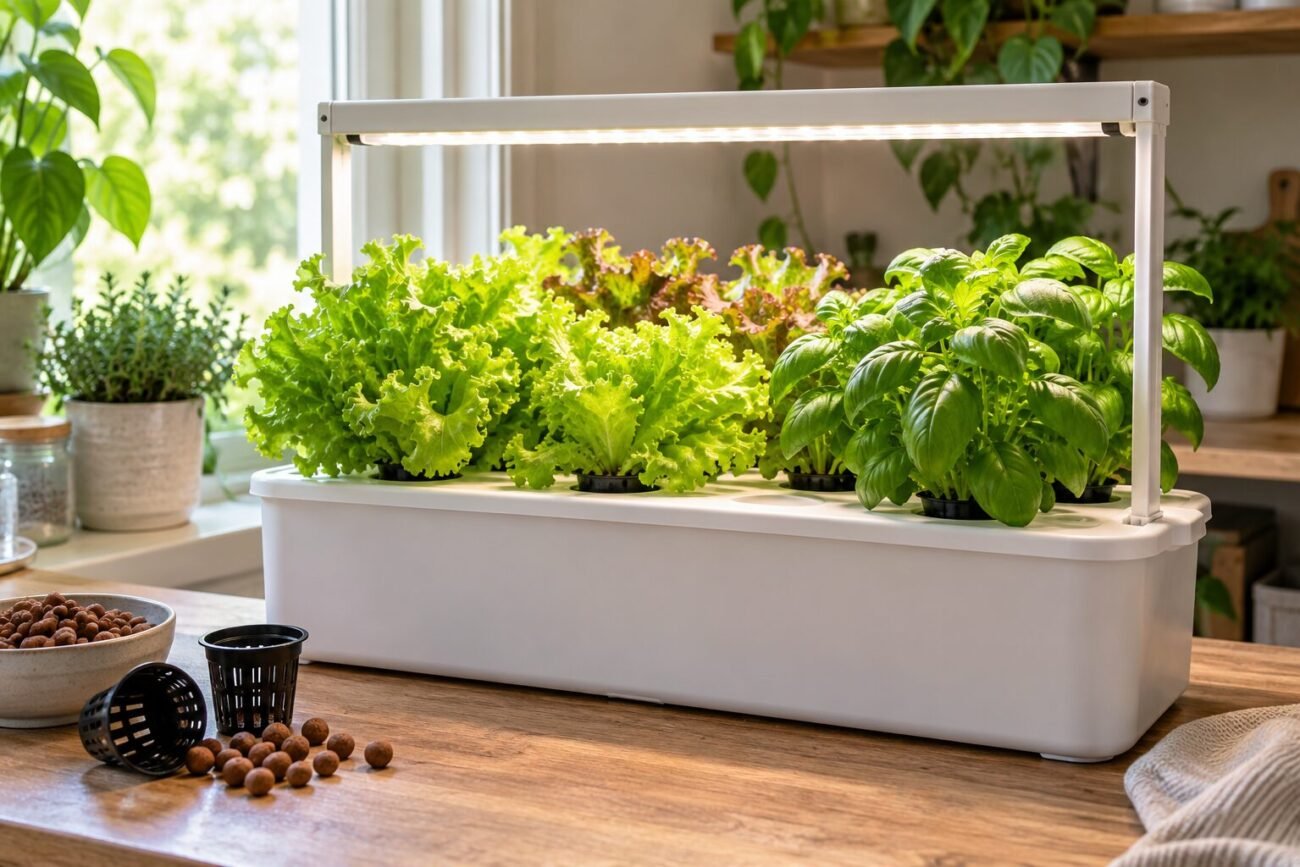
Fresh greens don’t require a maze of tubing.
A lettuce seedling in a jar fits neatly on my kitchen counter; add tubing and a pump, and I’m suddenly thinking about outlets and leaks. A passive jar works for a small plant if I monitor the nutrient solution and keep an air gap so its roots can breathe.
An aerated bucket gives larger plants more root space, but its pump needs reliable power. Linked systems can grow more food, with more connections to check for leaks. I choose a spot for the grow light first, then pick a system I have room to reach and time to maintain.
What a hydroponic plant needs
A hydroponic setup replaces soil’s jobs, not the plant’s needs. Water keeps cells firm and carries dissolved nutrients to the roots. Those nutrients supply the elements a plant uses to build leaves, roots, and fruit; plain water cannot do that for long. Roots also need oxygen to use the sugars the leaves make. Without it, a wet root zone can still fail.
I check the root zone first. In a passive jar, some roots reach down into nutrient solution while an air gap leaves upper roots exposed to humid air. If the rising water level covers that gap, the roots can lose their oxygen supply. In an aerated bucket, roots sit in the solution, and an air pump and stone keep oxygen available; a pump outage matters more there.
Above the roots, light powers photosynthesis, while a net cup, growing medium, or other support holds the plant upright without crushing its stem. For any design, I ask: Where do the roots get water and nutrients, where do they get oxygen, and what happens if the water level or power changes?
Choose your first hydroponic system
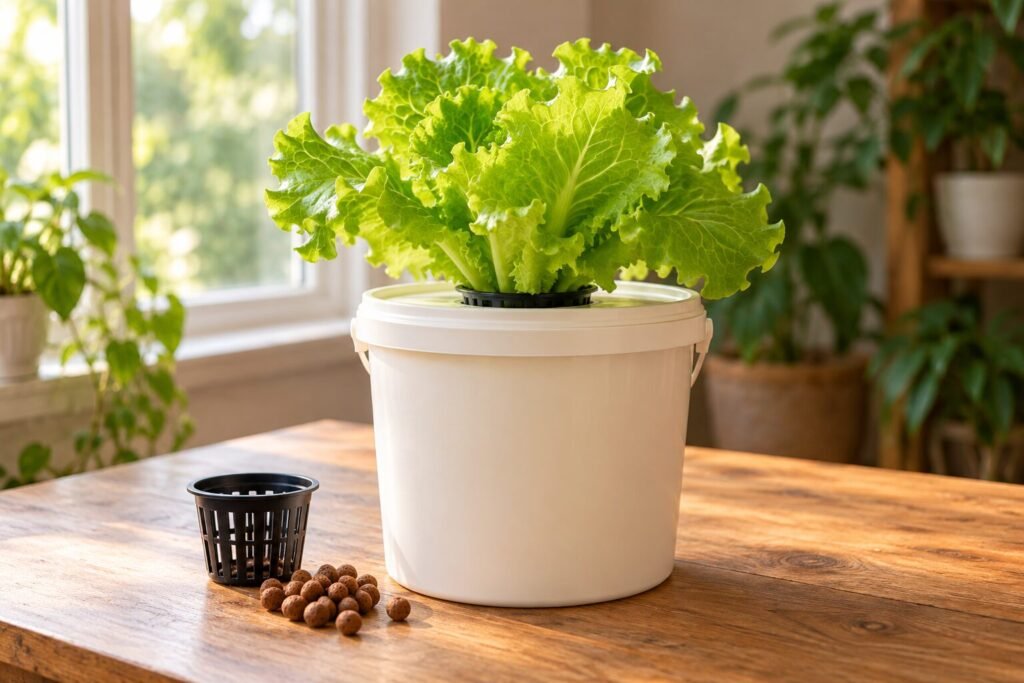
I recommend one opaque reservoir with a single lettuce plant for a first crop. It keeps the water level, roots, and any equipment in one place, so I can see what needs attention without troubleshooting a network of channels.
| System | Moving parts | Upkeep | First-crop fit |
|---|---|---|---|
| Kratky | None | Watch the falling water level; preserve the air gap above the solution | My simplest choice for lettuce |
| Single DWC bucket | Air pump and tubing | Check that bubbles continue, then monitor water and nutrients | Good if I can keep the pump running |
| Recirculating NFT | Water pump, channels, return plumbing | Check flow, roots, and drainage throughout the system | Better after one successful crop |
Kratky is quiet and needs no outlet, but I must not refill it to the brim once roots have grown into the air gap. A DWC bucket lets roots stay submerged because an air stone supplies oxygen; that also makes a stopped pump something I need to catch promptly. Either build teaches me the basics without multiplying leak points.
NFT uses a shallow, moving film of nutrient solution rather than a deep reservoir around each plant. I need to plan both delivery and the return path: a channel that pools water can leave some roots waterlogged, while uneven flow can leave others dry. Before building one, I’d work out how to slope the channels for reliable drainage and confirm that the return can carry the pump’s flow.
For a first build, I’d choose the pump-free reservoir below; if I’d rather maintain active aeration, I’d choose the single bucket.
Check the space before choosing equipment
-
Room to grow and work
I measure the shelf or counter, then leave space above the plants for a light and beside them for refilling. For a tight home, I compare the space a compact setup actually uses, not just its reservoir dimensions.
Look forA level spot with easy access to plants and water.AvoidA unit that fits only while the plants are seedlings. -
Power and spill risk
Pumps and grow lights need a nearby outlet; I keep plugs and power strips above the reservoir. I also plan for a tipped container or leaking connection before putting a system over wood floors.
Look forSafe cable routing and a water-tolerant surface or tray.AvoidExtension cords across walkways or unprotected flooring. -
Temperature
Leafy greens do well in a comfortably cool room. I avoid sunny windowsills where the reservoir can heat up even when the room feels fine.
Look forSteady conditions away from heaters and hot glass.AvoidA spot that overheats the nutrient solution. -
Light and first crop
I start with lettuce or herbs: they stay manageable and harvest quickly. Daylight through a window is often too weak or brief; tomatoes and peppers need stronger light, more room, and support for heavy stems.
Look forLeafy crops and space for a grow light if needed.AvoidPlanning a fruiting crop around window light alone.
Choose a kit or build your own
A kit spares me compatibility decisions: its lid, net cups, pump, and tubing should fit together. I still read the contents list; “complete” may exclude a grow light, nutrients, and test tools. DIY gives me control over fittings and easier repairs, but measuring, drilling, and leak-testing take time.
I compare two shopping carts sized for the same plants and growing conditions. Both must account for lighting and a timer where needed, nutrients, pH and EC tests, growing medium, small fittings, shipping, and replacement supplies. If a kit uses proprietary net cups or pump parts, I check their availability and price before buying. My kit-versus-DIY cost comparison shows why the cheaper sticker price may not mean a cheaper setup. I build when I want control and repairability, not because DIY guarantees savings.
Gather what your first grow needs
-
Start with a light-blocking reservoir
I use an opaque container with a lid that holds a net pot securely. If light shines through the container, I cover it to discourage algae.
-
Add a plant and support
Lettuce seeds or a young seedling, a net pot, and a small amount of clean growing medium are enough to get started. I leave large bags of medium and seed-starting accessories for later.
-
Mix and check the water
I use water, hydroponic nutrients suited to leafy greens, and a pH test kit or meter. A measuring jug helps me follow the nutrient label; an EC meter is useful for troubleshooting but can wait for a first lettuce crop.
-
Match oxygen equipment to the system
For Kratky, I leave room for an air gap to develop as the solution level falls. For DWC, I buy an air pump, airline tubing, and an air stone; this guide to sizing a pump for one bucket helps me choose without guessing.
-
Provide enough light
A grow light and timer are essentials if the chosen spot lacks reliable light. If the site already meets the crop’s needs, I wait before buying either.
I never fill a Kratky container back to the net pot during routine top-ups: exposed roots need that air space. In DWC, roots sit in aerated solution, so an air gap is not a substitute for a running pump.
Set up before transplanting
-
Rinse and place the reservoir
-
Fit the lid and net pots
-
Mix nutrients as directed; measure and adjust pH
-
Set water where young roots can reach it
Leave an air gap for Kratky.
-
Run equipment before transplanting
For DWC, confirm bubbles. Check for leaks, light entering the reservoir, and awkward access.
Hydroponic basics before planting
I recommend Humble Growth’s beginner guide for a broader look at growing plants in water.
Keep the first grow on track
For the first week after transplanting, I check the plants once a day. I look for new growth, firm leaves, a working air pump if I’m using DWC, and a falling solution level. I also lift the lid briefly to inspect the roots: healthy roots may be white or nutrient-stained tan, but they should not feel slimy or smell rotten.
I mark the starting solution level on the reservoir. When it drops, I top up with water rather than adding a full dose of nutrients each time; water and nutrients are taken up at different rates. In a passive jar, I stop below the net pot to preserve the root air gap. If I have an EC meter, I use it to decide whether a top-up needs nutrients, but I still judge the plant and solution together.
I test pH daily at first, then a few times a week once it behaves predictably. For many leafy crops, roughly 5.5–6.5 is a useful range. I adjust gradually when it moves outside that range, rather than trying to hold one perfect number.
After the first week, I keep the daily leaf-and-pump glance and check roots, level, and pH every few days. I replace the whole solution about every one to two weeks, or sooner if it turns cloudy, develops an off smell, or its readings become hard to correct. I rinse the reservoir before refilling. A stopped DWC pump needs prompt attention; I follow these first steps when aeration stops rather than waiting for the next scheduled check.
Wilting calls for an immediate check of water level, root contact, heat, and aeration. Green slime suggests light is reaching the solution; block the leak and clean the reservoir.
I’d begin with one opaque Kratky container in a spill-safe spot under a grow light and two or three lettuce seedlings. Before transplanting, I’d fill the container, set the light timer, and check for leaks, light entering the reservoir, and enough space for an air gap as the water level falls.
I’d record the nutrient dose, starting pH, and water level, then jot down top-ups and changes in the plants. After the first crop, those notes would guide one improvement: more light if leaves stretched, easier access if upkeep became a chore, or an aerated system if the passive setup couldn’t support the growth I wanted.

For a Kratky jar, how much of an air gap should I leave when I first transplant lettuce? I’m worried the roots won’t reach the water if I leave too much space.
At transplant, keep the bottom of the starter plug close enough to the solution that it stays moist while new roots grow down. As the plant drinks, let the water level fall and leave that air gap in place; don’t refill the jar to the brim.
I marked my starting water level on the outside of the jar. Made it way easier to notice when I was about to overfill it 😅
I appreciate the reminder to count the stuff a kit leaves out. One I looked at seemed cheap until I added a light, nutrients, and replacement plugs.
Would you prioritize a better light over a more elaborate reservoir for a first grow? My window gets decent light, but only for part of the day.
For lettuce, consistent light is likely to help more than adding complexity to the reservoir. Check how much direct light that spot actually gets before buying, then choose a light if the window falls short. A simple, light-blocking container is enough to learn the basics.
When you say the vessel should block light, would wrapping a clear food container work, or is that asking for algae trouble?