
Fermentation feels much calmer once the jar is treated like a small, salty ecosystem.
A cabbage half on the counter, a clean jar nearby, and five open tabs giving different salt ratios can make the whole project feel oddly high-stakes. In practice, vegetable fermentation is less about secret techniques and more about keeping a few conditions steady: enough salt, vegetables tucked under brine, a reasonably clean jar, and time at a comfortable room temperature.
Salt slows the unwanted microbes while lactic acid bacteria get established. Brine keeps the vegetables away from air, where mold is more likely to appear. A loose lid or burping routine lets gas escape as fermentation gets active. None of this requires a special crock or expensive kit. Predictable results come from simple controls, not from mastering an ancient mystery on the first try.
- A common starting range is about 2–3% salt by vegetable weight.
- Fermentation often becomes visibly bubbly within 2–5 days, depending on room temperature.
What makes the jar turn sour
Lacto-fermentation is less like a chemistry project and more like setting fair conditions for the right microbes. Fresh vegetables already carry lactic acid bacteria on their surfaces. Given a salty, low-oxygen place to work, these bacteria turn vegetable sugars into lactic acid, which gives fermented vegetables their tang and helps make the jar less welcoming to many spoilage microbes.
Salt does not “sterilize” the vegetables. It mostly slows down competitors while the salt-tolerant lactic acid bacteria get established. That is why a measured amount of salt matters more than a pinch-and-hope approach.
Four conditions do most of the heavy lifting:
- Salt: enough to guide fermentation without making the vegetables inedible.
- Submersion: vegetables kept under brine have less exposure to air-loving molds and yeasts.
- Reasonable cleanliness: clean hands, tools, and jars reduce unwanted hitchhikers.
- Room-temperature time: warmer rooms usually move faster; cooler rooms often take longer.
A starter culture is usually not needed for simple cabbage ferments because the vegetables bring their own helpers, though there are cases where people compare options; this guide to whether sauerkraut needs added culture explains that choice in more detail.
The sour smell and flavor are signs that acid is building. Early bubbles, cloudy brine, and a sharper aroma are normal milestones, not signs that special equipment is required.
The small setup that makes fermentation predictable
Fermenting vegetables works more reliably when the jar setup controls a few simple things: salt level, brine coverage, cleanliness, and gas release. Most kitchens already have enough to start.
A practical first setup includes:
- A clean glass jar with a lid that can be loosened
- Vegetables, trimmed of spoiled spots
- Additive-free salt, such as plain sea salt or kosher salt without anti-caking agents
- Water, for vegetables that do not make enough of their own brine
- Something to hold vegetables under the liquid, such as a small jar, a fermentation weight, or a folded cabbage leaf
- A way for gas to escape, usually by briefly loosening the lid once or twice a day
A kitchen scale is not specialty equipment, but it removes a lot of guesswork. Instead of relying on spoonfuls, salt can be measured as a percentage of vegetable weight or brine weight. That makes a tiny jar of carrots and a larger batch of kraut behave more consistently.
The key is not owning perfect tools. It is keeping the vegetables salty enough, submerged enough, and able to release pressure while the good fermentation smells and bubbles develop.
Choose the method by the cut
Vegetable shape changes the whole process. Thinly shredded, juicy vegetables release liquid when mixed with salt, while firm chunks and whole pieces usually need salt water poured over them.
Dry salting for shreds
Cabbage for sauerkraut is the classic example. Salt is measured against the vegetable weight, then massaged or firmly mixed until the cabbage looks glossy and starts pooling liquid. That liquid becomes the brine.
Dry-salted ferments pack tightly because the pieces are soft and fine. Pressing them down removes air pockets and helps the natural brine rise above the surface. The texture often turns tender-crisp, then softer with time.
Good candidates include:
- Shredded cabbage
- Grated carrots or beets, often mixed with cabbage
- Thinly sliced radish or turnip
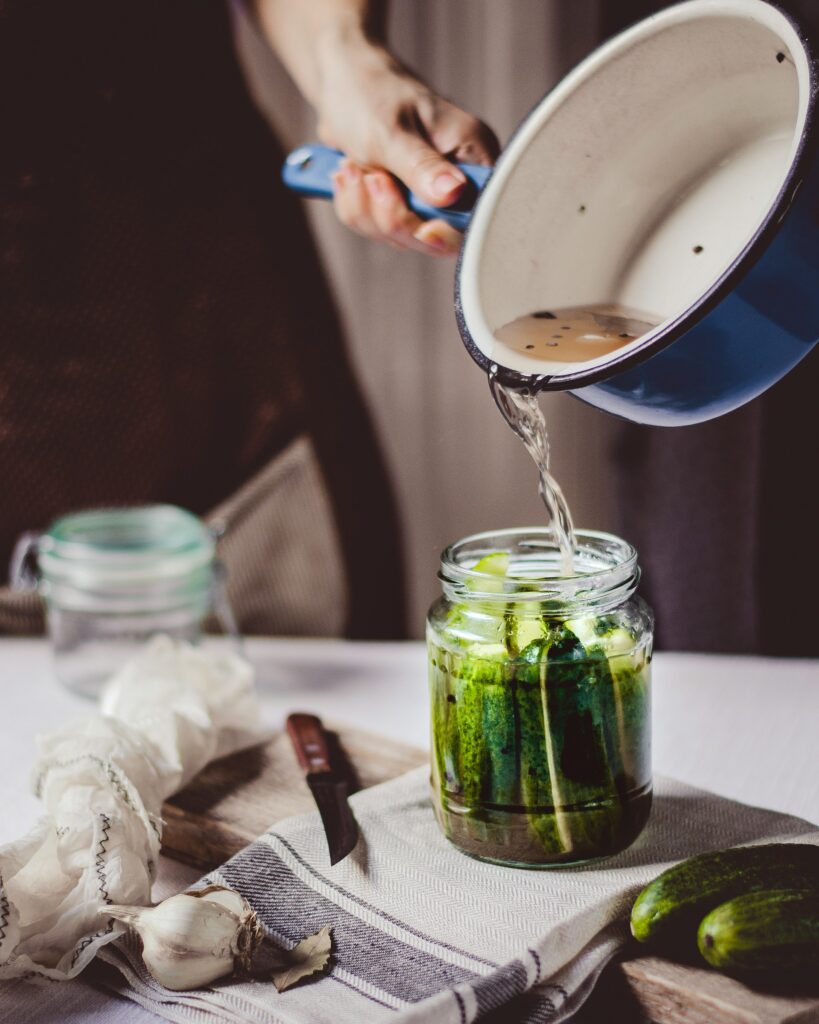
Prepared brine for chunks
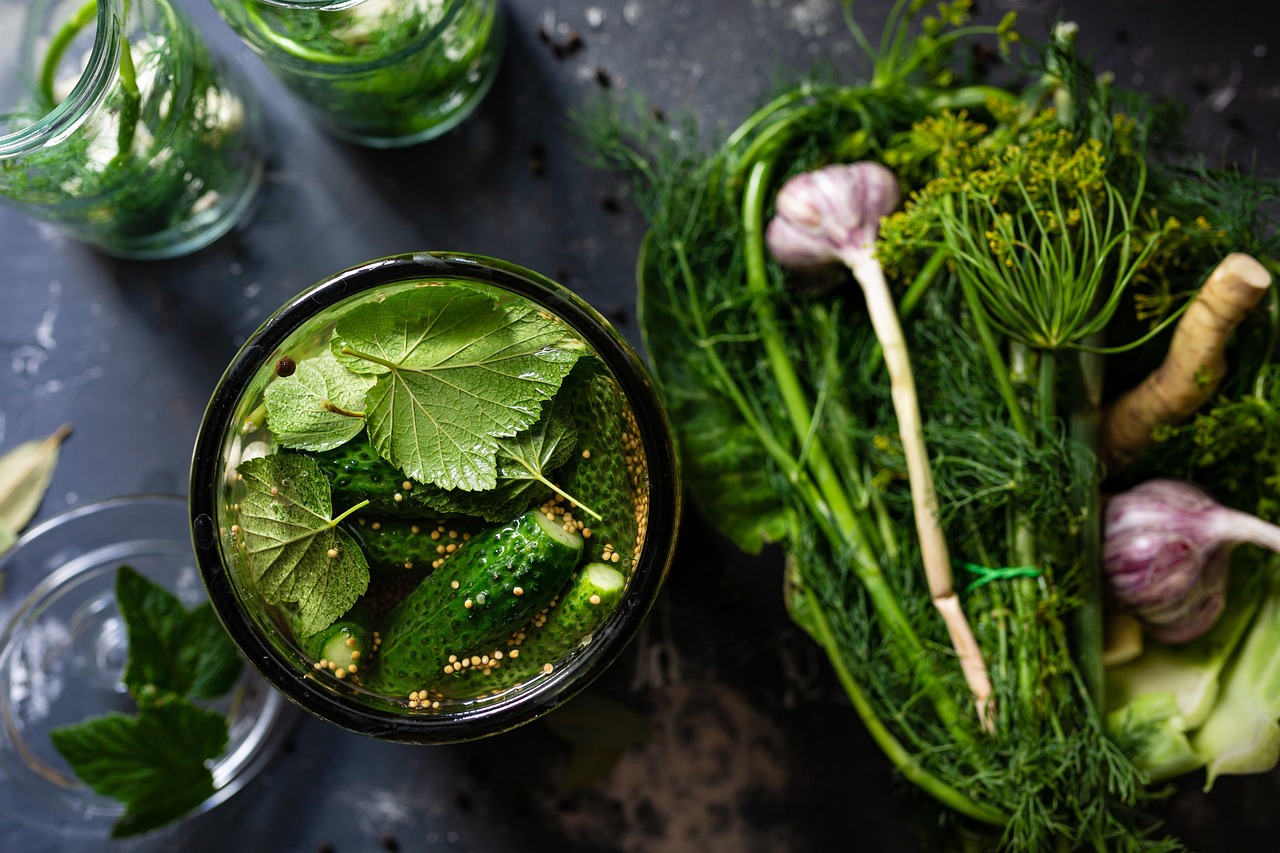
Cucumber spears, carrot sticks, cauliflower florets, green beans, and whole small peppers do not give up enough liquid quickly. For these, salt is measured into water first, then poured over the packed vegetables.
Chunked vegetables need looser packing so brine can flow between pieces. They may take a little longer to sour because salt has to move inward from the outside. Their texture often stays firmer, especially when pieces are kept evenly sized.
Measure salt by weight, not nerves
Salt becomes much less mysterious when it is measured as a percentage. A small kitchen scale removes most of the guesswork because fine salt, flaky salt, and coarse salt can fill a spoon very differently.
For shredded vegetables that make their own liquid, such as cabbage for sauerkraut, salt is usually based on the weight of the vegetables. A friendly beginner range is about 2% to 2.5% salt by vegetable weight. For example, 500 g shredded cabbage with 10 g salt makes a 2% batch.
For whole or chunky vegetables held under salted water, such as cucumber spears, carrot sticks, or cauliflower florets, the percentage usually refers to the brine. A 3% brine means 30 g salt dissolved in 1,000 g water. Many beginner vegetable brines sit around 3% to 5%, with firmer vegetables often handled toward the middle of that range.
The key difference: shredded ferments count the vegetables; brined ferments count the water. Once that split is clear, recipes feel much easier to compare.
Keeping two starter numbers nearby can help: 2% for shredded cabbage-style ferments and 3% brine for many submerged vegetable jars. Adjust later for taste, texture, and the specific recipe.


Let the jar teach the timing
-
Check daily
Look for small bubbles, lifted bits, and gentle pressure under the lid.
-
Expect cloudy brine
Cloudiness often appears as fermentation gets active.
-
Smell first
A clean tangy aroma is more useful than the calendar.
-
Taste when active
Move it to the fridge once the flavor is pleasantly sour.
Reading fermentation signs
LifebyMikeG explains a flexible way to ferment vegetables and other ingredients, helpful for learning what active jars look and smell like.
What looks normal, and what deserves caution
A thin white film on top can be kahm yeast. It is usually flat, dull, and yeasty-smelling rather than fuzzy. Some fermenters skim it off, though it can affect flavor.
Fuzzy growth, especially green, black, pink, or orange patches, is different. Slime that stretches in strings or a truly rotten odor also deserves caution. For a first batch, many home fermenters choose not to rescue jars with those signs; starting over is often the calmer path.
Why timing stays flexible
Fermentation timing is more like ripening fruit than setting a timer. A jar can taste lightly tangy after a few days or deeply sour after a couple of weeks, depending on the conditions around it.
Warmer rooms usually make fermentation move faster; cooler rooms slow it down. Thin shreds sour faster than thick spears because more surface area is exposed to brine. Salt matters too: a well-measured amount supports steady fermentation, while too little can make the texture fragile and too much can slow the activity.
Taste is the most useful checkpoint. When the vegetables smell pleasantly tangy and taste sour enough for the table, the jar can move to the refrigerator, where fermentation continues much more slowly.
Crispness starts before the jar is packed. Fresh, firm vegetables hold their structure better than tired ones, especially cucumbers, carrots, cabbage, and radishes.
For better crunch, a few habits help:
- Use vegetables that feel firm and heavy for their size.
- Measure salt by weight rather than guessing.
- Keep every piece fully under brine.
- Ferment away from hot windowsills, ovens, or sunny counters.
A pleasantly cool room often gives the most forgiving results: slower souring, cleaner flavor, and a better chance of keeping that fresh snap.
Make the next jar easier
- Repeat the same vegetable and salt method once before experimenting.
- Write the date, salt ratio, and room conditions on the jar.
- Taste early, then adjust only one detail in the next batch.
A steadier ferment comes from a small routine, not a fancier kitchen. For a first run, one vegetable and one salt method make the results easier to read. A jar labeled with the date and ratio turns a vague memory into useful notes.
After a few days, tasting can show whether the batch is moving from salty to pleasantly sour. If the next jar needs a change, keeping all but one variable the same—salt level, cut size, temperature, or timing—makes the lesson clear. Simple measurements and repeatable habits remove much of the guesswork.