
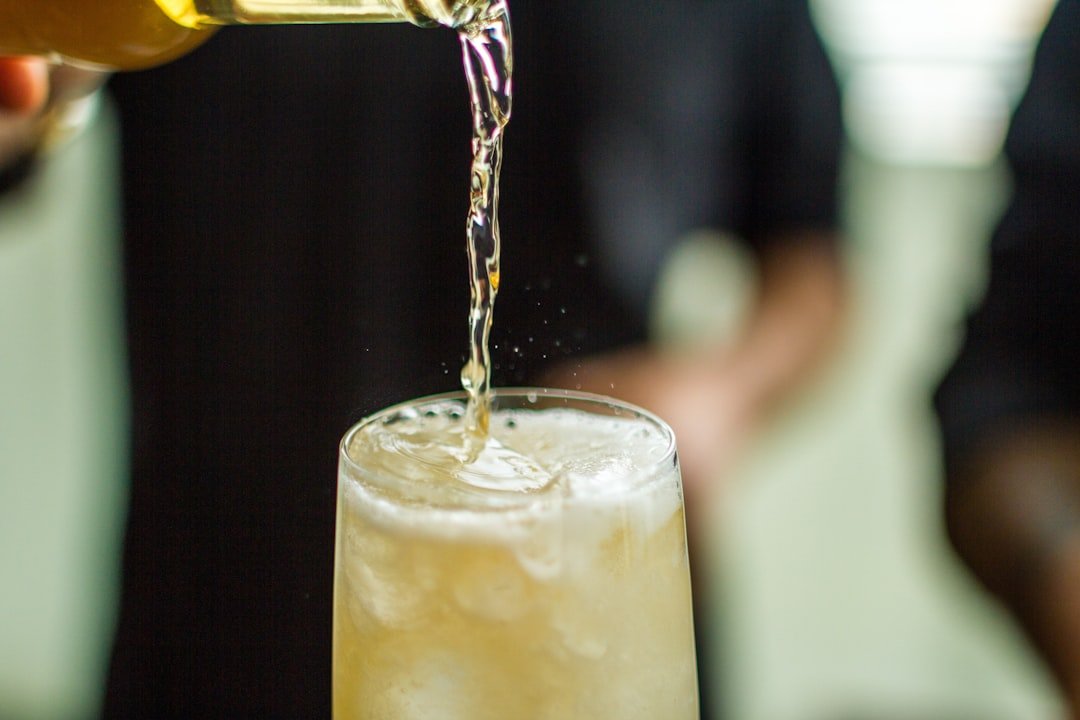
Homemade fizz can stay simple, spicy, and low-stress.
Worried your first batch might turn too boozy or build up scary pressure? I get it—that nervous pause at the counter is normal, especially when all you really want is cold, gingery sparkle.
I think of this as a careful kitchen project, not a brewing challenge. Ginger beer can ferment if it sits too long or gets trapped too tightly, but beginner-friendly versions can keep the process short, cool, and easy to watch. You do not need specialist gear or brewer bravado to make something lively and flavorful. A little caution goes a long way, and that is exactly what makes this approachable.
What I can count on at home
A short ferment can stay low, but it does not guarantee zero alcohol.
Yeast starts producing alcohol early. Time, sugar, warmth, and bottle activity all affect the result, so I treat any fermented batch as potentially alcoholic.
Taste is not a reliable gauge.
Sweetness, spice, and carbonation can mask subtle changes. I rely more on short timing and keeping fermented drinks low alcohol than on flavor alone.
Not really at home.
If I need certainty, the clearest path is skipping fermentation: make a ginger syrup, then top it with sparkling water for the same fresh bite and fizz.
A no-ferment version is simple: ginger syrup plus sparkling water. It still tastes homemade, but it removes the guesswork that comes with yeast.
I usually start by choosing where the fizz will come from
-
For the clearest alcohol-free route, I skip fermentation
I make a strong ginger syrup or tea, chill it, and top it with sparkling water. The flavor is very similar, and the alcohol question is close to zero.
-
For natural bubbles, I use a very short ferment
This is the path the rest of this guide follows. It keeps the homemade ginger beer feel, but I treat it as low-alcohol rather than guaranteed alcohol-free.
-
The trade-off is mostly control versus character
The no-ferment version is more predictable day to day. The short-ferment version can taste livelier and less soda-like, with a little more uncertainty.
-
I keep the starter side simple at first
A ginger bug can work well, but it adds another moving part for beginners. If you get curious later, you can always learn starter setup as a separate project.
Either route can be fresh, spicy, and beginner-friendly.
A few simple choices give me most of the control
-
Build a bold ginger base
I aim for a mixture that tastes slightly too gingery at first. Cold serving and carbonation soften the bite.
Look forFresh ginger with real heat and aroma.AvoidA mild base that fades once diluted by fizz. -
Leave enough sugar for the yeast
A short ferment still needs sugar to make carbonation happen. Cutting it too far can mean flat bottles more than lower-risk bottles.
Look forEnough sugar to support a brief ferment.AvoidTrying to stop fermentation by starving it. -
Keep bottles and tools very clean
Clean bottles, caps, funnels, and spoons help keep flavors cleaner and outcomes more predictable. I do not treat this as fancy equipment—just basic kitchen care.
Look forWell-washed, well-rinsed bottles and tools.AvoidReusing bottles with residue or sticky caps. -
Use one plastic tester and start small
I like adding one plastic soda bottle beside any glass bottles, because firmness gives me a rough pressure check. A small batch is easier to watch and tweak on the next round.
Look forOne squeeze-test bottle and a modest first batch.AvoidA big first batch with no easy pressure clue.
I make one or two liters first, not a full project. That way, if the ginger feels weak or the bottles firm up faster than expected, I learn from a small batch instead of a crowded counter.
I make the ginger bold before any fermentation starts
-
Use more ginger than the finished drink seems to need
For a small batch, I often start with about 1 packed cup of chopped ginger for 2 cups of water. I want the base to taste almost too fiery on its own, because it will soften once I dilute it and chill it.
-
Cut it small so the flavor comes out fast
Grating, thin slicing, or a quick blitz in a blender gives me more surface area than big chunks. That usually pulls out heat and aroma sooner, which helps when I’m trying to keep the overall process short.
-
Make a quick concentrate, not a long brew
I simmer the ginger with sugar for around 10 to 15 minutes, then turn off the heat and let it steep a bit longer. A shorter cook seems to keep more fresh ginger character than a long boil, while still giving me a strong base.
-
Strain and taste for intensity
Before I think about fizz, I taste the concentrate on its own. If it feels bold, spicy, and a little harsh by itself, that usually translates into a finished drink that still tastes complete after only a brief fermentation.
-
Let fermentation handle bubbles, not most of the flavor
This is the real advantage for beginners: the ginger is already finished early. That means I can stop once the bottle has modest firmness and still end up with something lively, instead of a drink that tastes thin or half-made.
A little lemon can brighten the concentrate, but I treat it as optional rather than the main source of flavor.
When the flavor work is done up front, I’m not waiting on a long ferment to make the drink taste interesting. In practice, that can make an earlier stop feel less like a compromise.
Catch early fizz
-
Add starter
-
Bottle
-
Wait briefly
-
Check often
Warmer rooms move faster.
Spotting gentle pressure
Chef Hawkes shows a fresh ginger version that fits this short, beginner-friendly fizz window.
I aim for early pressure, not dryness; waiting longer can mean stronger, drier, less predictable bottles.
The fridge is part of the process
Once my tester bottle feels firm, the fridge becomes my main control lever. Cold slows the yeast a lot, so I treat chilling as the last active step of the batch, not a storage afterthought.
I move every bottle into the refrigerator as soon as I have the fizz I want. Then I label the date on the cap or on tape, because a bottle that sat three days is not the same as one that sat ten.
When I open one, I do it fully cold, over the sink, and a little at a time. If it starts climbing, I let it settle, then continue.
For a beginner batch, I usually try to drink it within about a week, sometimes sooner if it carbonated quickly. Even in the fridge, bottles can keep changing a bit, so prompt chilling, careful opening, and date labels help finish the batch with fewer surprises.
Refrigeration can slow ongoing fermentation, but it does not remove carbonation or alcohol already produced. That is why timing the chill matters.
Common beginner worries
My bottles are not fizzy. Did I ruin it?
Maybe not. I usually check time, room warmth, sugar, and whether the cap sealed well before I assume the batch failed. If the starter itself stays quiet, I’d only then troubleshoot a ginger bug that is not bubbling.
It got fizzy fast. Is that normal?
Sometimes, yes. Warm rooms can build pressure quickly, which is why I like one plastic tester bottle. Once it feels firm, early chilling can help slow things down.
Why is it cloudy or settled?
A little haze or sediment is common in homemade ginger beer. I get more cautious if I see fuzzy mold, slimy strands, or anything that looks actively odd on the surface.
When is it a discard batch?
I toss it if it smells rotten, turns ropey, leaks badly, or shows mold. A sharp ginger-yeasty smell alone can be normal.
- Small first batch Start with one or two small bottles so mistakes stay small.
- Early chill Chill as soon as you hit good fizz instead of waiting for “more.”
- Take notes Write down timing, room temp, and sugar so the next round is easier.
- Brew small.
- Chill early.
- Note what changed.
Most beginner problems come down to speed, sealing, or a starter that was less active than expected. Clear spoilage signs matter more than minor cloudiness.
My low-stress approach is simple: make a small batch, watch for early pressure, refrigerate sooner than feels necessary, and keep a few notes for next time.

Tried a small batch this weekend with clean bottles, decent sugar, and a warm-ish pantry. Opened cold like you said and got a nice little pssst instead of a foam explosion, so thank you for that.
Only complaint: I wish I’d started with stronger ginger. Flavor was good but not as punchy as I wanted. Next round I’m doubling the ginger before fermenting and keeping the batch size small.
That sounds like a solid first run. If the fizz was controlled and the bottles opened calmly, you’re already doing the hard part well.
Increasing the ginger in the concentrate is exactly where I’d adjust next rather than extending fermentation. That keeps the flavor bolder without giving the yeast extra time to run.
Step where you say to make the ginger bold BEFORE fermentation was the game changer for me.
My earlier batches always tasted watered down because I was hoping the ferment would somehow create flavor lol. This time I made a stronger concentrate and the short ferment only had to handle carbonation. Much better result.
This actually worked for me on the first try, which never happens 😂
I did the syrup + sparkling water version first because I wanted the clearest alcohol-free option, and the ginger flavor was way better than store-bought. Then I tried a super short ferment with one plastic tester bottle like you suggested. Catching it early made a huge difference — fizzy but not scary.
I appreciated the part where you said zero alcohol isn’t guaranteed. A lot of recipes online act like a 2-day ferment is magically “nothing,” and that always seemed… optimistic.
Question though: if the room is pretty warm, like 78-80F, are you basically checking the tester bottle twice a day? Mine seems to go from soft to very firm weirdly fast.
Yes — at that temperature I’d check at least twice a day, and sometimes more often if the bottle starts firming up quickly. Warm rooms can shorten the window a lot.
For beginners, smaller batches and chilling as soon as you hit your target fizz are the safest way to keep things controlled.
Maybe I am just impatient, but “catch early fizz” is the hardest part of this whole thing.
I either chill too soon and get sweet ginger juice with a sad little hiss, or I wait too long and start wondering if I’ve built a grenade for my refrigerator. The plastic tester tip helps, but this still feels like a timing sport more than a recipe.
That’s a fair description, honestly. Short ginger beer ferments are very timing-dependent, especially because room temperature, sugar level, and starter activity all shift the pace.
The best way to make it feel less like guesswork is to repeat the same small batch setup a few times and take notes on hours, room temp, and how the tester bottle felt when the result was right.
Same here. Once I started writing the date/time right on painter’s tape stuck to the bottle, I stopped overshooting as much.
Still not perfect, but way less chaos.
For total beginners I honestly think the syrup plus sparkling water route should be normalized more. Not everything has to ferment just because fermentation is fun.
I made the concentrate extra gingery and mixed it with plain seltzer for my kids and they loved it. Then I did a tiny fermented batch for the adults. Best of both worlds.
Not gonna lie, the “use within about a week” note saved me from treating these like shelf-stable soda.
I had 3 bottles in the fridge and opened the last one on day 8 or 9 and it was noticeably more aggressive. Still tasted fine, but yeah, refrigeration slows things down, it doesn’t hit pause forever. Good caution-first article.