
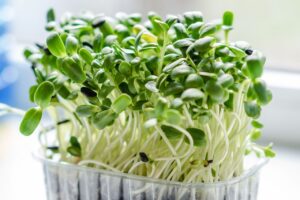
A tidy first setup often grows more microgreens than a pile of unopened accessories.
A beginner search can turn into a cart full of trays, humidity domes, grow lights, racks, mats, sprayers, and seed bundles before a single radish seed hits soil. Most first harvests do not need a miniature farm. A shallow tray, a growing medium, seeds, water, and a bright spot are enough to learn the rhythm: soak or sow, keep evenly moist, uncover, then harvest when the greens look ready.
A compact kit can be a calm starting point because the parts are sized to work together. Extra lights and shelving can wait until countertop batches feel easy and repeatable.
- Plan for drainage or waterproof trays; soggy counters ruin the fun quickly.
- Small seed packs are useful at first because microgreens lose freshness after opening.
Think in jobs, not gadgets
A home microgreens setup only needs to do a few simple things well. Each supply earns its place by helping the crop stay supported, evenly moist, well lit, and easy to harvest.
The main jobs usually break down like this:
- Hold the crop: Shallow growing trays, often with drainage holes, keep roots contained and make crops easy to move.
- Support the roots: Seed-starting mix, coconut coir, hemp mats, or other growing pads give seeds a stable surface to grip.
- Provide moisture: A spray bottle, watering can with a fine spout, or bottom-watering tray helps prevent seeds from washing around.
- Provide light: A sunny windowsill may work for small batches, while a simple LED grow light can give more consistent results indoors.
- Manage air and temperature: A breathable cover, small fan, or warm room can help reduce stagnant, overly damp conditions.
- Harvest and clean up: Clean scissors, a compost bowl, and a tray brush make the final step less messy.
Seen this way, fancy kits are optional. The useful question is whether each item solves a real growing problem.
A quick fit check before buying
-
Match the kit to the growing spotA sunny shelf, kitchen counter, or utility room all change what feels practical. Measure the footprint, but also leave room to lift lids, water trays, and move a harvest without bumping everything nearby.Look forTrays and lights that fit the actual shelf height, width, and outlet accessAvoidOversized setups that crowd the counter or make watering awkward
-
Buy for the rhythm of repeat batchesA single tray is simple for occasional growing; staggered harvests usually need two or more trays in rotation. More capacity only helps if cleaning, reseeding, and harvesting will happen regularly.Look forEnough trays for the intended harvest cycle, with parts that swap easilyAvoidLarge bundles that sit dirty between batches or take over storage space
-
Consider mess and cleanup toleranceSoil, loose coco coir, and seed hulls can scatter, especially near sinks or windowsills. Smooth trays, fitted drainage, and a small brush or scraper can make the routine feel less fussy.Look forWashable surfaces, simple corners, and materials that rinse without trapping rootsAvoidCrevices, flimsy inserts, or media that sheds more mess than acceptable
-
Check durability against room conditionsWarm, humid rooms can speed growth but also make airflow and drying between batches more important. Reusable supplies should handle moisture, light movement, and repeated washing without warping quickly.Look forSturdy plastic or stainless pieces, stable light stands, and decent airflow spaceAvoidThin trays, cramped domes, or materials that bend after a few wet cycles
Start with trays that fit together
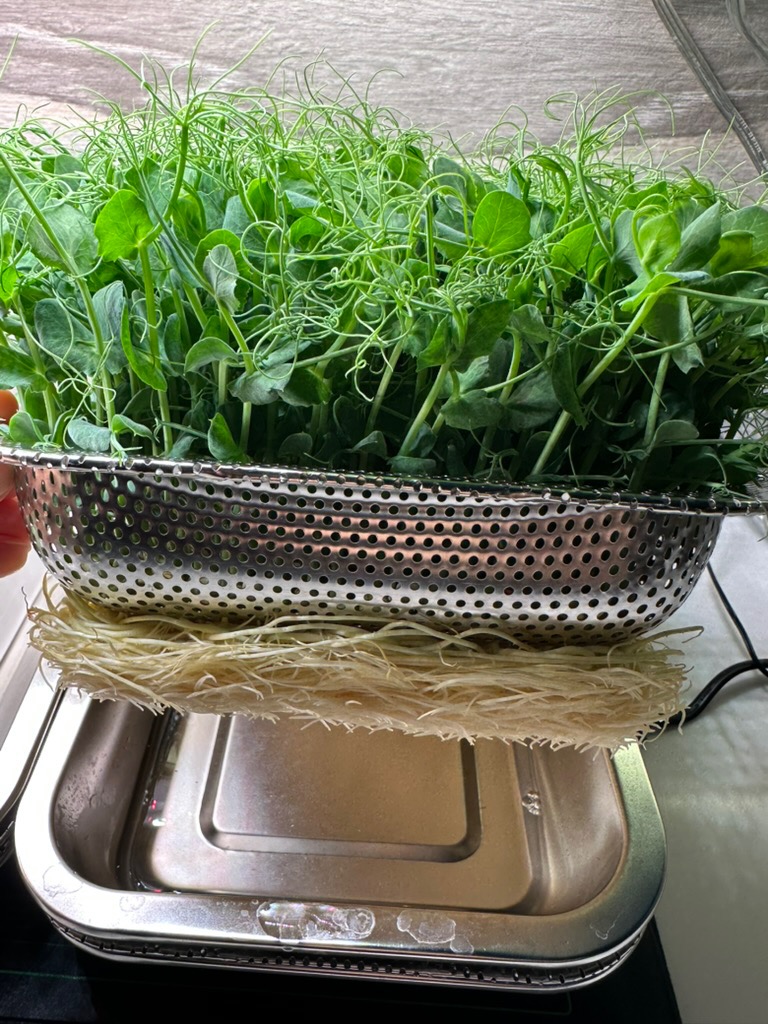
Trays are the foundation purchase because nearly every other choice has to fit inside or around them. A common setup uses a shallow tray with drainage holes nested inside a solid bottom tray. The top tray holds soil, mats, or another growing medium; the lower tray catches water and makes bottom watering much easier.
For most home growers, the familiar 1020 tray size is a practical starting point. It fits many wire shelves, humidity domes, blackout covers, and light setups. The key detail is matching: trays from different brands can be slightly different, so pairs that nest cleanly are less frustrating than almost-matching pieces.
Cheap thin trays are fine for a first try, especially if only a few batches are planned. They can crack when lifted full of damp soil, though, and warped corners make watering messy. For repeat growing, sturdier plastic usually makes sense because it handles washing, stacking, and carrying without flexing as much.
A simple tray setup to look for:
- One tray with holes for drainage and airflow
- One tray without holes for bottom watering
- Shallow depth, usually around 1–2.5 inches
- Matching dimensions so the pair nests without rocking
Before buying several packs, it can help to choose one tray size and stay consistent. Matching trays stack neater, fit shelves better, and make crop rotation less fiddly.

Choose what the roots grow in
The growing medium touches the seeds, roots, water, and harvest, so it affects more than sprouting. A seed-starting mix is familiar and forgiving: it holds moisture well, supports uneven watering, and is easy to find. The tradeoff is mess. Soil-like mixes spill during setup, cling to roots at harvest, and leave trays needing a more thorough wash.
Coco coir is a tidy middle ground. Loose coir behaves a bit like soil but is usually lighter, less gritty, and often sold in compressed bricks. It holds water well, though it may need soaking and fluffing before use.
Fiber mats made from hemp, jute, coco, or similar materials keep setup neat. They lift out in one piece, which makes cleanup simple, but they can dry faster at the edges and may cost more per tray.
For early batches, restraint helps. A small bag of mix, one coir brick, or a short pack of mats is enough to learn which feels pleasant to handle. Buying many seed varieties at once can create clutter too; a few reliable crops make comparisons easier.
Watering tools that prevent problems
A spray bottle helps settle seeds without flooding them. Use a measuring cup or pitcher for repeatable watering, and a solid bottom tray to catch excess. For denser trays, a narrow-spout can adds control. Aim for damp, not swampy.
Growing microgreens from start to finish
Epic Gardening’s guide shows the full process, including the moisture habits that keep trays steady.
Light and shelving for steadier growth
A sunny window is often enough for a first tray, especially in late spring or summer. The most forgiving spot is bright for several hours, not blocked by deep eaves or nearby buildings, and close enough that trays can be checked daily. If stems lean hard toward the glass, look pale, or stretch quickly, the tray may be asking for more even light. Rotating the tray once a day can help small batches grow more uniformly.
Grow lights become useful when the room is dim, winter days are short, or several trays need predictable results at the same time. They are also helpful once trays move onto shelves, where upper tiers shade the lower ones.
Before buying lights or shelving, check the physical fit:
- Light length: Match the fixture to the tray width. A 1-foot strip can suit small trays; wider 1020 trays usually need longer or multiple strips.
- Adjustable height: Microgreens start low and rise fast, so lights that can be raised or clipped at different levels are easier to live with.
- Mounting: Look for clips, screws, tape, or zip-tie options that suit the shelf material.
- Cord management: Short cords, daisy-chain plugs, and visible switches can make a compact setup tidier.
- Shelf clearance: Leave room for tray height, greens, hands, and airflow—not just the light fixture.


Add-ons that earn their place
Blackout domes, weights, heat mats, and fans are useful only when they solve a problem the basic setup cannot.
A blackout dome or upside-down tray helps during germination when a crop benefits from darkness and even moisture. It is usually more important for timing and humidity control than for looking tidy.
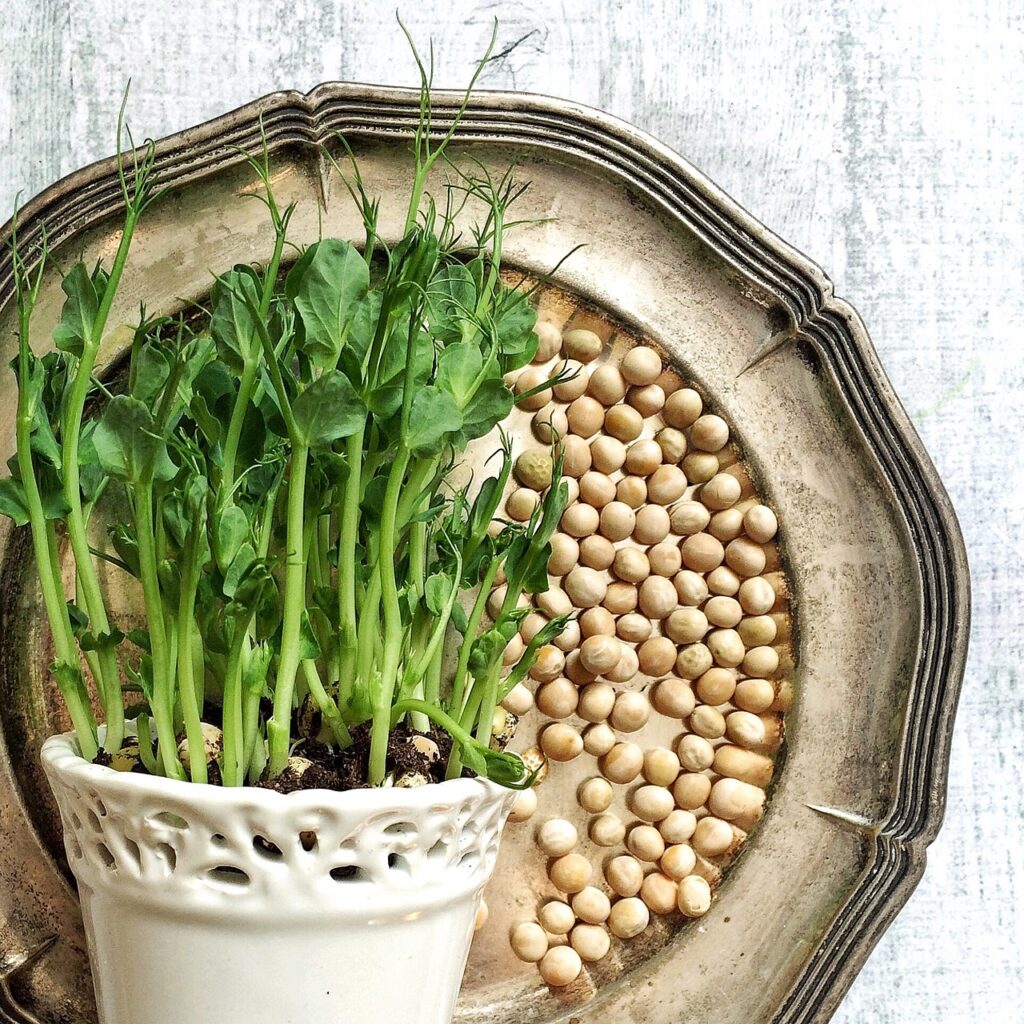
Weights can help sturdy crops such as peas, sunflower, and radish push roots into the medium before lifting upward. Lightweight crops may not need that pressure.
A heat mat is most useful in a chilly room where germination is slow. In a warm kitchen or bright utility room, it may add more heat than needed.
A small fan can help when trays stay damp, air feels still, or shelves are packed closely. Gentle airflow is the goal, not blasting tender stems.
Add accessories one at a time. If growth improves after adding a dome, mat, weight, or fan, that tool has earned its shelf space.
Harvest and cleanup supplies matter more than expected
The first tray feels like the main event; the second batch is where cleanup habits start to matter. A small pair of clean scissors or a sharp knife helps cut greens neatly without pulling up the grow mat. A wide bowl, salad spinner, or clean towel can make rinsing and drying gentler, especially for tender crops that bruise easily.
A simple repeat-use kit can include:
- Harvest scissors kept separate from kitchen odds and ends
- A soft brush or sponge for tray corners and ridges
- Unscented dish soap and a drying rack for washed trays
- Shallow storage containers lined with a dry paper towel
Trays that stack while drying, containers that do not crush leaves, and a place for used mats or soil all help the hobby feel manageable. If cleanup takes over the sink every time, enthusiasm can fade faster than the next crop grows.
Three practical ways to start
-
Bare-bones test setup
A single tray pair, a small seed packet, a modest amount of growing medium, a spray bottle, clean scissors, and a bright windowsill can be enough for a first trial. A plate, second tray, or light towel can handle the short dark period for crops that benefit from it.
-
Reliable repeat-grower setup
For steadier batches, two or three matching tray sets make the routine less cramped: one growing, one starting, and one being washed or dried. Add a measured cup for bottom watering and a simple LED grow light if window light is weak or inconsistent.
-
Small multi-tray shelf setup
A compact shelf with 2-foot LED lights, a timer, four to six tray pairs, and a waterproof mat or catch tray supports a small rotation without taking over a room. This setup suits households that already know microgreens get eaten regularly.
-
Upgrade only where the routine complains
Extra gear earns its place when the same problem keeps showing up. Dry edges may point to better watering control; stretched stems may call for stronger light; stagnant, damp shelves may benefit from gentle airflow.
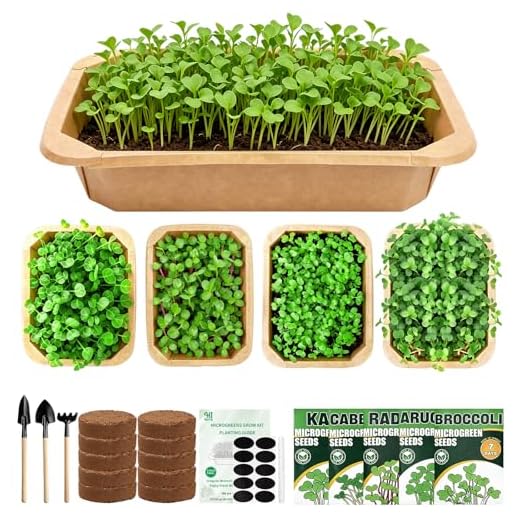
Starter kits vary, so matching tray sizes and easy cleanup matter more than buying every accessory at once.
- A complete first setup can be very small: container, root support, moisture control, light, and a clean harvest tool.
- The most useful upgrades usually solve repeated annoyances, not imagined future problems.
A small, complete system is often the most comfortable place to begin. It keeps costs, clutter, and cleanup low while still showing how microgreens fit into ordinary kitchen habits.
After a few batches, the gaps become easier to spot: not enough light, too little drying space, awkward watering, or trays that do not stack neatly. Those real clues make the next purchase far more useful than a cart full of just-in-case supplies.