
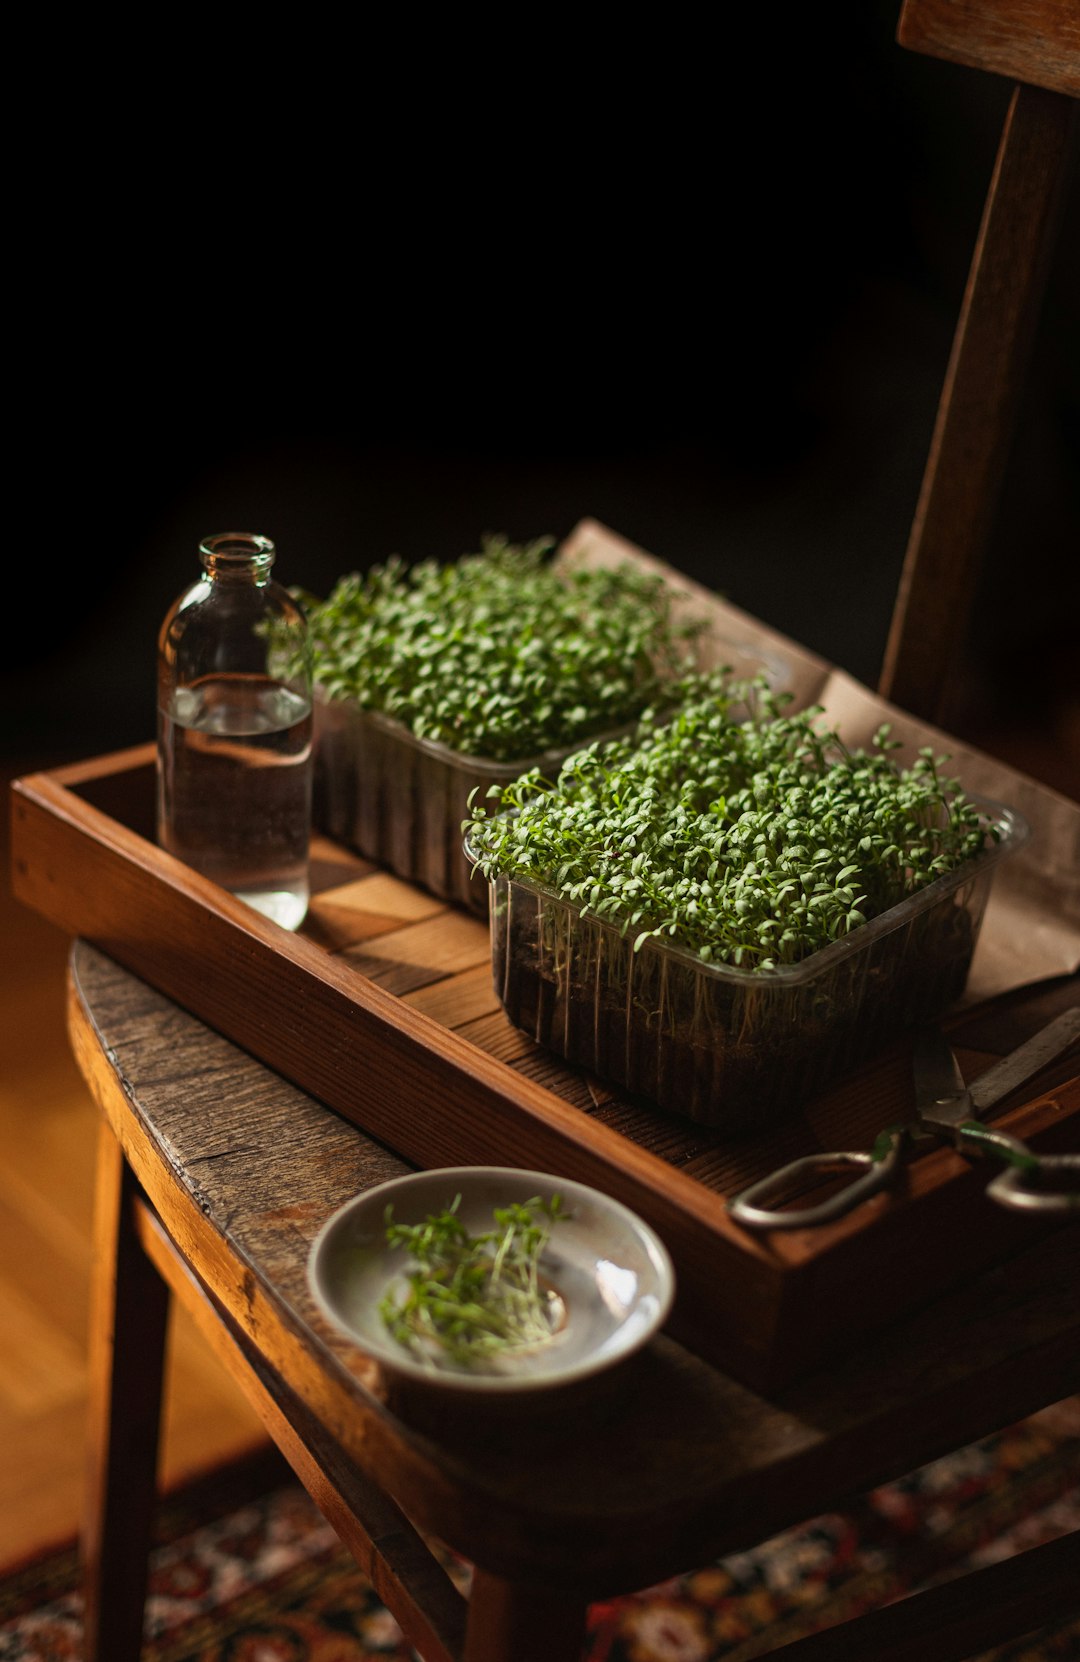
Blackout is less about buying a dome and more about giving seeds a short, dark start.
A freshly seeded tray can feel oddly unfinished: the seeds are watered, the surface is level, and then every tutorial seems to mention a “blackout dome” as if it were special equipment. In practice, blackout simply means light is kept off the seeds while germination gets going. That can be done with a fitted dome, an upside-down tray, a clean towel, or a dark cupboard, depending on the crop and setup.
The useful question is not only whether microgreens need a blackout period, but how to create steady darkness without trapping too much heat, drying the surface, or pressing seedlings unevenly. A dome is convenient, not mandatory. DARKNESS is the goal; the cover is just one way to provide it.
What does “blackout” actually mean for microgreens?
Is blackout just the same as putting a dome on the tray?
Not exactly. Blackout mainly means keeping newly seeded trays away from light while seeds swell, crack open, and send down roots. A dome is one tidy way to do that, but it is only one tool among many simple microgreens germination supplies.
Does blackout need to be completely pitch dark?
For most common microgreens, the goal is “no useful growing light,” not a laboratory-perfect darkroom. A tray tucked in a cabinet, covered with another tray, or placed under a loose lid usually creates enough darkness for early germination.
Why do people use covers if darkness is the main point?
Covers also slow evaporation, which helps the seed surface stay evenly moist. That moisture benefit is separate from darkness, and it is often the reason covered trays germinate more evenly than exposed ones.
What about stacking trays or adding weight on top?
Stacking adds gentle pressure, which can help seeds make firm contact with the growing medium and push roots downward. It is optional, and it is different from simply blocking light or holding humidity.
What household items can create a blackout period?
An upside-down tray, a baking sheet, cardboard, a dark tote lid, or a cupboard can all work if they block light without crushing tender shoots. The setup only needs to keep seeds dark, moist, and reasonably ventilated until sprouts begin lifting the cover.
Does a dome do more than darkness alone?
Is plain darkness enough for blackout?
For many microgreens, yes. A cupboard, an inverted tray, or another light-blocking cover can keep seeds dark while they germinate, as long as the tray does not dry out or overheat.
What does a blackout dome add?
A dome or lid mainly makes moisture easier to manage. It slows evaporation and helps keep the surface evenly humid, which can be handy for small seeds that sit close to the top of the growing medium.
Is a dome the same as stacking trays?
Not quite. A dome covers the crop lightly, while stacking puts another tray on top and may add gentle weight; stacked tray blackout setups are often used to encourage straighter stems and better seed contact in certain crops. That extra pressure is a technique, not a requirement for every seed type.
Can a lid cause problems?
It can if it traps too much moisture for too long. Stale, wet conditions may lead to a sour smell, fuzzy growth, or weak seedlings, so growers often peek daily and uncover once germination is underway.
Which crops usually need weight?
Larger seeds such as peas, sunflower, and some radish or brassica batches are commonly stacked by hobby growers, but results vary. Delicate crops may do better with simple darkness and humidity rather than pressure.
When is a blackout dome optional?
When can a simple cover work instead of a dome?
A dome is often optional when the tray stays evenly moist without puddling. A clean plate, shallow bin, second tray, or loose towel can block light well enough for many home batches.
Which crops are easiest without special gear?
Fast, reliable sprouters such as radish, broccoli, cabbage, and mustard are usually forgiving. They tend to germinate quickly, so they may only need a short dark period before moving into light.
Does checking the tray more often make a difference?
Regular checks help replace what a dome would normally manage. If the surface starts drying, a light misting can help; if the tray looks too wet, the cover can be lifted for a little air.
What home items can be used safely?
Useful options include a clean cutting board, an upside-down baking tray, a dark storage tote, or another nursery tray. The cover should sit securely but not seal the tray like an airtight container.
What is the main risk with a very simple setup?
Stale, wet air can encourage fuzzy mold, especially in warm rooms or dense sowings. Leaving tiny gaps, uncovering briefly during checks, and avoiding soggy growing medium can make a basic setup more reliable.
When does a blackout cover become worth using?
What growing conditions make a cover more useful?
A cover earns its place when the tray surface dries quickly. Dry rooms, shallow trays, exposed seeds, or a light layer of growing media can all leave seeds thirsty before they have rooted well.
Can a cover help with uneven germination?
Yes, in a modest way. A covered tray often holds steadier surface moisture, which can help seeds sprout more evenly, especially along tray edges where drying usually starts first.
Is a dome helpful if trays are not checked often?
It can be. For growers who only look in once or twice a day, a loose dome or inverted tray gives a little buffer against drying out between checks.
Do all microgreens respond the same way?
No. Larger seeds like peas and sunflowers often tolerate stacking or covering well, while delicate or mucilaginous seeds such as basil, chia, and flax can get sticky and overly wet under a tight dome.
Condensation is normal, but dripping walls, sour smells, or fuzzy growth are signs the cover is holding too much moisture.
A small air gap, a quick daily lift, or switching to a breathable towel can keep humidity helpful without trapping stale, wet air around the seeds.
How can the cover come off without watching the clock?
-
Look for steady germination
Most of the tray should show tiny roots or shoots. A few slower seeds are normal, especially in mixed trays or cooler rooms.
-
Notice pale, stretched stems
White or yellow stems are a sign the seedlings have been searching upward in darkness. That stretch is usually enough for light to take over.
-
Check whether the lid is lifting
If seedlings are pushing the cover or top tray upward, they are asking for space. Leaving pressure too long can bend tender stems.
-
Watch for crowding and trapped moisture
When sprouts press together under a close cover, airflow drops. Condensation, sour smells, or matted growth suggest the tray is ready to open up.
-
Move into light gradually if needed
The change does not need to be perfect. A bright windowsill or grow light works once growth is upright; see more on shifting seedlings from darkness to light.
The right moment is usually a visible stage, not an exact day on the calendar.
- Blackout is a condition to manage, not a special piece of equipment to buy.
- Daily checks help catch both dry spots and excess condensation before seedlings suffer.
- The right time to uncover is when seedlings look established enough for light, not when a timer says so.
For most home growers, the simplest workable setup is enough: keep the seeds dark, evenly moist, and protected from drying out. That may mean a blackout dome, a stacked tray, a loose lid, or another clean cover that blocks light without trapping too much stagnant moisture.
The practical rule is to check trays daily and adjust rather than overcomplicate the setup. If the medium is drying, cover more closely or mist carefully; if condensation is heavy, allow a little airflow. Once the crop has lifted, rooted, and looks ready to green up, the cover can come off and the tray can move into light.

Question on breathable household covers: would cardboard be okay if it’s clean? I have a bunch of shipping boxes and they block light nicely, but I’m worried they’ll wick moisture or get funky sitting over damp trays.
This is the first explanation I’ve seen that separates darkness, humidity, and pressure instead of treating them like one magic step. Makes way more sense.
I’ve had good luck using another tray as a cover, no dome, for radish and mustard. I peek once a day, spray only if the surface looks dull/dry, and uncover when they start lifting the tray. Pretty low tech but it works.
Not gonna lie, I bought blackout domes because every video made it seem like mandatory equipment. Then I realized my “dome” was basically doing the same thing as a plate over a tray.
Still, I do like the convenience. Less fiddling, less accidental light leaks, and my cat can’t step directly into the seeds, which is apparently one of his life goals.
This cleared up my confusion about “blackout” vs needing a special dome, thanks. One thing I’m still wondering: if I use an upside-down baking sheet as a cover, should I leave a tiny gap for air or keep it fully sealed during the first couple days?
A tiny gap is usually a good idea if the cover is very non-breathable, especially once seeds have germinated. Early on, you want high humidity, but not stagnant wet air. If you see condensation dripping back onto the tray or smell anything sour, vent more and check moisture at the surface.
I’ve been stacking trays with a brick on top for pea shoots and it works great, but sunflower greens seem to get weirdly bent and uneven when I do the same thing.
Is that just crop personality? The article mentioned pressure suits some crops but not all, and that matches my experience, but I’m not sure where the line is.
Yes, that’s largely crop behavior. Peas tolerate and often benefit from stacking/pressure because it encourages strong, even rooting and lifting. Sunflowers can handle some pressure early, but too much or too long can deform stems, trap hulls, and create uneven growth.
For sunflower, I’d use light pressure only until you see strong lifting, then switch to simple darkness without weight or move them to light sooner if they’re pushing hard.
Same here with sunflowers. I stopped using a brick and just put an empty tray on top for like 36 hours max. Way fewer curly stems and less drama lol.
My kitchen is super dry in winter, so the bit about exposed trays was useful. I’ve been blaming bad seed, but honestly my paper towel cover dries out by lunchtime.
Would misting twice a day be enough, or am I better off using something like a clear storage bin turned upside down over the tray? I don’t want to grow mold soup, but I also can’t babysit broccoli seeds all day.
In a very dry room, a loose cover like an upside-down storage bin can help a lot, as long as it isn’t airtight. You can prop one side slightly or lift it once daily to exchange air.
Misting twice a day may work for forgiving crops, but for small brassica seeds it’s easy for the surface to dry between checks. I’d use the bin for humidity, then uncover as soon as the seedlings are upright and ready for light.
I use a clear bin too, but I throw a dish towel over it during blackout so it’s dark. Not fancy, but neither is my apartment 😂 Just don’t let the bin sit flush if there’s tons of condensation.
I appreciate the “don’t watch the clock” part, but it also makes this feel a little vague for beginners. Like, what visible cue is *too late*? If the shoots are already pale yellow and stretching, is that normal blackout growth or did I overdo it?