
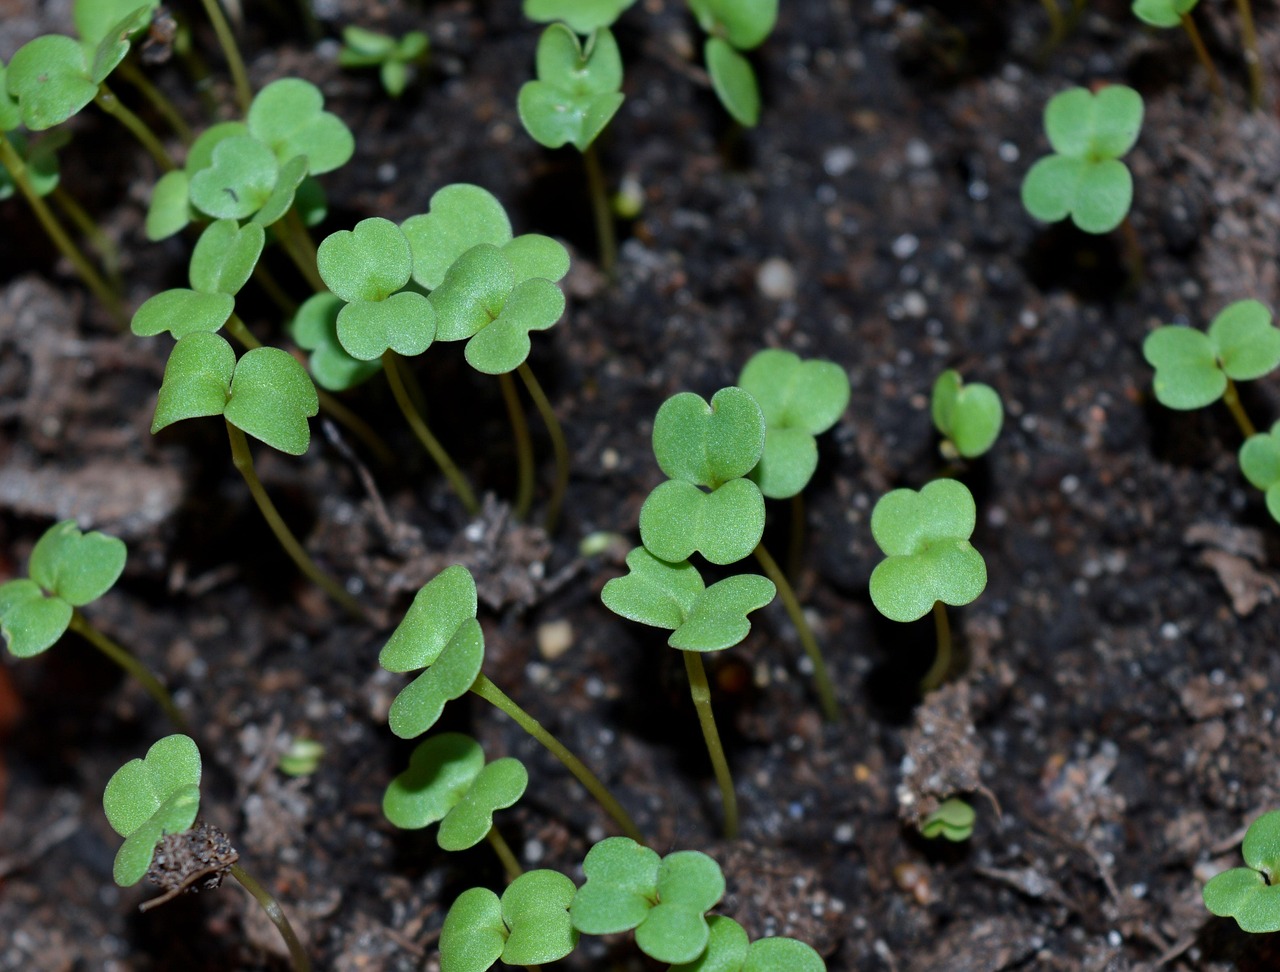
A quiet tray at day two or three can look worse than it really is.
I know the moment: you peel back the cover, see bare soil, and start wondering if the whole batch was a dud. In my experience, that early silence often has more to do with the tray setup than the seed itself.
Microgreens usually need a very specific little climate to wake up—steady moisture, close seed-to-medium contact, some weight or cover, and not too much airflow too soon. If one of those is off, germination can stall and then catch up later. No sprouts yet doesn’t automatically mean bad seed. Often it just means the tray conditions deserve a closer look before anything gets dumped.
Read the tray before you fix it
-
If the surface looks dry
Pale mix, loose hulls, and seeds that never swell usually point to low moisture or poor seed-to-medium contact.
-
If it looks soggy
Glossy soil, pooled water, or seeds stuck in slime usually mean too much water and not enough air.
-
If germination is patchy
Bare corners beside crowded spots often come from uneven sowing, lumpy medium, or one side drying faster.
-
If it smells off
A sour or swampy smell is a stronger clue than slow growth. I read that as excess moisture, weak airflow, or a cover left on too long.
-
Check temperature, cover, and seed age
A cool tray can stall everything; a heavy blackout cover can flatten or overheat; older seed may simply sprout more slowly.
I try not to correct three variables at once. Dry clues usually need more moisture or better contact; wet or smelly clues usually need less water and more air.
When the whole tray stays blank
When nothing comes up
If I see zero germination across the entire tray, I usually stop looking for tiny, isolated mistakes. A completely blank tray often points to one shared condition affecting every seed at once: uneven moisture, temperatures that stayed a bit cool, or a seed lot with weak viability.
My first check is simple: did the seeds ever get fully moist, or did only the top look damp? Sometimes the surface darkens, but an inch down the medium is still dry. In that case, seeds can sit there unchanged, especially if the tray was misted lightly instead of watered deeply.
A quick check can help narrow it down:
- Scratch the surface gently. If the medium is dry just below the top layer, the seeds may never have started.
- Lift the tray. A surprisingly light tray can hint that moisture never reached the full depth.
- Notice the room temperature. If the space stayed cool, germination may simply be slow rather than failed.
- Consider seed age. I usually compare with what I know about older seed and germination rates.
If the tray was evenly moist and warm enough, but nothing swelled or cracked, the seed lot itself starts looking more suspicious.
Patchy trays usually have a setup problem
Patchy germination looks random, but in my trays it usually traces back to uneven conditions across the surface. When one corner is bare and the rest is fine, I don’t jump to bad seed right away. I look for places where the seeds simply didn’t get the same start.
A few small setup issues can create that pattern fast:
- Weak seed-to-surface contact: seeds sitting on fluffier soil or coconut coir can dry out sooner.
- Tray not level: water tends to drift to one side, leaving high spots drier.
- Uneven moisture: corners and edges often lose moisture first.
- Inconsistent seeding density: thick clusters stay humid, while sparse spots dry faster.
Height differences tell a story too. If one area sprouts but stays shorter, that section may have had slightly less water or poorer contact. If a dense patch shoots up while nearby seeds lag, crowding may have created a tiny humidity pocket there.
When I see a patchy tray, I check whether the surface was pressed evenly, whether the tray sat flat, and whether the seed layer looked uniform before I covered it. Those simple details can help explain a lot more than “mystery failure.”
If seeds turn swollen, sticky, and sour
When I see seed that looks puffed up, tacky, or slightly slimy, and the tray has a sour smell, I usually stop blaming slow germination. That pattern more often points to a too-wet, low-oxygen tray. The seed took on water, but the root zone stayed so saturated that sprouting stalled.
This is a different problem from simple dryness or impatience. If water is sitting in the bottom tray, the medium feels heavy all day, or the cover stayed on too long, the seeds may be struggling to breathe rather than struggling to wake up.
Small corrections work better than big swings
I try to nudge conditions back toward balance instead of letting the tray dry hard.
- Dump standing water if any is lingering after watering.
- Make sure the tray can drain freely and is not sealed against pooled water.
- Give it more air movement or uncover a bit sooner if the tray is already very damp.
- Water a little less often, but don’t let the surface turn crisp and dry.
If the smell is mild and the seed still looks firm, the tray can sometimes recover once moisture and airflow improve.
A healthy tray usually feels evenly moist rather than waterlogged. I look for a surface that stays dark and damp, with no puddles and no sour odor.
When sprouts start, then seem to pause
When they sprout, then pause
If I peek under the cover and see tiny white roots but not much upward push, I don’t assume the tray is lost. At that stage, the seeds have already started; they’re usually reacting to pressure, darkness, temperature, or changing moisture.
I check five things before I redo anything:
- Weight: enough to keep good seed-to-medium contact, but not so heavy that shoots stay pinned.
- Blackout time: some trays simply sit covered a bit too long, especially if you’re also seeing pale shoots after blackout.
- Room temperature: a cool room can slow progress more than I expect.
- Root hold: if roots haven’t gripped the medium yet, the tray may just need a little more time.
- Moisture shift: once roots wake up, the surface can dry faster than it did on day one.
A simple pattern helps me read it. If roots are anchored and the surface stays evenly moist, I usually try less weight or earlier uncovering. If roots are still loose and seeds lift easily, I lean toward slightly better contact and a little more covered time.
I change one variable at a time and give it a day. Otherwise, it gets hard to tell whether the real improvement came from lighter pressure, warmer air, or steadier moisture.
When I wait and when I restart
I try not to restart a tray just because it looks slow on day two or three. If I can see fresh white roots, a few seeds cracking, or even small changes from one day to the next, I usually give it more time. A tray that smells neutral and still feels evenly moist often has a decent chance to catch up.
I’m more likely to clear the space when the tray looks like it is going backward instead of forward:
- Worth waiting on: white root hairs, pale shoots emerging, no sour smell, only a few dry corners, patchiness that matches obvious setup issues
- Usually not worth saving: slimy seed mats, tan or gray collapse, strong sour odor, standing water, seeds turning mushy instead of splitting
A simple rule I use: if the seeds still look alive, I troubleshoot. If they look rotted, I restart. That saves seed, shelf space, and a lot of second-guessing.
My quick pre-seeding tray check
-
Level the medium
I smooth the surface corner to corner and tap the tray lightly so one side doesn’t stay higher than the other.
-
Spread seed evenly
I aim for a consistent layer, with no bare lanes and no thick piles that trap moisture.
-
Press for contact
A gentle press helps seeds meet the surface instead of sitting on airy bumps.
-
Moisten to the middle
I want the medium evenly damp, not glossy or sloshy. If water pools, I back off before covering.
-
Do one daily glance
Before blaming the seed, I check smell, edge dryness, and whether the tray still feels evenly moist.
This little routine has saved me more trays than swapping seed packets ever did. When the surface is flat, the sowing is even, contact is good, and moisture stays balanced, germination usually tells a much clearer story.
If the same pattern keeps repeating, I cross-check with the full microgreens troubleshooting guide before I restart.

I appreciate the “read the tray before you fix it” idea, but I do think older seed gets downplayed sometimes.
I had two trays set up side by side with the same moisture and cover, and the older arugula lot was dramatically worse. So yes, setup matters, but sometimes the seed really is just tired.
Not trying to be snarky, just saying I’ve chased airflow and tray angle before when the answer was basically: stop being cheap and buy fresher seed 😂
That’s a fair point. Older or poorly stored seed can absolutely be the main issue, especially when two trays are otherwise handled the same way. My main goal is to keep growers from blaming seed too early, but viability definitely belongs on the checklist.
Agree with this. I had old cilantro that made me question my whole setup for a week. Fresh batch germinated like normal and I felt personally attacked by a seed packet.
The part about sprouts starting and then just… pausing was exactly what I needed.
I was keeping the blackout cover on too long because I thought “more darkness = more better” apparently. The sprouts were alive, white, and rooted, but they looked stalled and kind of weak.
Took the cover off earlier, gave them airflow, and they perked up within a day. Kinda annoying how often the tray is telling me the answer while I’m over here inventing new problems lol
The section about swollen, sticky, sour seed was dead on. I had a sunflower tray that smelled… not great… and I kept waiting because I thought more time would fix it.
It did not fix it lol. Once I dumped it, I could see the drainage was awful and I had been watering way too hard from the top.
I restarted with less water, better airflow, and no heavy cover after the first stage. Huge difference.
Yes — once you get that sticky, sour, collapsing pattern, patience usually doesn’t help much. Better drainage, gentler watering, and more oxygen around the seed are the right adjustments. Sunflower especially can go bad fast if it stays overly wet.
Patchy trays are my nemesis 😅
I didn’t realize a slightly sloped tray could make that much difference, but my radish always came in thick on one side and sad on the other. I started paying attention to level surface + pressing the seed in more evenly, and the edges stopped drying out so fast.
Still get a few thin spots sometimes, but now it actually looks like something I meant to grow.
This was helpful because I was about to blame the seed pack and toss everything.
My last broccoli tray stayed basically blank for 3 days, but when I pressed into the surface it was only damp on top and dry underneath. I re-misted, bottom watered lightly, moved it off the cold laundry room floor, and it finally started coming in. Not perfect, but definitely not “dead seed” like I assumed.
That sounds like a classic shallow-moisture + cool-condition combo. If the top looks moist but the root zone dries out, germination can stall across the whole tray. Warming the setup slightly and checking moisture below the surface before reseeding usually saves a lot of trays.