
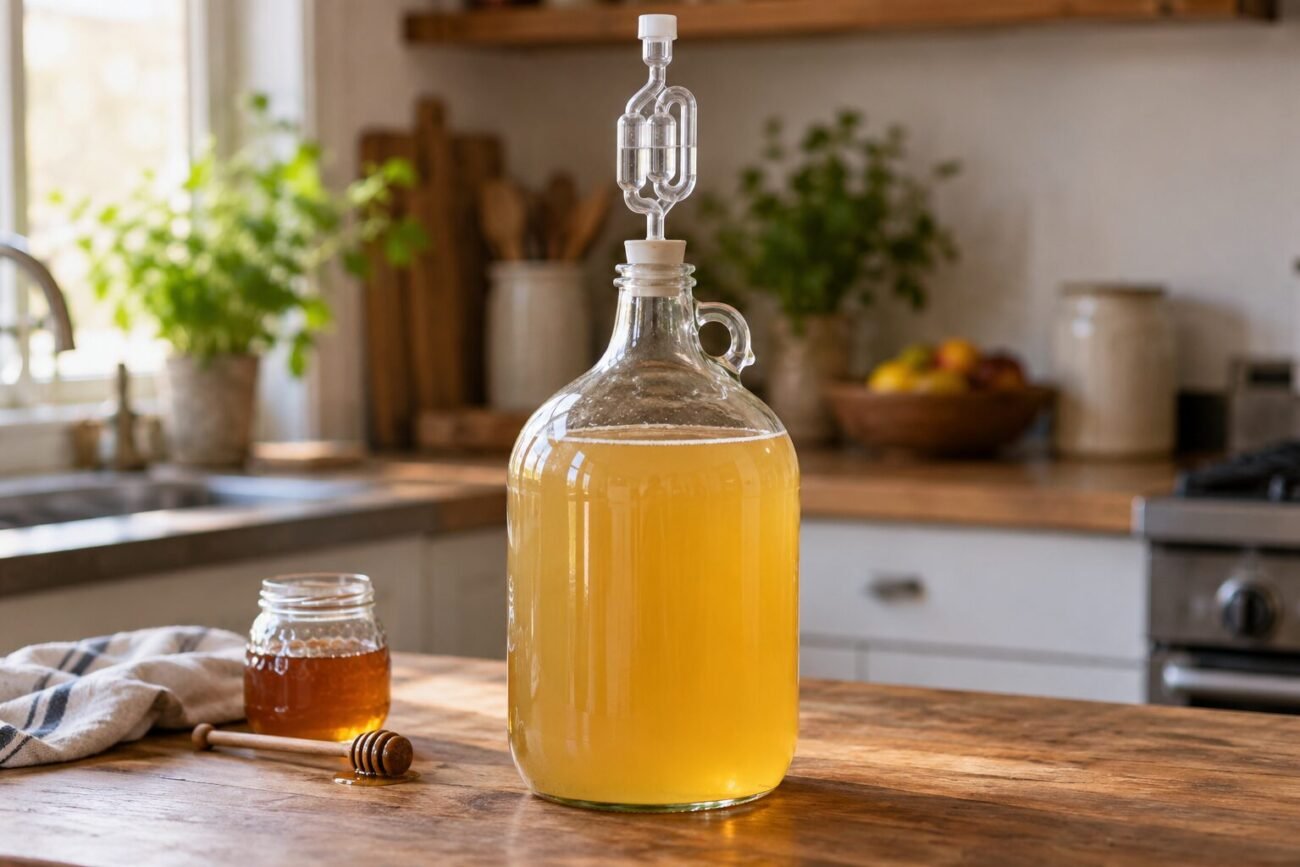
A first batch feels a lot friendlier when the stakes stay small.
Ever stare at a 5-gallon recipe and picture sticky counters, pricey honey, and a closet full of gear? That’s why I like starting with one gallon: it feels small enough to experiment with without feeling trivial. If you’re curious about making fermented drinks at home, mead is a welcoming place to begin.
One gallon keeps ingredient cost and cleanup modest, and a simple setup can still give you several satisfying bottles to share or tuck away. Low-stakes matters on a first batch—you get to learn how fermentation looks, smells, and slows down without committing to a mini brewery.
- A finished gallon often yields about four 750 ml bottles, depending on sediment loss.
Why one gallon works
One gallon is small on purpose, not a watered-down version of “real” mead making. I still sanitize, mix honey and water, pitch yeast, manage fermentation, rack, age, and bottle—so the learning is complete, just less stressful.
The scale helps in a few practical ways:
- Lower stakes: less honey, yeast, and sanitizer tied up if something goes sideways.
- Easier handling: a full jug is heavy enough to feel real, but not awkward to move or store.
- Simpler troubleshooting: temperature swings, stalled fermentation, or too much spice are easier to notice and understand in a small batch.
It also sets honest expectations. Young mead can taste hot, sharp, or unfinished, and aging still matters even at one gallon. What changes is the pressure: I can learn patience without waiting on a huge batch.
Start with a plain traditional mead
For a first batch, I like a plain traditional mead: just honey, water, and yeast. No fruit, spices, or tea to complicate flavor or fermentation. That keeps the batch easy to read, so if something tastes great—or odd—I have fewer variables to guess at.
Here’s a clean one-gallon starting formula:
- Honey: 2.5 to 3 pounds
- Water: enough to reach 1 gallon total volume
- Wine yeast: 1 packet
- Optional but helpful: yeast nutrient, if I’m using it in the rest of the guide
If I want a safer middle ground, I usually start at about 2.75 pounds of honey. That tends to land in a beginner-friendly zone: not too thin, not aggressively strong, and usually not bone-dry if fermentation doesn’t fully finish.
A small honey change matters more than it looks:
- Closer to 2.5 lb: lighter body, lower alcohol potential, drier finish
- Closer to 3 lb: fuller body, higher alcohol potential, more chance of leftover sweetness
That’s why I like to pick a number and write it down exactly. Even a few extra ounces of honey can nudge the mead toward stronger, sweeter, or slower-fermenting territory.
What I’d gather before batch one
-
One-gallon fermenter
A glass jug is plenty, and a clean recycled cider jug can work. If it truly holds a gallon, I’m happy with it.
-
Airlock and bung
This is the one brewing-specific part I wouldn’t skip. It vents gas while helping keep flies and stray microbes out.
-
No-rinse sanitizer
Soap cleans, but sanitizer protects the fermentation step. One small bottle usually covers more than one batch.
-
Funnel, spoon, measuring cup
A kitchen funnel, spoon, and measuring cup are fine. I avoid dirty tools, deep scratches, and strong odors.
-
Bottles for later
Save four or five bottles for packaging later. A siphon helps, but borrowing one is enough for batch one.
Nice extras: a hydrometer for gravity readings and an auto-siphon for tidier transfers.
From clean gear to airlock
-
Sanitize everything
Let it drain.
-
Warm honey
So it pours.
-
Mix must
Add honey, water, then shake; leave a couple inches headspace.
-
Pitch and seal
Add yeast, fit the airlock.
First one-gallon mead
Doin’ the Most Brewing shows a simple first batch with minimal gear.
Clean handling matters more than perfect technique.
What the quiet middle usually looks like
The odd part of a first batch is that fermentation can look dramatic for a day or two, then suddenly seem sleepy. I try not to read too much into the airlock. Bubbling can suggest activity, but it does not prove fermentation is healthy, finished, or stuck; temperature shifts and a less-than-perfect seal can change bubble speed a lot.
What I watch instead is the mead itself:
- a layer of foam early on
- haze and yeast swirling through the jug
- sediment building on the bottom
- a gradual slowdown over 1 to 3 weeks for many one-gallon batches
If it is still cloudy and slowly dropping sediment, that is often just normal settling. Opening the jug repeatedly usually adds more worry than useful information.
A few upgrades can help later, but I would not treat them as day-one requirements:
- a hydrometer confirms progress better than bubbles
- staggered nutrients can support yeast, especially in stronger meads
- degassing and careful temperature control are nice-to-have refinements
For a first plain mead, patience often does more than tinkering.
If the airlock goes quiet after a few days, I usually wait before assuming anything is wrong. Mead often keeps changing even when it stops putting on a show.
Don’t bottle just because the airlock went quiet
A quiet airlock can mean fermentation has slowed, but it does not always mean the mead is ready. I look for two things instead: stable readings and improving clarity. If I’m using a hydrometer, the same reading a week apart is a much better sign than silence alone.
Once the thick layer of sediment settles on the bottom, I usually rack the mead into a clean, sanitized jug. That just means siphoning the clear liquid off the lees and leaving the sludge behind. This can help reduce off-flavors and makes the next waiting period much cleaner.
A one-gallon batch often rewards patience. Even a few extra weeks can soften sharp alcohol notes, drop more haze, and leave less sediment in the bottle. If it still looks cloudy, I usually let time do the work before I reach for any extra fining products.
When it looks fairly clear and seems stable, bottling is simple:
- Sanitize bottles, siphon, and closures
- Siphon gently, leaving sediment behind
- Leave a little headspace at the top
- Cap or cork, then store upright briefly
Bottling early can trap pressure or leave you with muddy pours. Waiting usually gives mead that tastes calmer and looks better in the glass.
For a small first batch, extra time is often the simplest troubleshooting tool. Mead rarely minds a little patience.
If batch one feels a little weird
No bubbles yet?
I give it 24–48 hours first. A loose stopper can hide activity, so I check the seal before assuming nothing started.
It smells a bit off.
Young mead can smell yeasty or slightly sulfur-y. Time often smooths that out better than extra tinkering.
It’s still cloudy.
Cloudiness alone usually isn’t a crisis. If gravity is stable, more settling time can make bottling simpler.
Should I add fruit or spices now?
You can, but a plain batch is easier to learn from. One clean success gives me a baseline for later experiments.
If something seems a little odd, the calm move is usually to wait, check the seal, and write down what you’re seeing. Keep batch one simple and repeatable.
Once you’ve made one clean plain mead, notes make the next round easier, and fruit or spice experiments start making a lot more sense.

Step-by-step was solid, but my yeast didn’t seem to do much for almost 36 hours and I was convinced I killed it. Then it finally took off.
Would be nice to mention lag time a little more, because beginners panic FAST. I sure did.
That’s a very fair point. A slow start doesn’t always mean failure—yeast can take some time to acclimate depending on temperature, pitch health, and must conditions.
For a first batch, I’d usually start checking the seal, temperature, and any visible surface activity before assuming the yeast is dead. I can add a clearer note about that.
Same here. My first batch looked totally asleep and then suddenly the lees started building and I was like oh… okay, we live 😂
I know this is aimed at keeping the first batch simple, but I still think a siphon belongs on the “gather this” list more than “optional.” Trying to pour off sediment without disturbing it was… not my finest moment.
Ended up drinkable, just cloudy as heck.
Question on the headspace part: how much is too much? My jug is technically one gallon but when I mix honey and water I always second guess whether I left too much room at the top.
I’m trying not to overcomplicate batch one, but oxidation horror stories are all over forums lol.
For primary fermentation, a little headspace is usually fine and often helpful. You want enough room to avoid foaming up into the airlock, but not so much that the jug is mostly empty space.
In a one-gallon batch, many people leave a couple inches at the top during primary, then reduce headspace later if they rack for aging. The bigger oxidation concern is usually after active fermentation slows down, not right at the start.
Yeah forums make it sound like one extra inch of air means instant vinegar 😂 In primary I’ve had better luck leaving some room than cleaning blowoff messes off the counter.