
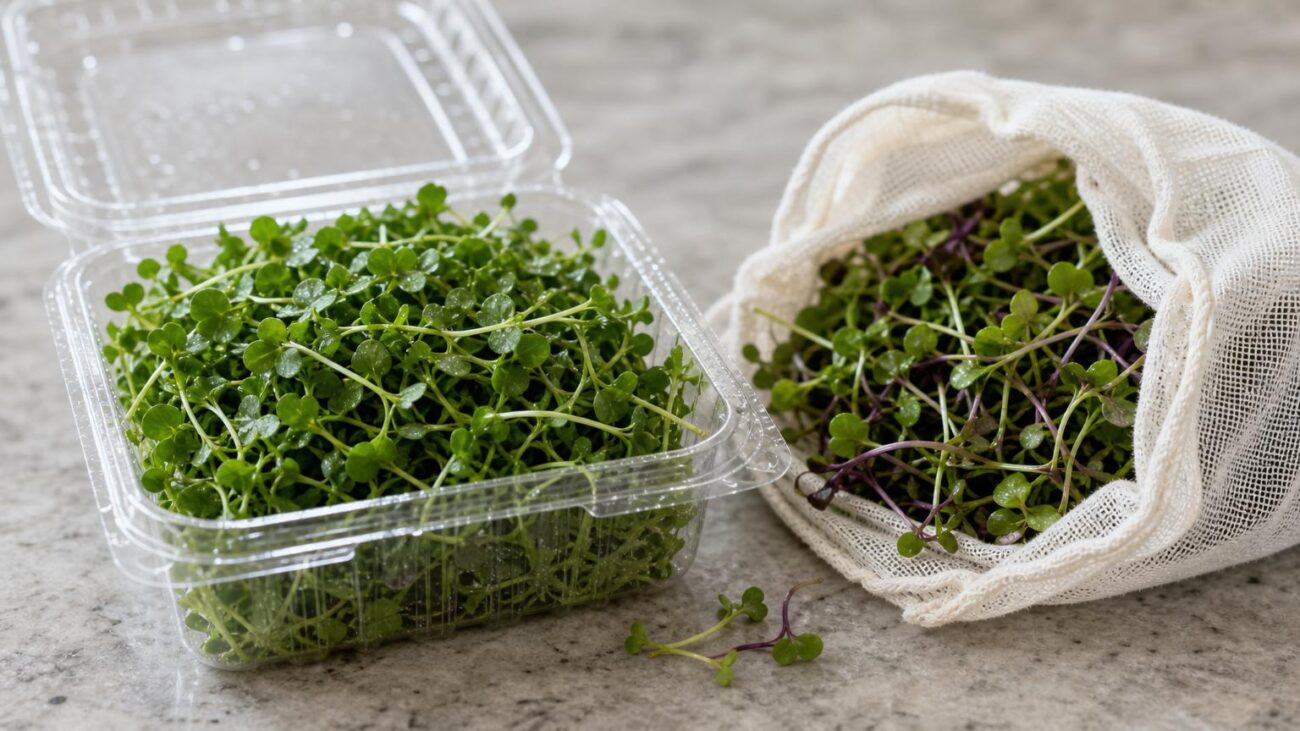
When microgreens go sad overnight, the package is usually only part of the story.
I’ve pulled microgreens from the fridge and found three different disappointments at once: limp stems, wet leaves, and a crushed top layer. That’s usually the moment I stop thinking in simple bag vs. container terms.
In my experience, freshness comes down to three quieter factors: moisture control, airflow, and crush protection. A bag can work if it doesn’t trap too much condensation. A container can work if the greens go in dry and still have a little breathing room. But if excess water sits on the leaves, or the greens get packed too tightly, they fade fast no matter what they’re stored in.
- Visible condensation is often a bigger warning sign than the storage format.
- Tender varieties flatten easily, so rigid walls can help even when freshness time is similar.
- Putting greens away fully dry usually matters more than switching from one package type to another.
What I’d choose for each storage job


A few storage myths worth dropping
Dry leaves and gentle packing usually matter more.
In my experience, loose, fully dry greens last longer even in a basic container. Trapped moisture tends to shorten shelf life faster than plain packaging does.
Compression can bruise tender leaves.
When leaves get pressed together, they mat down and soften sooner. A little headspace helps protect texture and reduces wet spots.
Delicate mixes and sturdy shoots benefit from different setups.
Pea shoots and sunflower usually tolerate a roomier bag or deeper box, while delicate blends do better in a shallow layer with minimal handling.
If I have to choose between fancy packaging and better prep, I usually pick better prep.
Start dry Don’t compress the leaves Leave a bit of breathing room Give delicate greens more protection than sturdy shootsGlass container for crush protection
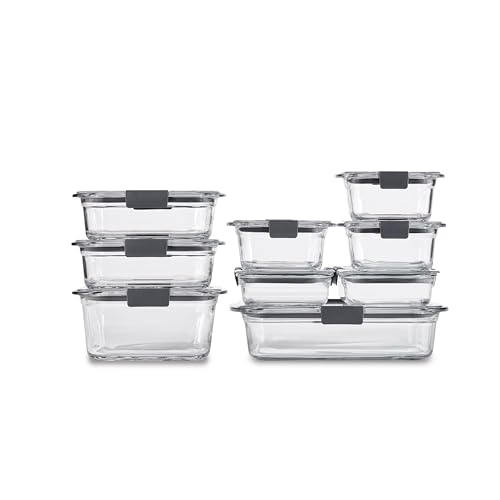
Airtight, leak-proof glass for long-term storage
If my real problem is storing microgreens without crushing, I lean toward a rigid glass container like this. The stackable shape makes more sense to me than a floppy bag when the fridge is crowded.
I’d reserve it for sturdier harvested greens—like pea shoots, sunflower, or well-dried broccoli—and for batches I want to portion neatly.
- Strong protection from fridge bumps
- Stackable shape suits crowded shelves
- Clear walls make quick checks easy
- Sealed box can trap moisture fast
- Heavier and pricier than bags
- Set sizes may exceed small needs
This feels like a smart match when physical protection is the main issue. I’d use it for sturdier harvested microgreens in a busy fridge, especially when bags keep getting flattened.
The caution is important, though: if the greens go in damp, an airtight container can build condensation and shorten freshness instead of helping.
Produce-style bag for longer fridge life
Extends produce life with natural mineral lining
If my microgreens usually fade from trapped moisture before they get crushed, this is the bag style I’d try first. The mixed sizes make portioning simple, and a looser bag setup can be a bit more forgiving than a hard container when I’m trying to avoid that damp, foggy fridge cycle. It fits greens that go in fully dry and stay somewhere they won’t get pressed.
- Easy portioning
- Multiple bag sizes
- Can feel less damp than sealed tubs
- Little crush protection
- Wet greens still struggle
- Needs a low-pressure spot
For me, this is the more forgiving option when moisture buildup keeps cutting fridge life short. The bag format makes it easy to split a harvest into smaller portions, which can help limit repeated opening and that soggy-container feeling.
I’d only count on it for dry greens, though, and I’d keep the bag out of squeeze zones where it has almost no protection.
Hemp sprout bag for rinse-and-hang growing
Natural hemp bags for easy sprouting
I see this more as sprouting gear than a fridge-storage tool. The hemp bag fits a simple soak, rinse, drain, and hang routine for home sprouts, especially if I want something reusable and low-fuss on the counter. If my goal is keeping harvested microgreens neat and intact in the refrigerator, I’d look elsewhere.
- Works neatly for rinse-and-drain cycles
- Reusable natural-fiber format
- Takes up little counter space
- Not ideal for cut microgreens
- Little crush protection in fridge
- Can hold moisture unevenly
For sprouts, this makes sense. The dip-and-hang setup matches the rinse workflow that bags are good at.
For cut microgreens, it’s a mismatch. Once greens are harvested, I usually want better shape protection and more predictable moisture control than a soft sprout bag tends to give.
|
long-term storage
Rubbermaid Brilliance Glass Storage Set
|
VS |
extending freshness
Debbie Meyer GreenBags Freshness Preservation Pack
|
|---|---|---|
|
good if very dry
|
Against sogginess |
often strongest
|
|
3
|
Crush shield |
1
|
|
2
|
Tight fridge fit |
3
|
|
3
|
Transport ease |
1
|
|
dry taller stems
|
Sweet spot |
dry wilt-prone leaves
|
| Compare | Compare |
-
Dry first
I let harvested greens dry really well; surface moisture usually causes trouble before the package does.
-
Choose for the main problem
If crushing is the issue, I reach for the glass container. If fogging and sogginess are the issue, I try the GreenBags.
-
Check on day one
I take a quick look tomorrow, not several days later.
-
Adjust, don’t give up
Condensation means more drying or looser packing. Collapse means less weight on top or a rigid container.
-
Treat it like troubleshooting
Small tweaks often fix storage, so I don’t assume the product failed.
The simple rule I’d remember
After trying all three, my shortcut is simple: I reach for a rigid container when I need crush protection, a freshness bag when humidity control is the bigger issue, and a sprout bag when I’m still in the rinse-and-drain growing stage. None of them fixes every problem.
For me, the right pick is just the one that keeps my usual greens pleasant and usable long enough to actually eat. If that happens, the storage method is doing its job.

The part about sprout bags being better for rinse-and-hang growing than finished storage was the clearest explanation I’ve seen. I almost bought the Sproutman hemp bags for harvested microgreens because the product photos make them look super versatile.
Have you ever had decent fridge results with them at all, or is it more of a “wrong tool for the job” situation?
Mostly a wrong-tool-for-the-job situation. Sprout bags are great when the workflow is repeated rinsing and draining during sprouting, but harvested microgreens usually need more predictable moisture control and better crush protection.
You *can* get acceptable short-term storage in a sprout bag if the greens are very dry and handled gently, but I wouldn’t choose it over either a rigid container or a produce-style bag for normal fridge storage.
I bought hemp sprout bags for actual sprouting and love them for that, but yeah… for harvested microgreens in the fridge they were pretty meh.
They save zero space once you try to keep the greens from getting squashed, and moisture felt uneven from one batch to the next. So I’m with you on the simple rule: rigid protects, freshness bags manage humidity, sprout bags are for the rinse/drain workflow.
Honestly, that last line should be printed on the packaging somewhere.
Maybe I’m the odd one out, but the glass containers have been overrated in my house.
Yes, they protect against crushing, but if I forget and seal up greens that aren’t dry enough, it turns into a tiny weather system in there lol. The article’s “day-one check” point is probably the thing people skip most.
For me the GreenBags have worked better overall because space is tight and I can spread things out a little. Not perfect, but less annoying than opening a container and seeing fog on the sides.
This was actually helpful because I kept assuming “airtight = fresher” and then wondering why my sunflower shoots got slimy 😅
For a crowded fridge, which one did you end up choosing most often in real life: the Rubbermaid Brilliance glass or the GreenBags? I’m mostly storing sturdier greens, but they do get crushed when my family starts playing fridge Jenga.
If crushing is the main problem, I’d lean toward the Rubbermaid Brilliance glass first. For sturdier, well-dried greens, the rigid walls solve a bigger issue than a bag can.
The catch is moisture: if you notice condensation building up, that matters more than the container being “premium.” In that case, I’d reduce trapped moisture first or switch to a produce-style bag if sogginess is consistently shortening storage life.
Fridge Jenga is exactly it lol. I switched to rigid containers for pea shoots because bags were fine until someone set a milk jug on top of them.
I appreciate the myth-busting section. So many articles act like one magic container fixes everything, and meanwhile the greens were packed wet from the start.
I’ve used Debbie Meyer GreenBags for arugula microgreens and they did better than deli clamshells *for me*, but only when the greens were really dry going in. If there was even a little condensation on day one, the “freshness” benefit basically disappeared.
Kind of curious whether you think the bag is still the best bet for people short on space, or if the glass set is worth the fridge space tradeoff anyway.
Okay but this is the exact comparison I was looking for. Which one did you end up choosing for transport? I sell a few small boxes to coworkers and I’m torn between protecting them from getting smashed vs not trapping too much moisture on the drive.
Also, thank you for saying green type matters. Radish microgreens and basil do NOT behave the same and I feel slightly vindicated now 😂